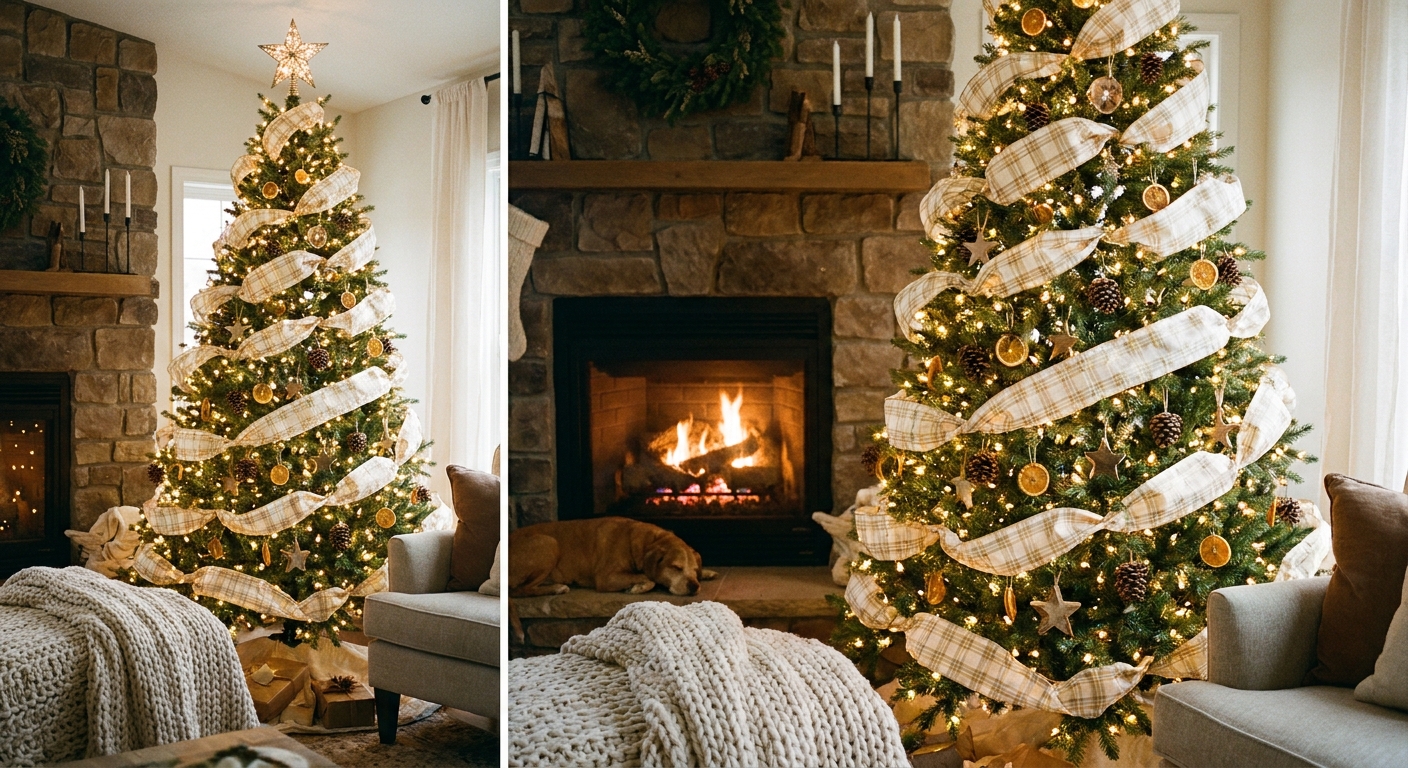
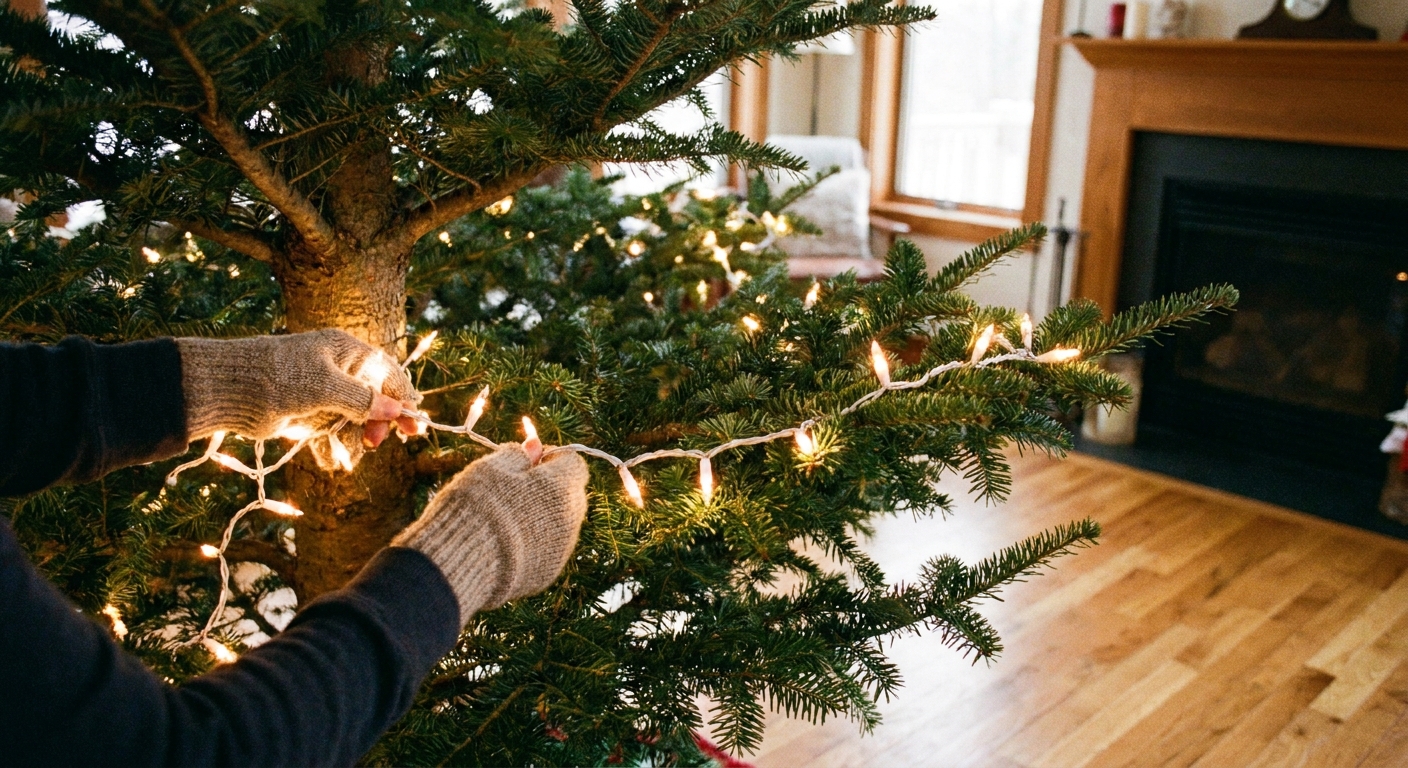
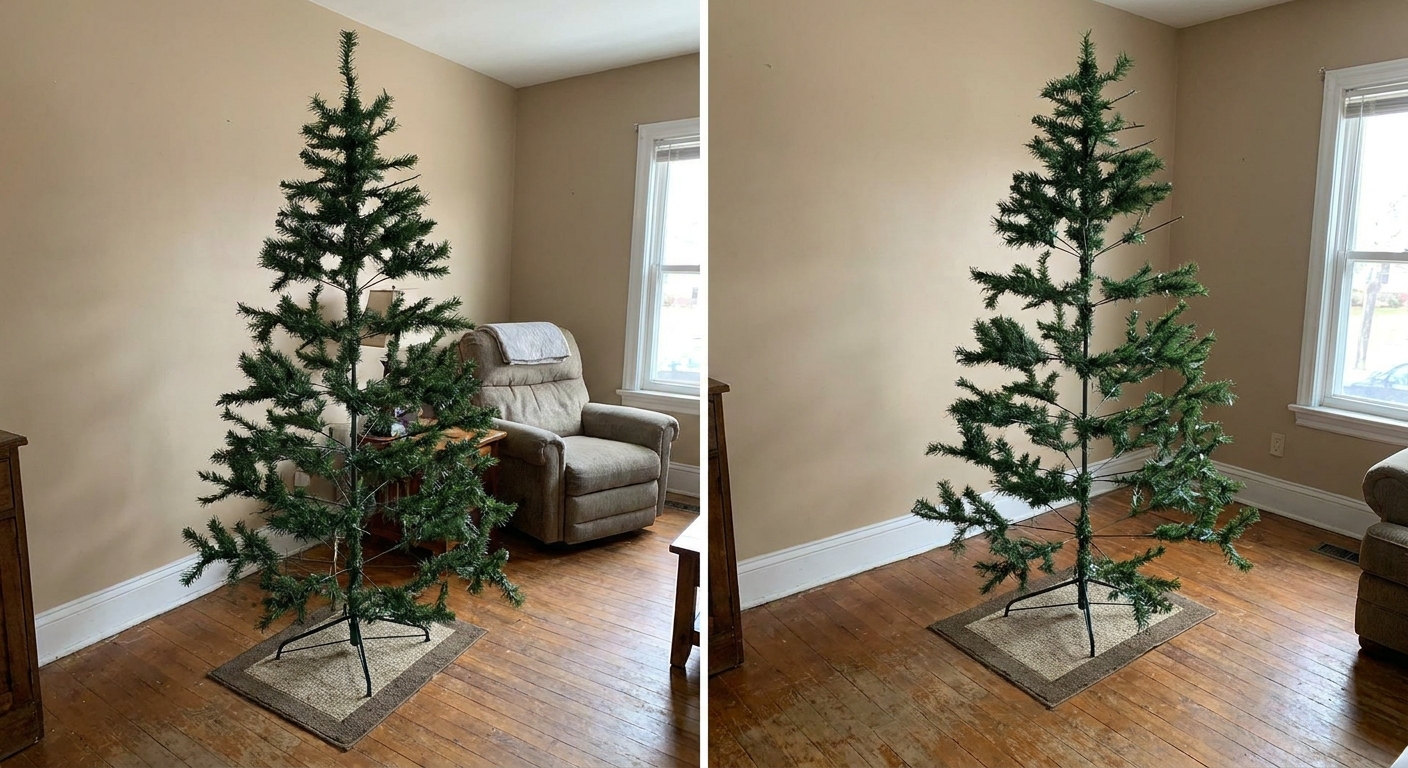
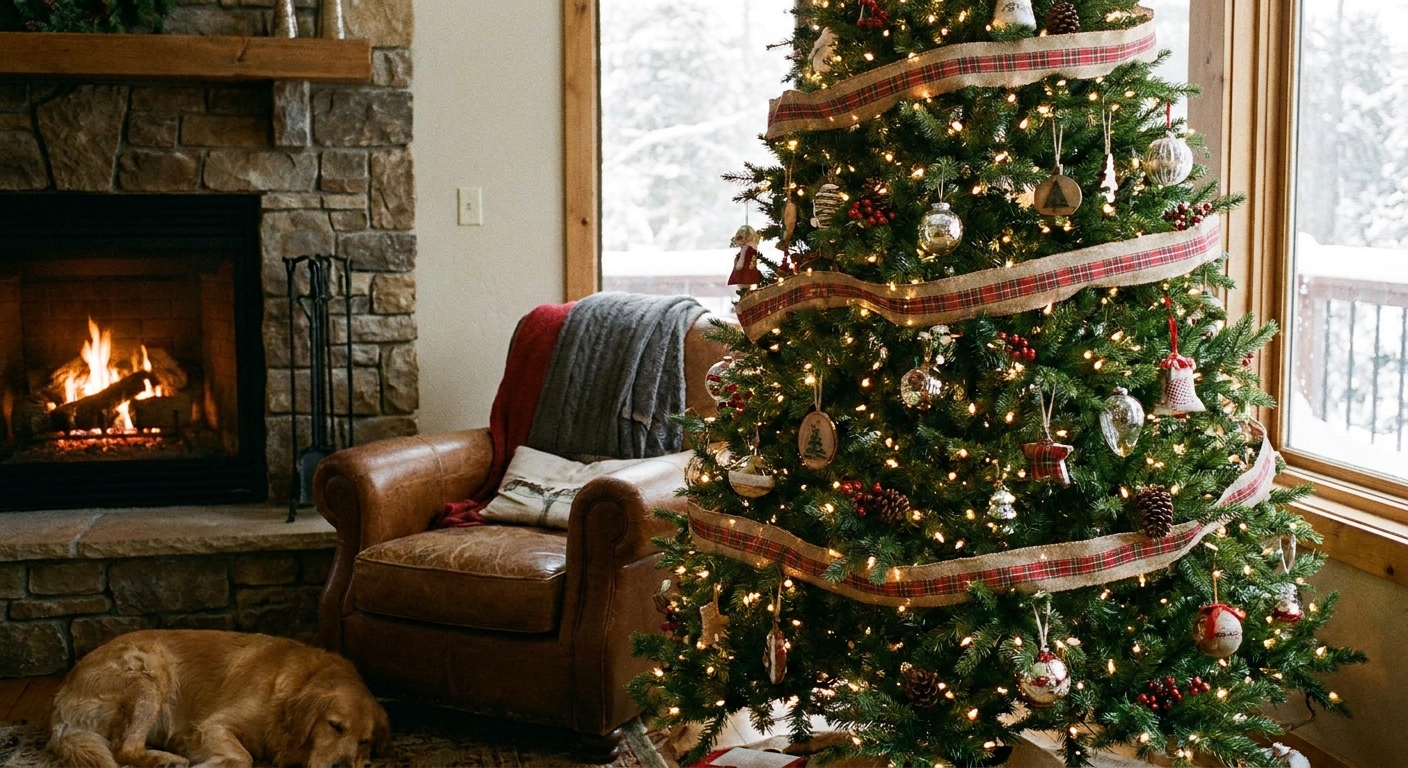
Let's gather some sparkle and make your home merry and bright! A flocked Christmas tree already looks like it wandered in from a snowy pine forest. With the right lights, ribbon, and frosty ornaments, it becomes a full winter wonderland, crisp, cozy, and twinkly from every angle.
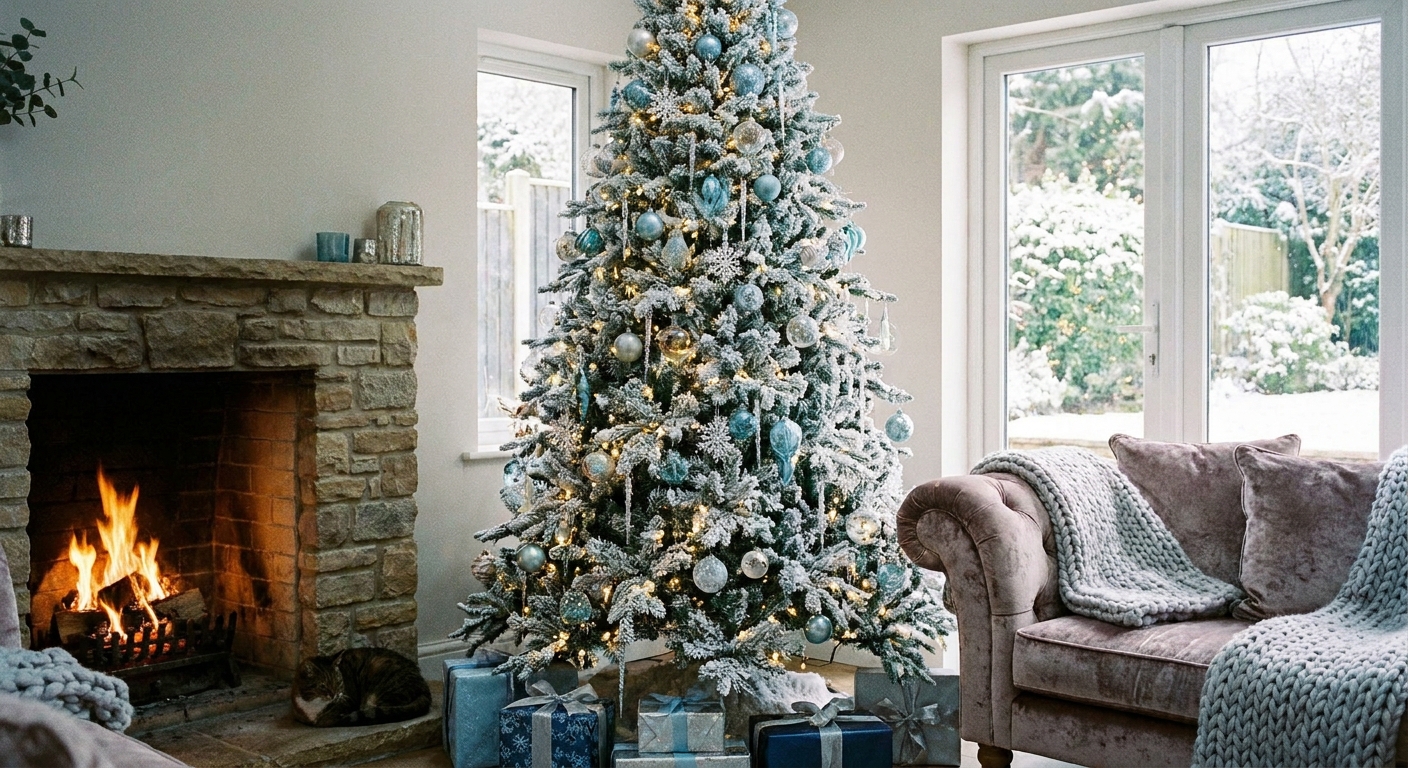
The winter wonderland look
This theme is all about cool shimmer plus soft snow. Aim for a palette that feels like moonlight on fresh powder, then warm it up with gentle lighting.
- Color palette: icy blue, silver, pearl white, clear glass, soft gray
- Metals: silver, chrome, pewter (use gold only as a tiny accent, if any)
- Textures: flocking, faux fur, knit, velvet ribbon, glitter that reads like frost
- Finishing touch: snow picks, icicles, and a little negative space so the flocking can shine
If you want to browse more tree styles for the season, hop over to Christmas Trees & Themes.
Step 1: Choose your tree
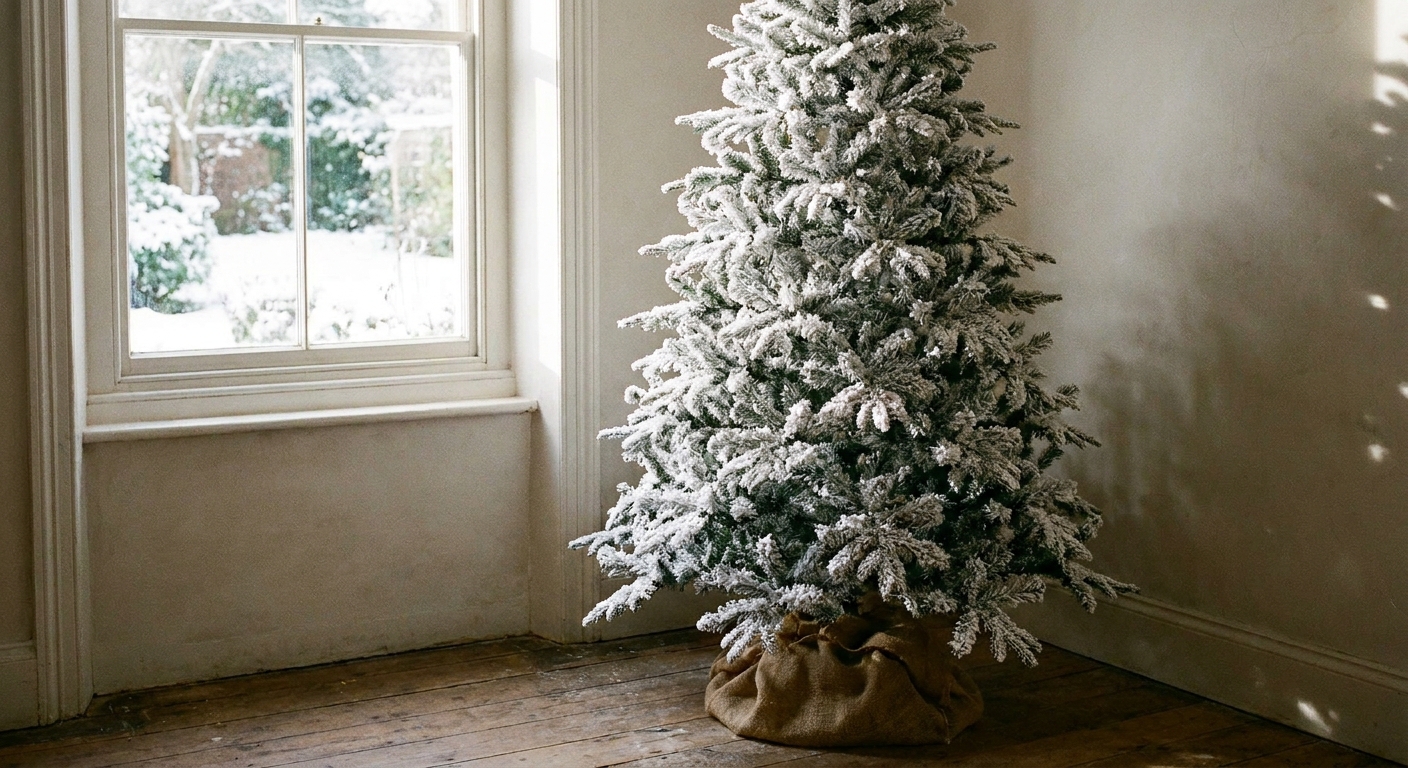
A frosted artificial tree can lean lightly dusted or fresh blizzard. Both work, but your decorating choices should match the flocking level.
What to look for
- Flocking coverage: Heavy flocking gives instant drama and needs fewer ornaments. Light flocking is easier to layer with ribbon and picks.
- Branch structure: A mix of flexible tips and sturdier interior branches helps you tuck lights and support larger ornaments.
- Shape: Full shapes feel classic and cozy. Slim trees look modern and icy, perfect for small spaces.
- Tip count and realism: More tips usually means fuller coverage, but strong branch shaping matters just as much.
Quick sizing guide
- 7 to 7.5 ft: fits many rooms with 8 ft ceilings, but measure first and leave room for the stand and topper
- 9 ft: makes a statement, plan on extra ornaments and ribbon
- Slim pencil tree: great for corners and apartments, use vertical ribbon and longer icicle ornaments to emphasize height
Step 2: Prep the branches
Flocked trees can shed a little snow-like fluff when handled. That is normal. A little preparation keeps the magic tidy.
- Lay down a sheet or drop cloth while fluffing, then shake it outside.
- Fluff gently, from the inside out: open the inner branches first, then spread outer tips.
- Wear thin gloves if flocking irritates your hands or if you want to keep oils off the branches.
- Keep moisture away: avoid spraying water, scented mists, or artificial snow on flocked branches unless your manufacturer care instructions say it is safe.
How to fluff for a layered look
- Start at the bottom. It is easier to shape as you move upward.
- Fan the main branches into a wide, even shelf shape.
- Separate the tips so they do not clump. Think airy, not packed.
- Make small windows into the tree so lights and ornaments can sit deeper.
Step 3: Pick your lights
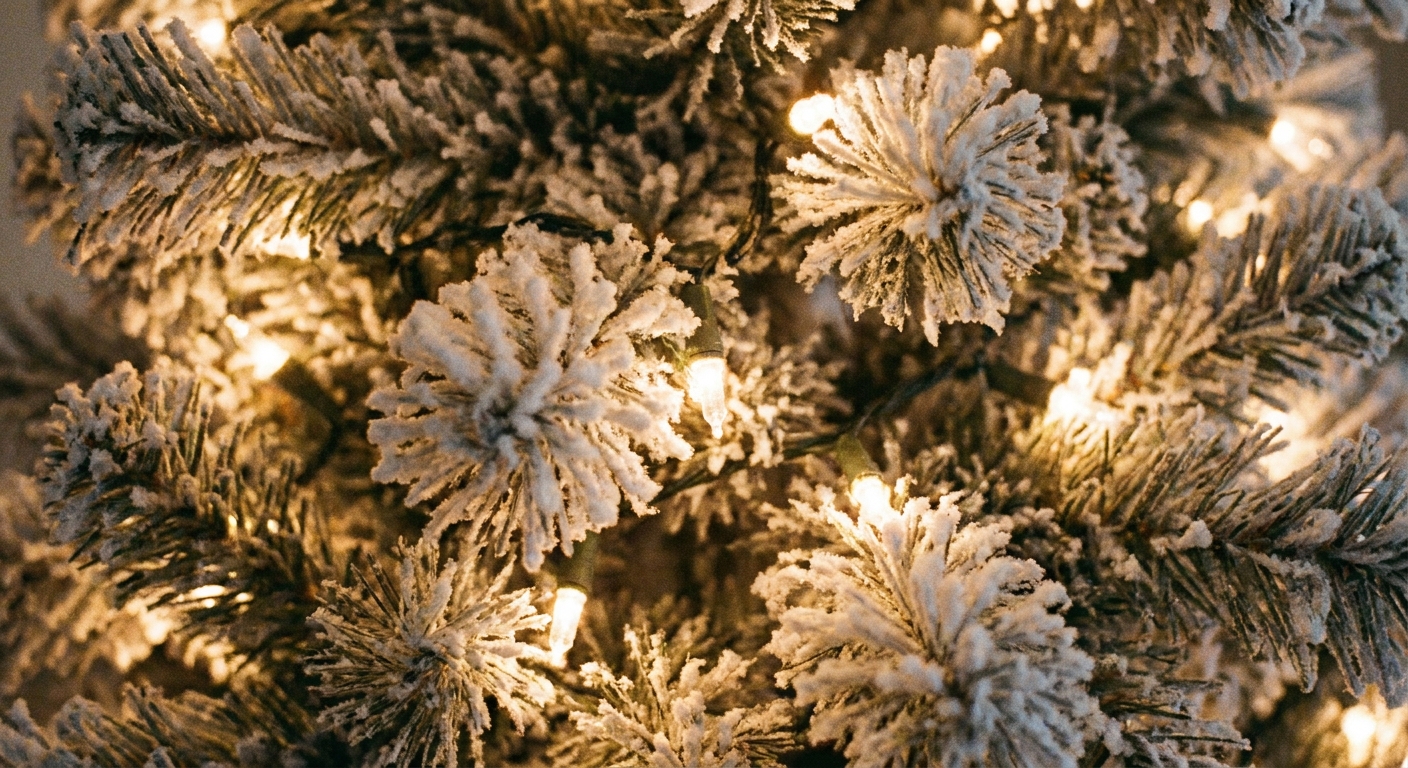
Lights are the secret ingredient that makes flocking glow instead of looking flat.
Warm white vs cool white
- Warm white: coziest, most flattering in living rooms, looks like candlelight reflecting on snow.
- Cool white: crisp and icy, best if the whole room leans modern and silvery.
- Mixing tip: If you love both, keep the tree lights warm and add icy sparkle through ornaments and ribbon. That gives winter vibes without feeling stark.
How many lights?
Flocking can visually soften light, so some people prefer a higher light density than they would on a green tree. If your tree is pre-lit but you want more glow, try adding one extra strand tucked deep in the interior to brighten the shadows.
Step 4: Build the ornament palette
Before you hang a single bauble, choose a small set of ornament finishes. This keeps the look calm and snowy, not busy.
A simple formula that always works
- 40% shiny silver: mirror balls, reflective rounds, metallic finials
- 30% frosty white and pearl: matte white, pearlized glass, snowflakes
- 20% icy blue: pale blue, glacier tones, a few deeper sapphire accents
- 10% clear and crystal: icicles, faceted drops, clear glass ornaments
Best shapes for this theme
- Icicles and drops: instant frozen elegance
- Snowflakes: adds a snowing feeling across the whole tree
- Finials: gives height and storybook drama
- Mixed-size rounds: makes the tree look full without crowding the branches
Sprig tip: Pick two hero ornaments that feel special, like oversized glitter snowflakes or a handful of statement finials. Then let simpler balls do the supporting sparkle.
Step 5: Add ribbon
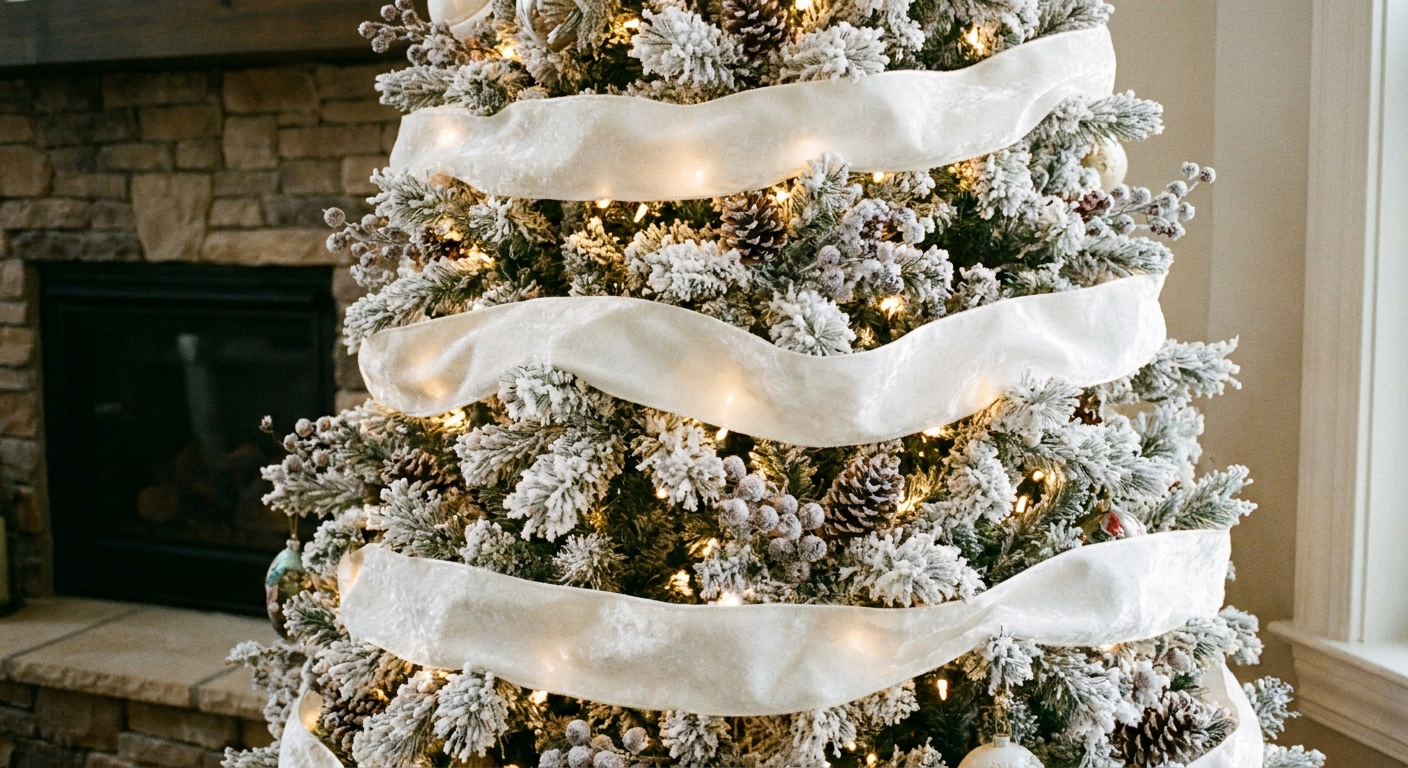
Ribbon is where a winter wonderland tree goes from pretty to breathtaking. The goal is movement, like a swirl of icy air.
Ribbon types that shine on flocking
- White velvet: soft snowdrift texture
- Silver sheer or metallic mesh: light-catching without heaviness
- Icy blue satin: smooth and classic, adds color cleanly
- White faux fur garland: use sparingly for a cozy snow trim effect
Three easy ribbon styles
- Loose cascade: tuck the ribbon in and out in wide S-curves from top to bottom.
- Segmented loops: create 8 to 12 inch loops, tuck each loop into the tree with space between for ornaments.
- Vertical ribbons: attach at the top and let multiple strands fall straight down, then tack them in lightly. This looks stunning on slim trees.
For a 7 to 7.5 ft tree, 3 to 5 ribbon strands or cascades usually looks balanced. Add more only if you still see large bare sections after ornaments go on.
Keep ribbon slightly deeper than your biggest ornaments. That layering makes the tree feel lush while still showing off the flocked tips.
Step 6: Hang ornaments
Order matters. It is the difference between everything sitting on the outside and a tree that looks styled and dimensional.
- Start with the biggest ornaments and place them first, spaced evenly around the tree.
- Add mid-size ornaments to bridge gaps and create rhythm.
- Fill with small ornaments near branch tips and in small clusters.
- Tuck a few ornaments deeper inside the tree to create sparkle in the shadows.
How to keep it balanced
- Repeat finishes: if you place a glitter snowflake on the left, place another on the right and one toward the back.
- Vary heights: do not line ornaments up in rows.
- Step back often: check from the doorway, then adjust.
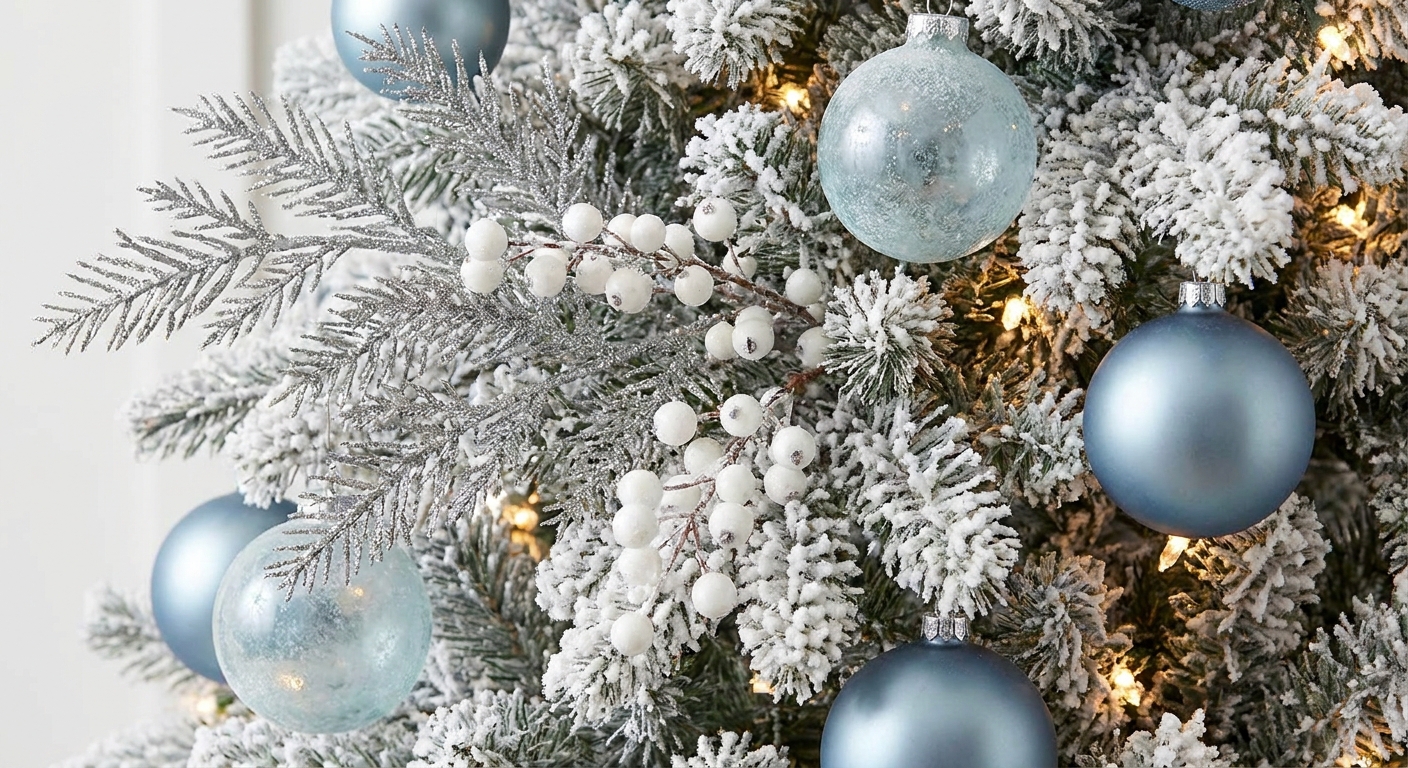
Step 7: Add picks and sprays
This is the stage that makes a winter wonderland tree feel like it has depth and dimension.
Snowy additions
- White berry picks for snowy clusters
- Glitter twig sprays for icy sparkle that rises above the branches
- Frosted pine picks to add shape and fill thin spots
- Crystal stems for a subtle, frozen look
Placement rule
Place picks in a triangle pattern around the tree: some low, some mid, some high. Angle a few outward so the tree feels airy and animated.
Step 8: Choose a topper
Your topper should finish the story without overpowering the flocking.
- Star: choose silver, white, or crystal for a classic winter sky feel.
- Snowflake: perfect for themed consistency, especially if you used snowflakes throughout.
- Ribbon bow: a large white velvet or icy blue bow looks dreamy and soft.
- Finial: adds height and elegance, especially for formal rooms.
Balance tip: If your ornaments are very glittery, go simpler on the topper. If your ornaments are mostly matte and pearl, the topper can sparkle more.
Step 9: Finish the base
The base is the ground of your winter scene. Treat it like the final layer of snow.
- White faux fur skirt: cozy and bright, great for warm white lights.
- Knitted white skirt: adds cabin charm without changing the icy palette.
- Metal collar in silver or white: clean, modern, and very wintery.
- Woven basket: choose a cool-toned or whitewashed look if you want rustic winter.
Keep gift wrap coordinated too: white paper, silver ribbon, icy blue bows, and a little clear sparkle looks like a snowdrift of presents.

Room styling tips
A winter wonderland tree shines brightest when the room echoes the same soft, frosty mood.
- Use one repeating sparkle: silver candlesticks, mercury glass, or clear glass vases.
- Add cozy texture nearby: a chunky knit throw or faux fur pillow cover in white or pale gray.
- Keep nearby decor calm: too many bold colors compete with the icy palette.
Looking for more cozy indoor ideas beyond the tree? Visit Indoor Decor & Mantels.
Sensitivity and safety
If you are sensitive to dust or fibers, fluff your flocked tree in a well-ventilated room and consider wearing a mask while shaping branches. And if your tree sheds a bit, keep loose flocking away from curious little hands and pets who might try to taste it.
Troubleshooting
Why does my flocked tree look yellow?
Often it is lighting. Try swapping to a softer warm white, or reduce nearby lamps with very warm bulbs that can tint the flocking. If the tree is older, discoloration can also come from age, dust buildup, smoke, or residue. A gentle dusting with a soft cloth or a cool, low suction vacuum brush attachment can help, but always check your manufacturer care instructions first.
Why does it look bare even with ornaments?
Flocking is bright, so gaps stand out. Add ribbon first, then use picks and sprays to create structure, then fill with smaller ornaments near the tips.
How do I stop it from looking cluttered?
Use fewer ornament styles and stick to a tighter palette. Leave some flocked branches visible on purpose so the tree still feels snowy.
How can I make it look more icy, less cozy?
Lean into cool white lights, more clear ornaments, and crisp silver ribbon. Keep soft textures like faux fur to a minimum.
Storage and cleanup
When the season wraps up, store a flocked tree with as little friction as possible. Use the original box or a tree storage bag, compress branches gently, and avoid humid basements or hot attics when you can. A quick vacuum around the base after take-down keeps stray flocking from traveling through the house.
Winter wonderland checklist
- Flocked tree fluffed with visible snowy tips
- Warm or cool lights chosen intentionally
- Ribbon added before most ornaments
- Ornaments in 3 to 4 finishes, multiple sizes
- Picks and icicles for height and frost
- Topper that matches the mood
- Tree skirt or collar that reads like snow
When you are ready for your next sparkle adventure, explore more seasonal inspiration in Christmas Trees & Themes or grab a cozy project from DIY & Budget Decor.