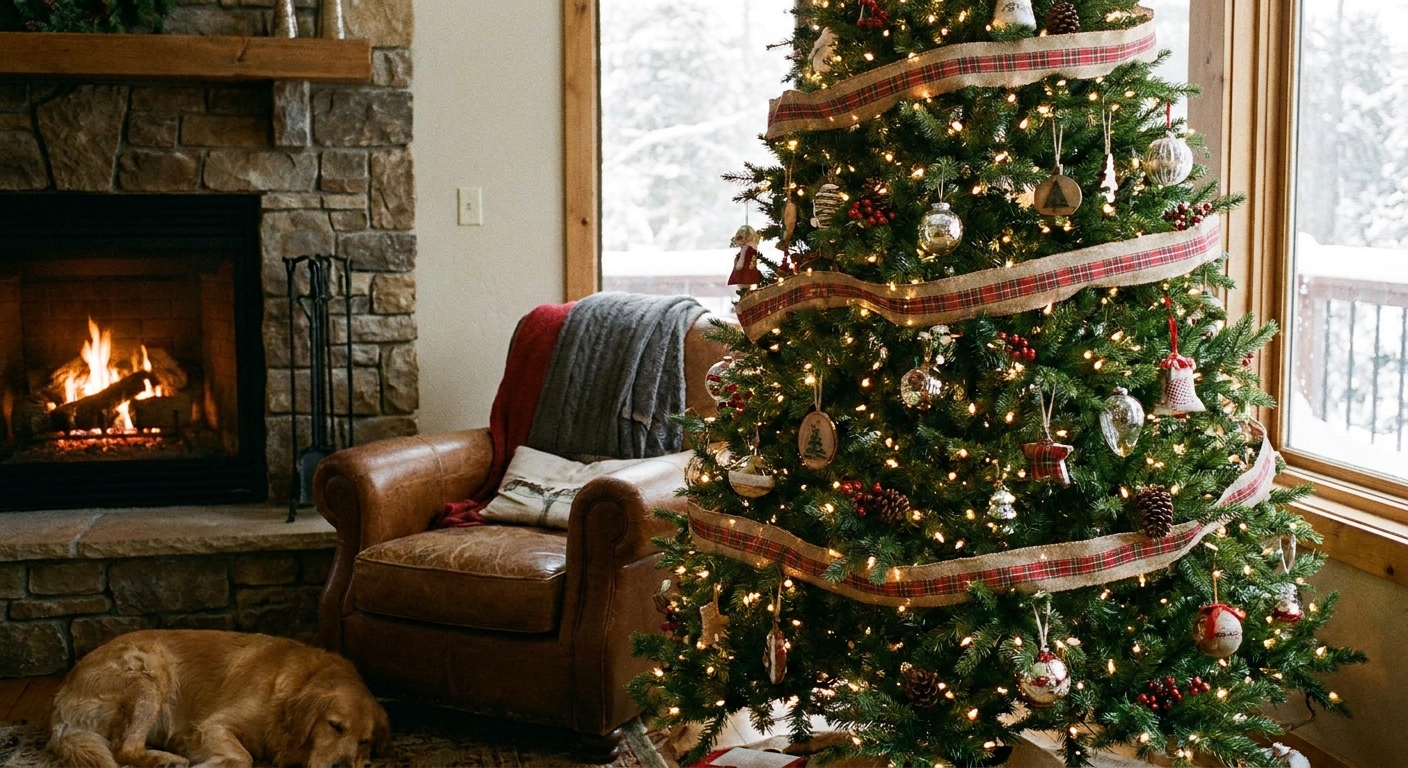
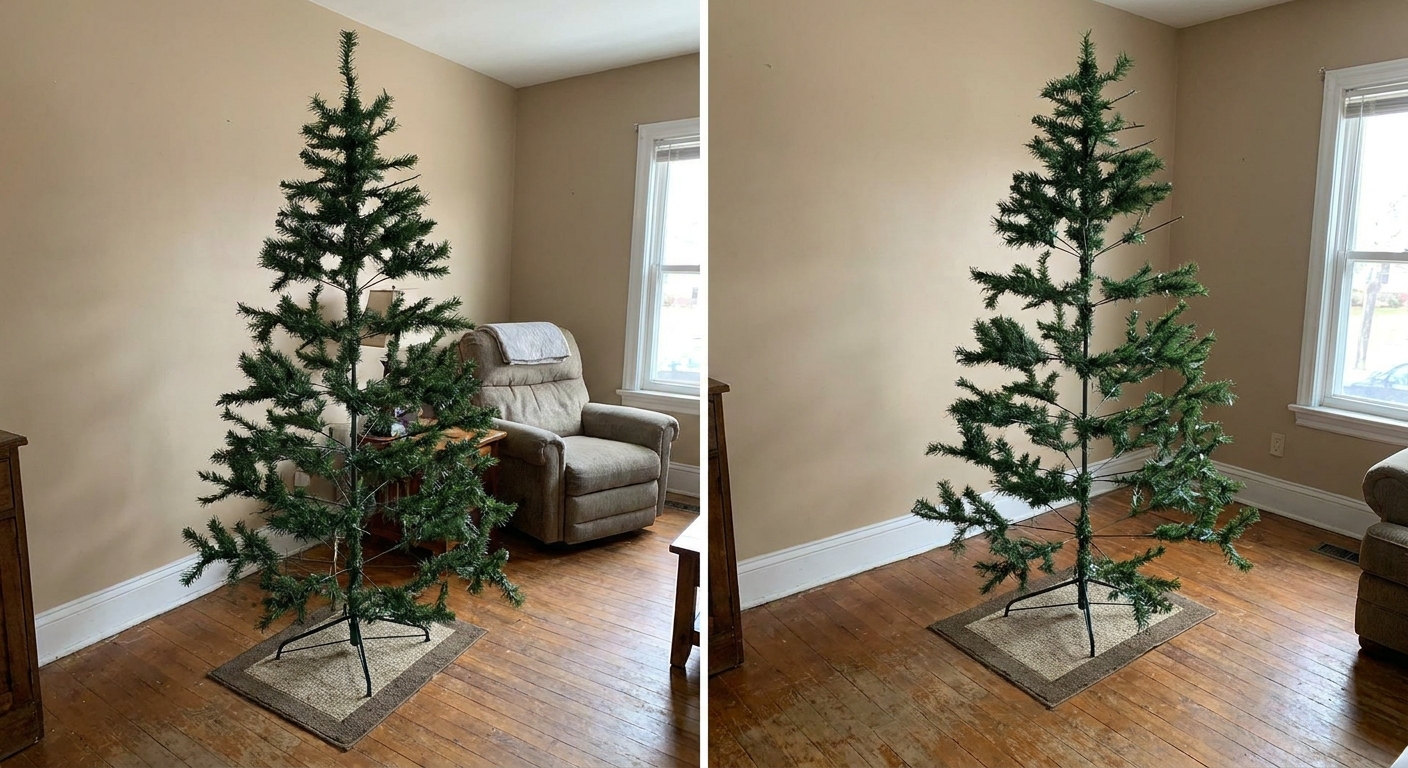
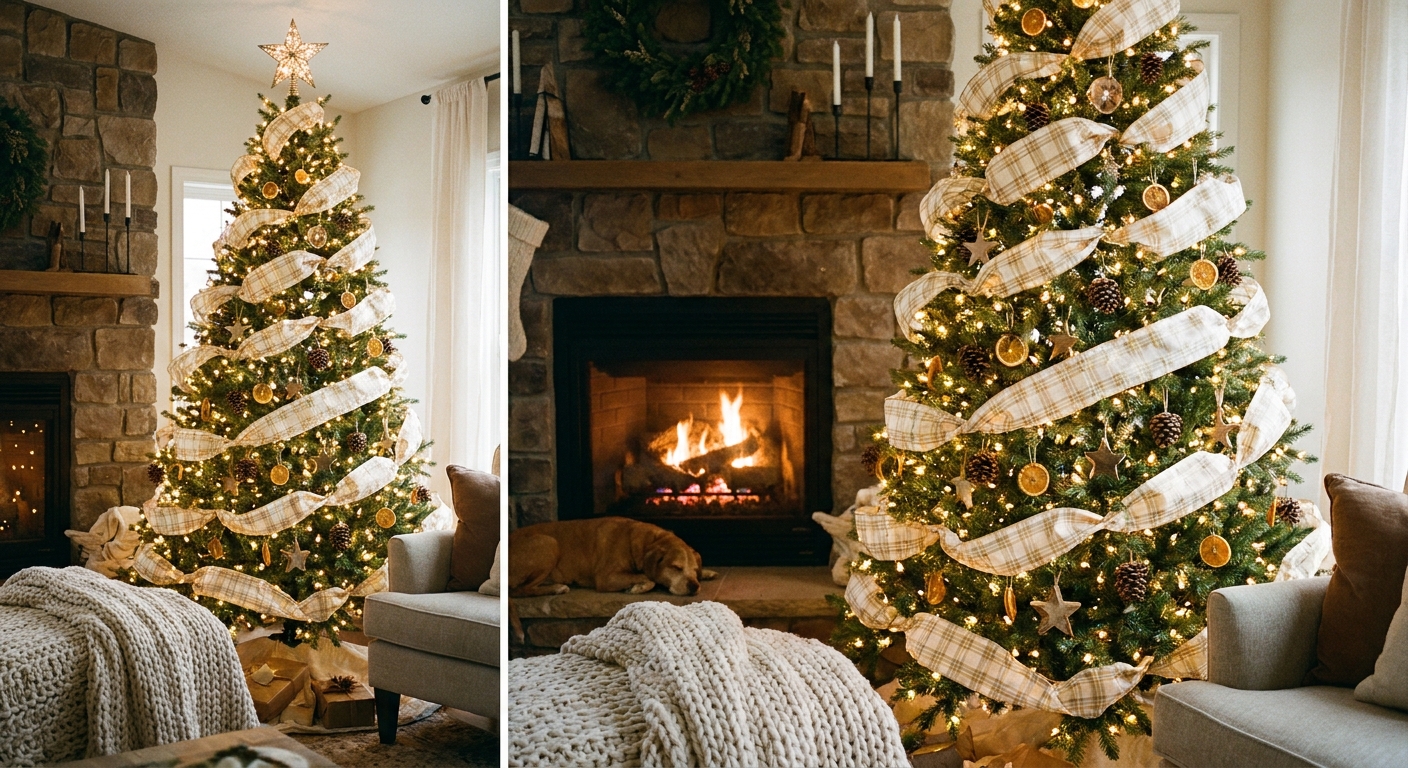
Let’s gather some sparkle and make your home merry and bright. If tree lighting makes your paws feel a little fumbly, the trunk-to-tip method is the calm, tidy way to get a smooth glow with fewer snags, fewer weird dark pockets, and far less wrestling with tangled strands.
This guide walks through vertical and horizontal stringing, plus exactly when to pick each one.
Before you start: set yourself up for zero tangles
A little prep keeps the whole job smooth and cozy.
Quick safety and sanity checklist
- Unplug first. Only plug in to test, then unplug again while wrapping.
- Use the right rating. Use indoor-rated lights indoors, and outdoor-rated lights for porches and yards.
- Check strands for damage. If wires are cracked, sockets are loose, or a plug is warm to the touch, skip that strand.
- Follow connection limits. Many strands have a max number you can connect end-to-end. Check the tag and avoid overloading outlets or power strips.
- Untwist the strand as you go. Let the bundle dangle for a moment and spin out any kinks before it becomes a knot.
- Keep a soft landing zone. Lay strands in loose loops on a blanket or in a shallow basket so they do not snag on tree stand hardware.
- Use the right kind of clips. If you clip lights, choose gentle light clips made for trees. Avoid anything sharp that could pinch a wire.
Pick your glow temperature first
To avoid a patchwork look, decide on one main light color before you begin:
- Warm white: cozy, classic, candlelit.
- Cool white: crisp, snowy, modern.
- Multicolor: playful, nostalgic.
Mixing is possible, but do it intentionally. For example, warm white on the tree and cool white on the porch can look beautifully balanced.
How many lights do you need?
The easiest rule of thumb is based on tree height. More lights equals more sparkle and less visible wiring because the glow blends.
Note: These ranges assume standard mini string lights with roughly 4 to 6 inch bulb spacing on a typical full tree. Wider spacing, larger bulbs (like C7/C9), and super dense branches can all change the count.
- 6 ft tree: 300 to 600 lights
- 7 to 8 ft tree: 600 to 1,000 lights
- 9 to 10 ft tree: 1,000 to 1,600 lights
If you love a softly lit tree, aim for the lower end. If you want that twinkly showstopper glow, aim for the higher end.
Tip for dense or flocked trees: plan a little extra. Flocking and thick branches can visually absorb light, so a higher count keeps the sparkle on top.
If you’re building a whole look on a budget, Garland Glow’s ideas for stretching sparkle can help: A Stunning Christmas Tree on a $50 Budget.
The trunk-to-tip method (the core idea)
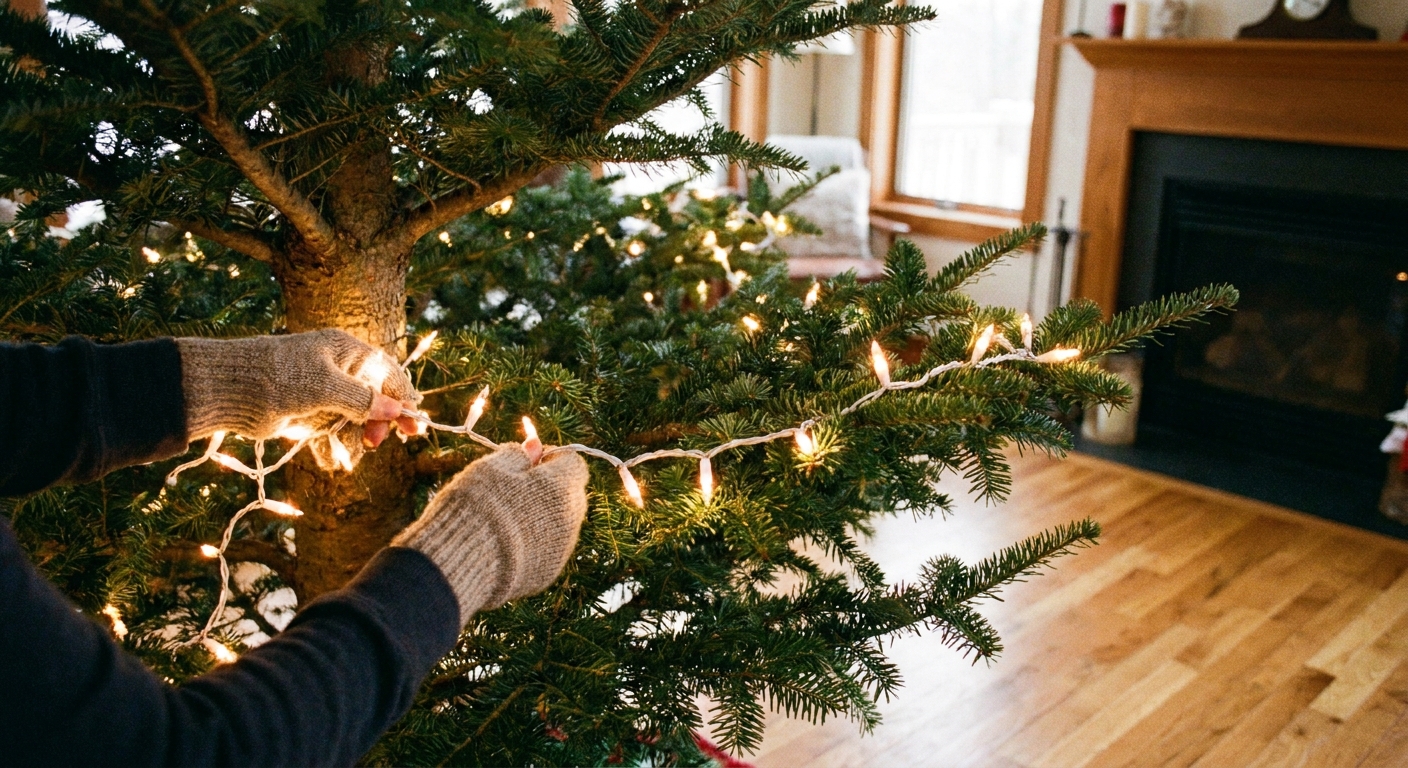
Instead of wrapping only around the outside of the tree, you place lights from the trunk outward toward the branch tips. This tucks bulbs into the tree for depth, then brings some glow forward where ornaments and ribbon can shine.
Why it prevents tangling
- You work in short, controlled passes (in and out) rather than long, dragging loops around the tree.
- The strand stays supported by branches, not swinging freely where it can twist into itself.
- It creates natural “parking spots” for slack near the trunk, so you are not yanking wire tight.
Vertical vs horizontal: which method should you use?
Both can be trunk-to-tip. The difference is the overall path the strand takes around the tree.
| Method | What it looks like | Best for | Watch out for |
|---|---|---|---|
| Vertical (recommended for most trees) | Lights run in vertical columns from top to bottom, moving around the tree in sections | Full, even coverage and easy removal after the season | Needs a little planning so columns are evenly spaced |
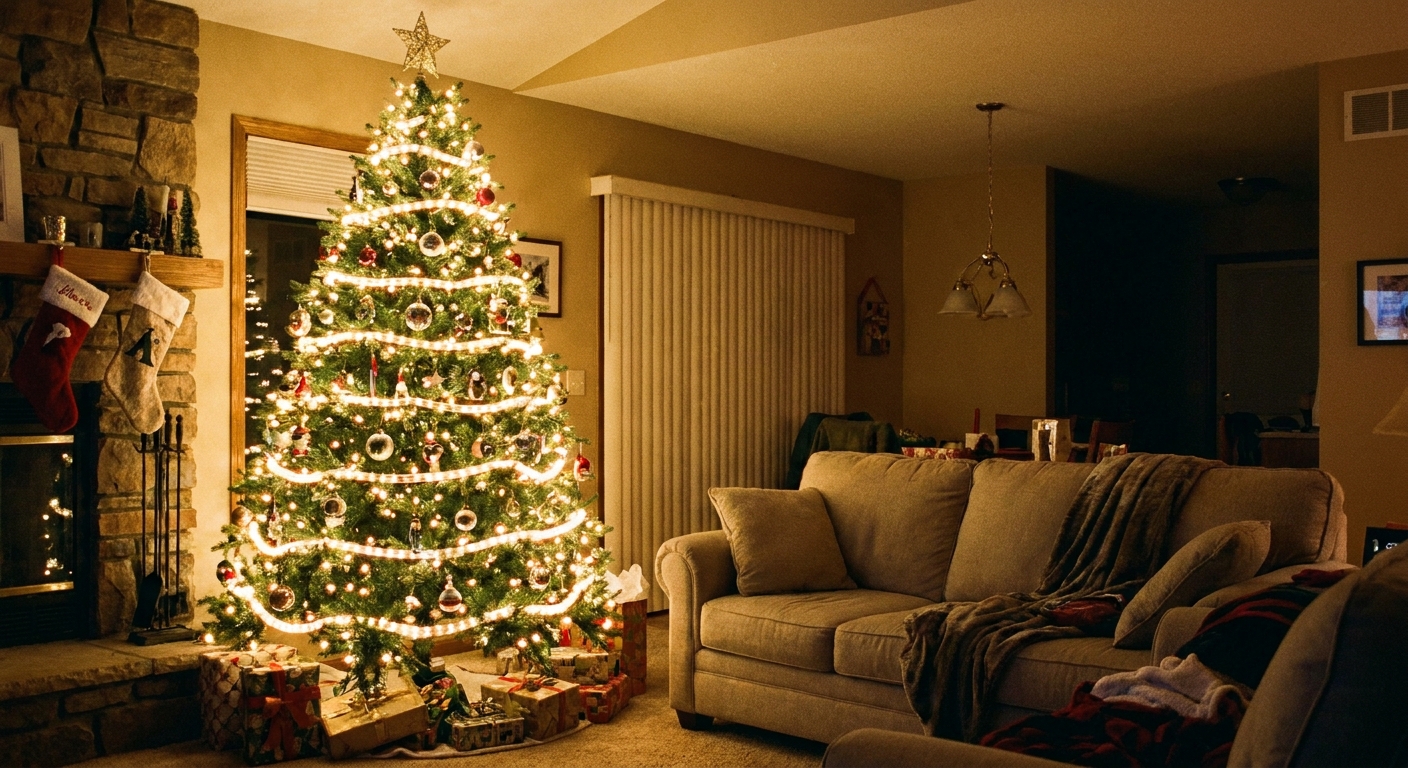
| Horizontal (classic wrap) | Lights spiral around the tree from top to bottom (or bottom to top) | Traditional look, quick for sparse trees or very small trees | Easy to leave dark pockets, and can be tougher to remove cleanly |
If you are aiming for maximum glow with minimal frustration, vertical is the easier win for most decorators, especially on fuller trees.
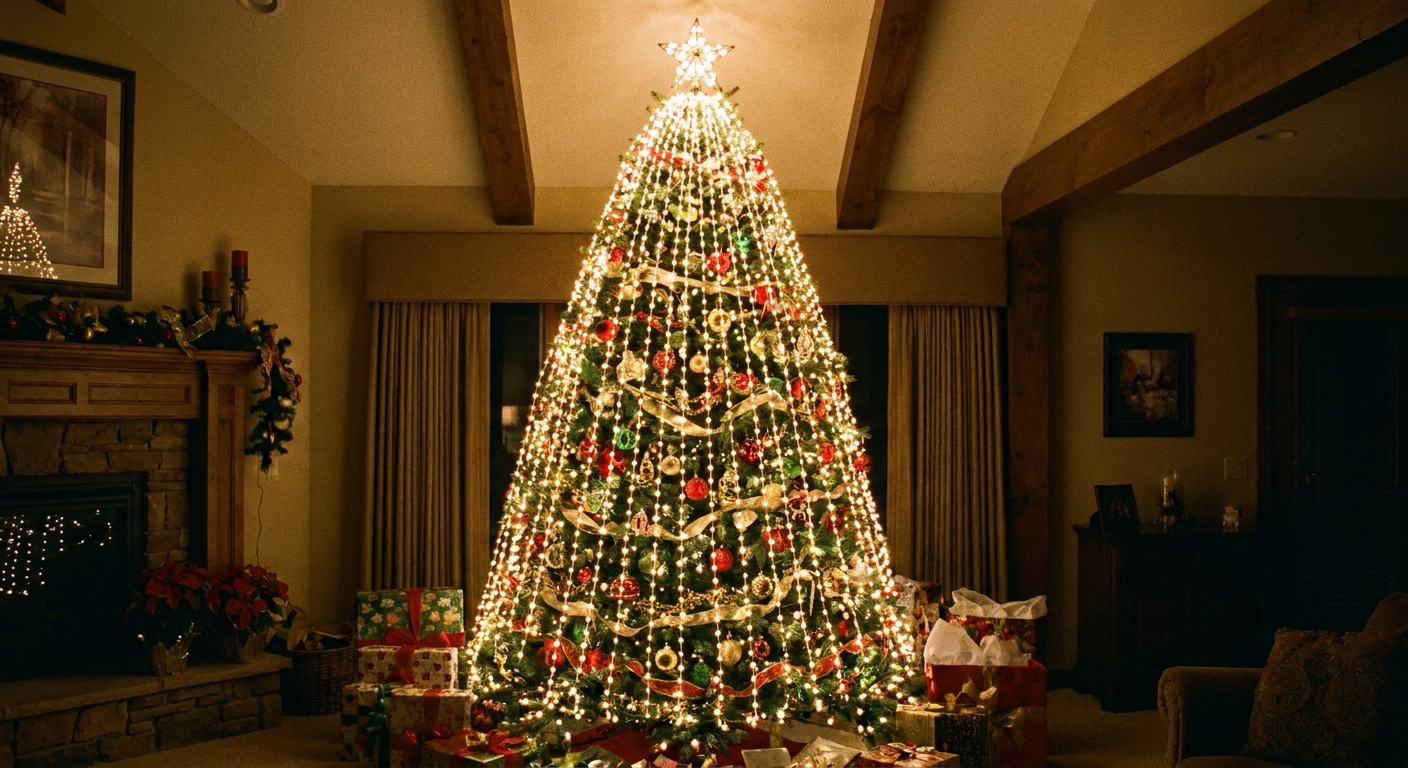
Step-by-step: vertical trunk-to-tip lighting
This is the neat, even, easy-to-remove approach.
What you need
- String lights (one or more strands)
- A power strip with a foot switch can make on and off testing easier
- Optional: light clips
1) Start with the plug at the base
Place the plug end near the outlet at the bottom of the tree. Let the strand rest in loose loops as you work so it does not twist.
2) Go up the trunk first (inside the tree)
Feed the strand upward along the inner branches toward the top, lightly nesting the wire near the trunk so it stays hidden. If you are new to this, think: closer to the pole of the tree, not the tips. This creates depth and saves your prettiest bulbs for the outer tips.
3) Make your first vertical column
From near the top, choose a “slice” of the tree. Work downward in a gentle in-and-out rhythm:
- In toward the trunk (to light the inner tree)
- Out toward the tips (to light the ornaments and ribbon zone)
Keep the strand snug against branches, not pulled tight. Tension is what causes sliding, sagging, and tangles later.
4) Move to the next section and repeat
After reaching the bottom, move over to the next branch cluster (or about 6 to 10 inches on an average full tree) and create another column upward or downward, whichever feels simplest with your strand length. Continue around the tree until coverage looks even.
5) Fill gaps like a little glow detective
Plug in for a quick test. Look for:
- Dark pockets deep inside the tree
- Bright clumps where bulbs are too close together
- Dead zones on the back side (easy to miss)
Unplug again, then nudge a few bulbs deeper or outward to balance the sparkle.
6) If you run out early (or have extra)
If a strand ends mid-column, do not force it to reach. Tuck the last few bulbs closer to the trunk, then start a new strand near that spot and overlap a few lights so the transition looks seamless. If you have extra length, “spend” it by dipping into the trunk area on a few sections that look a little flat.
7) Finish at the base with a tidy path to the outlet
Any extra slack should be gently nested behind lower branches near the trunk. Keep cords away from water in the stand and avoid pinching wires under the tree skirt.
Step-by-step: horizontal trunk-to-tip lighting
This is the familiar spiral, but with trunk-to-tip depth added so it looks fuller than an outer-only wrap.
1) Choose your direction
- Top to bottom: helps hide the starting point and keeps the topper area neat.
- Bottom to top: can feel easier physically, especially on taller trees.
2) Spiral with depth
As you wrap around the tree, do a quick trunk-to-tip dip on every major branch cluster:
- Tuck a bulb or two near the trunk
- Then bring the strand back toward the tips before continuing the spiral
3) Keep your rows evenly spaced
A common frustration with horizontal wrapping is a bright band on one side and a dim band on the other. To prevent that, pause every quarter turn and look at the spacing from a few steps back.
The biggest tangling mistakes (and the easy fixes)
Mistake: carrying a bundled strand around the tree
Fix: Set the strand down in loose loops and pull from one end as you go. Bundles create twists, and twists become knots.
Mistake: wrapping too tightly
Fix: Let the wire rest on branches with light contact. Tight wrapping makes removal harder and increases the chance of snagging.
Mistake: only lighting the outside surface
Fix: Commit to trunk-to-tip dips. Even a little interior lighting makes the whole tree look richer and reduces the urge to overwrap the outside.
Mistake: adding lights after garland and ribbon
Fix: In most styles, lights look best first, then ribbon, then picks and ornaments. If you love heavy ribbon drapes, lighting first keeps wires from getting trapped.
Special situations
Pre-lit trees with dark sections
You can still use trunk-to-tip to blend in extra sparkle. Add one strand vertically in the dim zone, then lightly weave it into nearby lit sections so the brightness transitions smoothly.
Heavy ornaments
If your decorating plan includes heavier ornaments, focus on creating an even foundation of lights first, then build out your theme. For more on tree support and ornament weight, visit Real vs Artificial Christmas Trees for Heavy Ornaments.
Small spaces and slim trees
Vertical lighting is especially pretty on pencil trees because it emphasizes height and creates a clean glow line. If you are working with a tight footprint, you might also enjoy 15 Space-Saving Alternative Christmas Tree Ideas for Small Apartments.
How to take lights off without creating a knot monster
The best way to prevent tangles next year is a calm removal routine this year.
- Unplug and let the strand rest for a minute so it relaxes.
- Reverse your method. If you went vertical, remove by columns. If you spiraled, unspiral.
- Make hand-sized loops. Gather the strand in even loops (not tight coils), then secure with a soft tie.
- Store in a shallow bin. Avoid stuffing lights into a deep box where they can cinch into knots.
Quick glow FAQ
Should lights go on the tree before ornaments?
Yes. Lights first gives you depth, hides wires, and makes ornaments sparkle instead of competing with a tangle of cords.
Do you start at the top or bottom?
Either can work. For vertical trunk-to-tip, many decorators find it easiest to start with the plug at the base and run up the trunk, then work down in columns. The best choice is the one that keeps the plug end close to your outlet and your strand untwisted.
Why do my lights look uneven even when I used a lot?
Usually it is not the quantity. It is placement. Pull some bulbs inward toward the trunk to add depth, then bring a few outward to the tips to balance bright spots.
Is vertical lighting really easier?
For most trees, yes. It is simpler to adjust, simpler to remove, and it naturally encourages that trunk-to-tip depth that makes a tree look professionally lit.
A final sprinkle of encouragement
If the first pass is not perfect, that is completely normal. Plug the lights in, take two steps back, and do a little gentle bulb scooting until the whole tree looks like it’s glowing from the inside out. That’s the trunk-to-tip magic.