Let’s gather some sparkle and make your home merry and bright! A gorgeous Christmas tree does not come from a huge budget. It comes from a simple plan, a tight color palette, and a few clever tricks that make your tree look fuller, more luminous, and more intentional from top to bottom.
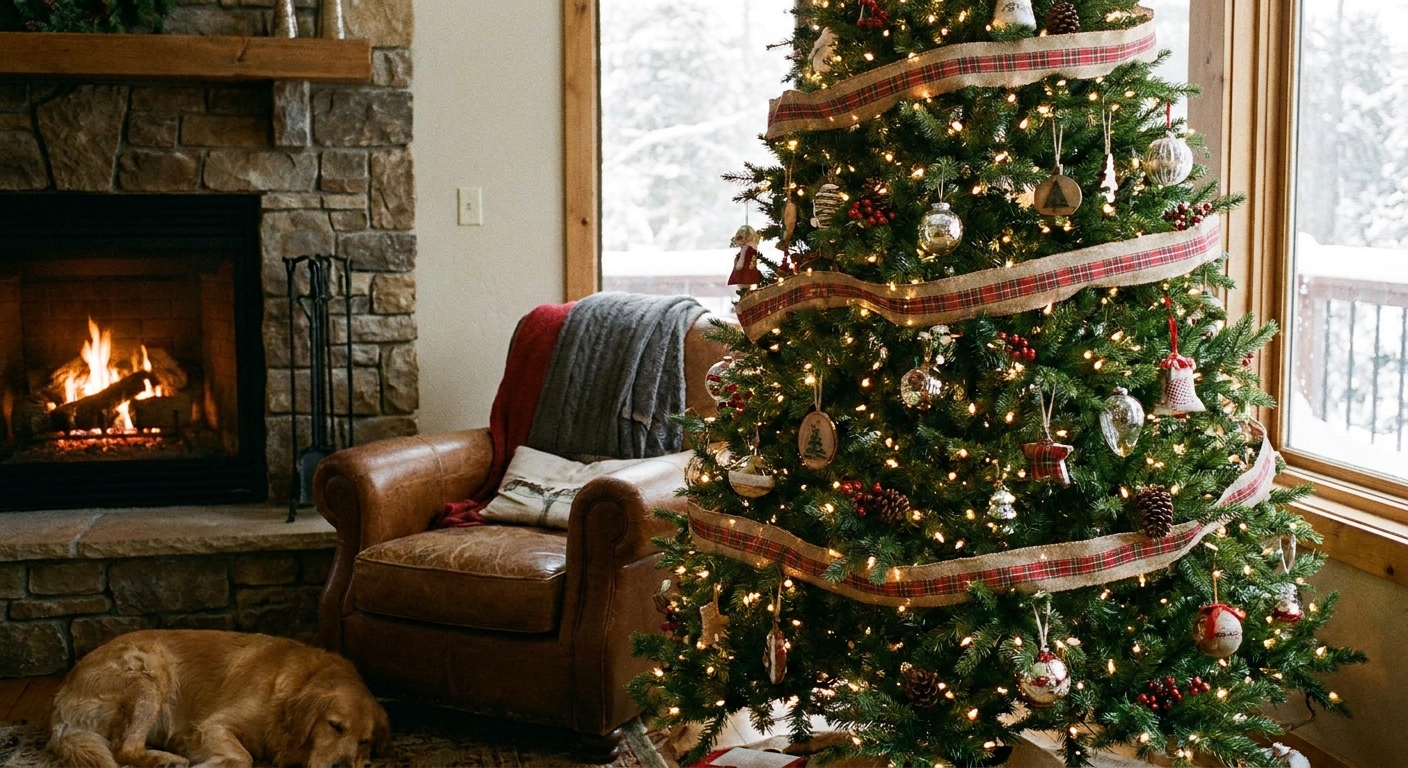
The $50 game plan
The secret to a budget tree that looks expensive is deciding, up front, what matters most. Use this simple split to guide your cart.
- $15 to $25: Lights (or extra lights) and one “unifier” that ties everything together, like ribbon or bead garland.
- $15 to $20: Ornaments that fill space fast (shatterproof balls, simple shapes, repeats).
- $5 to $10: DIY supplies and branch fillers (floral picks, pipe cleaners, craft paint, wire, or small stems).
Little reality check: This plan is written for a typical 6 to 7.5 foot tree, using discount stores, sales, and a few “already-owned” basics (like a topper, a handful of ornaments, or last year’s lights). Prices and quantities can swing a lot by location and timing, so treat the ranges as a flexible guide, not a guarantee.
If you already own lights, a topper, or even a few ornaments, treat that as found money and move those dollars into ribbon, picks, or an upgraded tree skirt alternative.
Pick a simple theme
When the palette is tight, inexpensive ornaments stop looking random and start looking curated. Pick one of these budget-friendly themes and commit to it.
- Classic red, gold, and green: Gold ribbon plus red ornaments does a lot of heavy lifting.
- Snowy woodland: White, cream, and wood tones with pinecones and a few metallics.
- Glam on a dime: One metallic family (gold or silver) plus one accent color (like cranberry or navy).
- Candy cozy: Red and white with peppermint stripes in ribbon and a few playful ornaments.
Want more theme inspiration? Wander through Christmas Trees & Themes for more cozy directions to take your tree.
Make your tree look full first
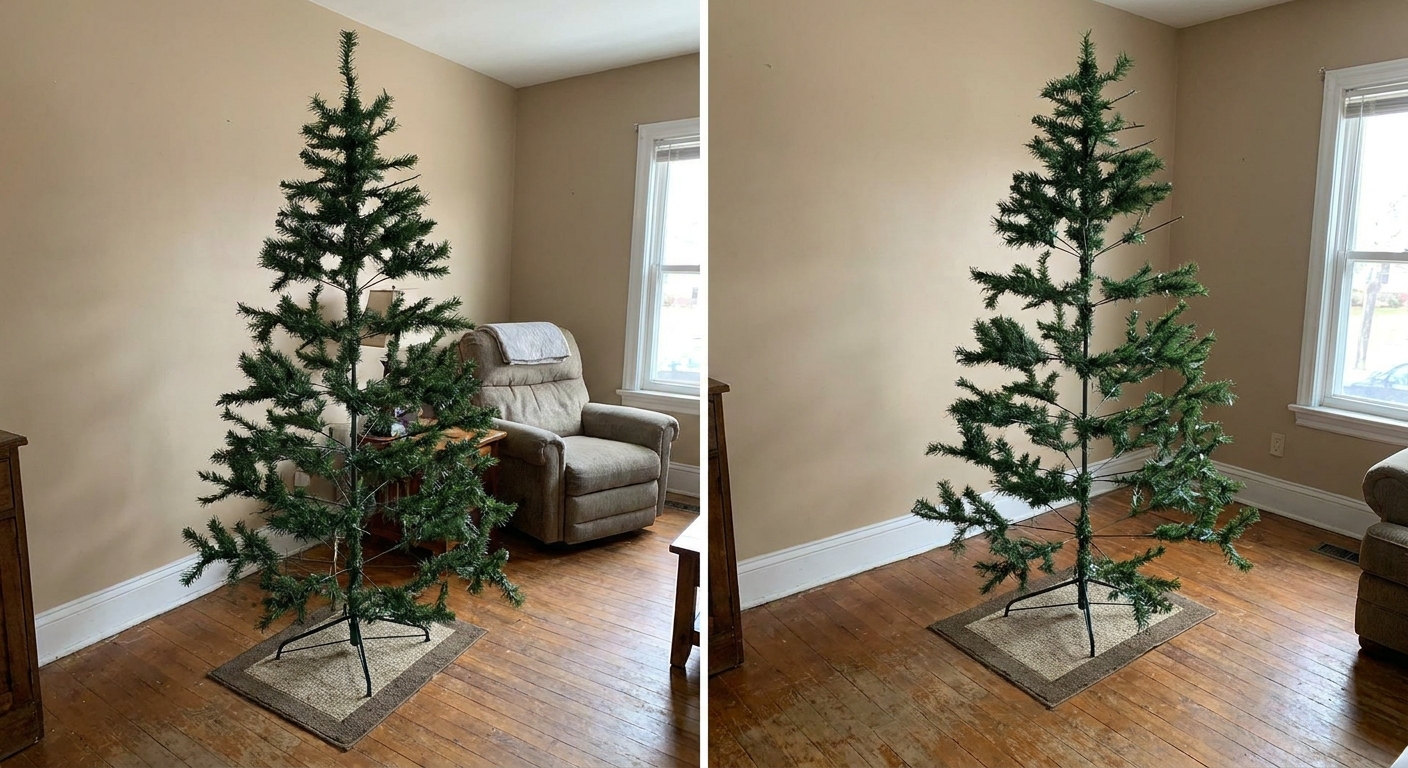
1) Fluff like a stylist
Budget trees usually look sparse because the branches are pointing in the same direction. Spread each branch tip outward and forward so the tree gains depth. Work in sections from the bottom up, turning the tree as you go.
2) Hide gaps with cheap greenery and picks
When branches are thin, you do not need more ornaments first. You need more texture.
- Dollar store floral picks: Tuck them deep into holes to create shadow and fullness.
- Pinecone picks: Great in clusters of 2 to 3.
- Simple stems: Eucalyptus, frosted leaves, or berry sprigs add volume fast.
3) Use the back strategically
If your tree sits in a corner, do not spend your budget decorating the hidden side. Place fewer ornaments in the back and push your best pieces to the front third where they will shine.
Lights first
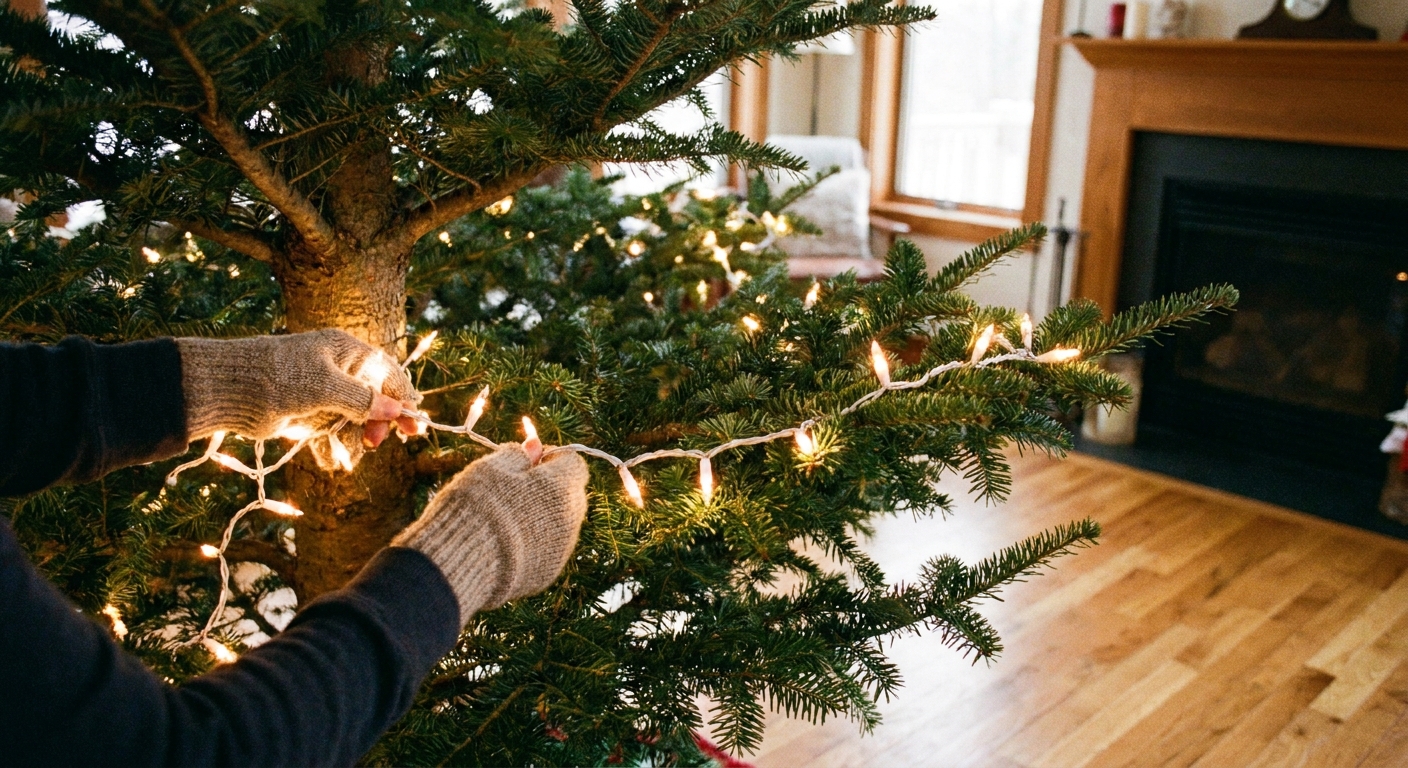
Lights are what make a budget tree look magical at night. If your tree looks dim or patchy, add one more strand. The glow makes everything else feel richer.
- Warm white: Cozy and forgiving. It makes mixed metals and thrifted ornaments look unified.
- Multicolor: Nostalgic and cheerful. Keep ornaments simpler so the color show stays the star.
Quick wrapping trick: Start at the trunk and weave outward toward the tips, then back toward the trunk. This creates depth because lights are visible inside the tree, not just on the surface.
Helpful range: For a 6 to 7.5 foot tree, many people use about 600 to 1,000 lights total depending on branch density and how glowy you like it. If your tree already has lights, one extra strand is often enough to boost the sparkle.
Ribbon that looks high-end
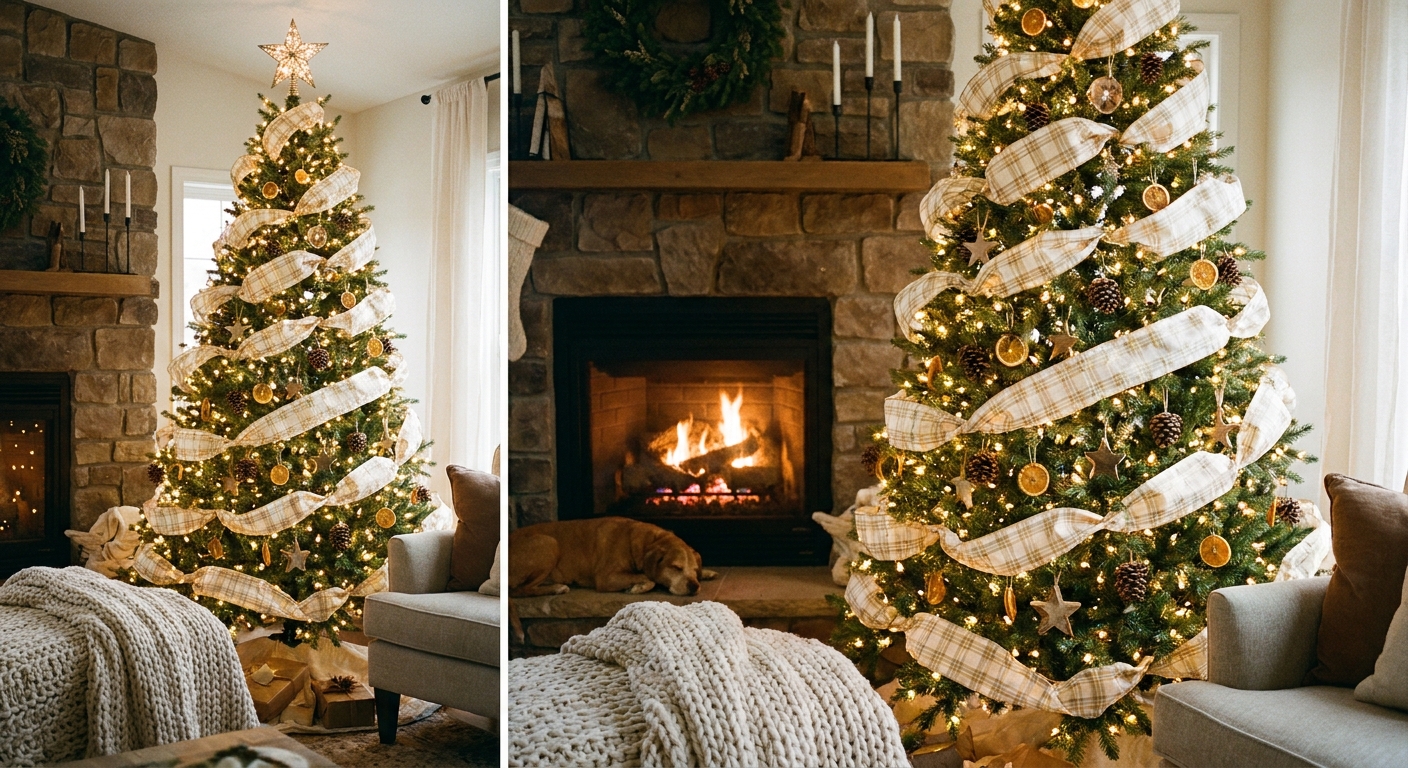
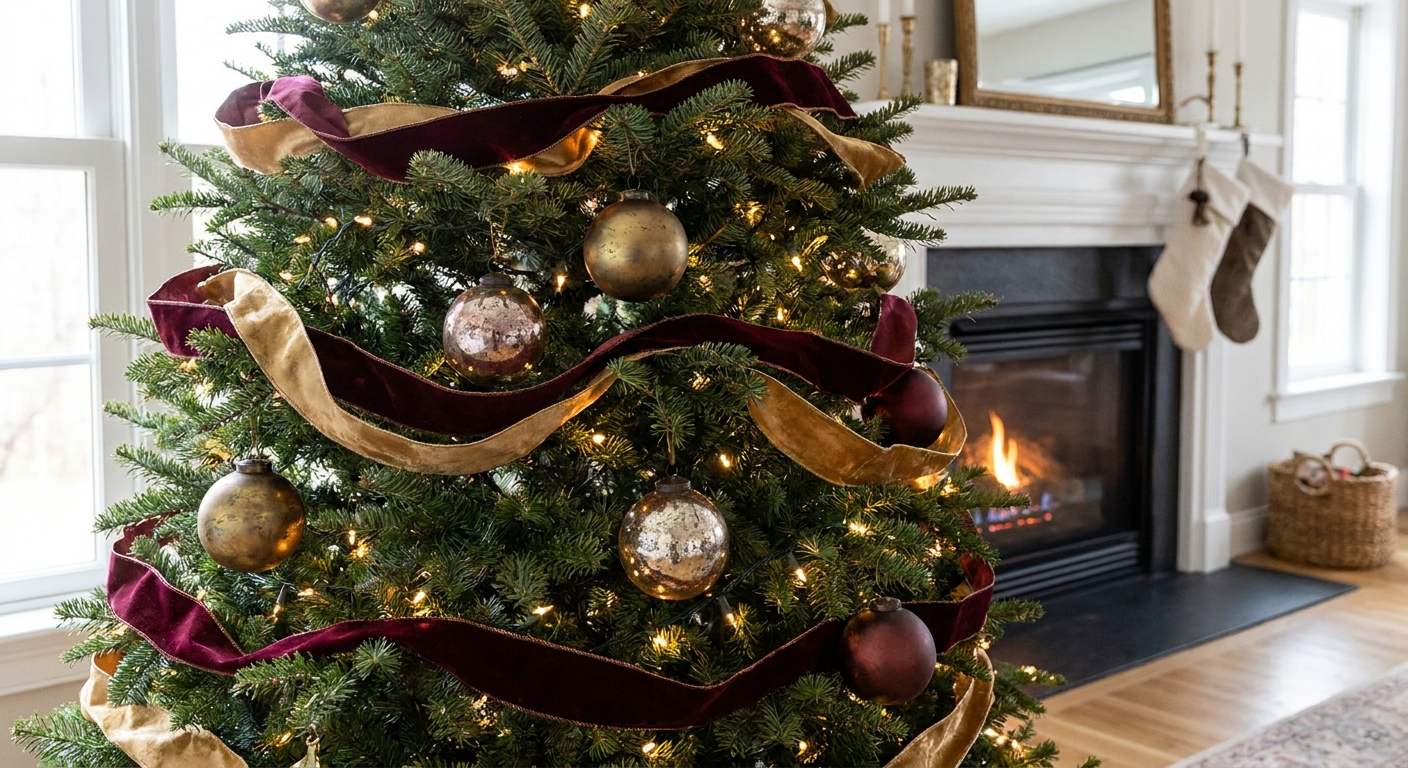
Ribbon is the easiest way to make a tree look custom. It fills space, adds movement, and hides gaps better than ornaments alone.
Two budget-friendly ribbon styles
- The tuck method (no measuring): Cut 12 to 18 inch pieces, pinch the center, then tuck the ends into the branches so it looks like soft loops.
- The simple swirl: Use one long ribbon and weave it in and out around the tree, pushing it deep into the branches every 6 to 10 inches.
Pro-looking combo: Choose one wide ribbon (2.5 to 4 inches) and one narrow ribbon (3/8 to 1 inch). Layering two textures makes even inexpensive ribbon feel elevated.
Ornaments that fill space
A stunning budget tree uses repetition on purpose. Instead of buying lots of different ornaments, buy a few types and repeat them all over.
The low-cost ornament formula
- 60%: Basic ball ornaments in 2 to 3 finishes (matte, shiny, glitter). These fill space fast.
- 30%: Statement shapes in the same palette (snowflakes, stars, icicles, pinecones).
- 10%: Sentimental or special pieces you already have (or a few thrifted standouts).
Scale matters more than price
To make a tree look designed, mix sizes:
- Small: 1.5 to 2 inches for filling gaps near the tips.
- Medium: 2.5 to 3.5 inches for most of the tree.
- Large: 4 to 6 inches used sparingly to create moments.
Quick sanity-check: A 6 to 7.5 foot tree often looks nicely filled with roughly 40 to 70 ornaments, depending on size and how much ribbon and pick filler you use.
Dollar store upgrades
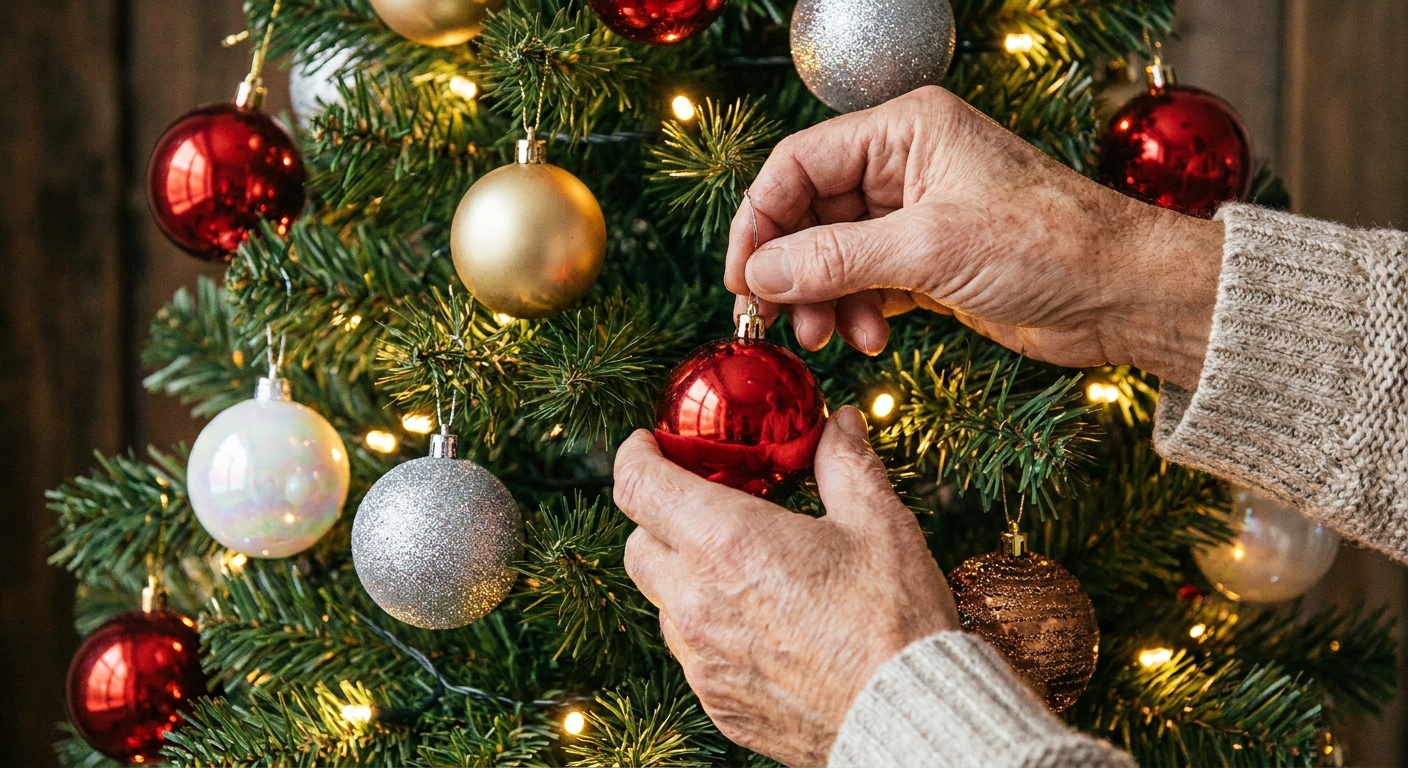
These are the kind of small tweaks that make budget finds look intentional on the tree.
- Make cheap ornaments look pricey: Group them in clusters of 3, tucked close together instead of evenly spaced.
- Use pipe cleaners as ornament hooks: They grip branches and help keep ornaments from drooping forward.
- Paint to unify: If you find mismatched ornaments, a quick coat of spray paint in one metallic tone can pull everything together. Let pieces fully cure and air out before bringing them indoors.
- Bead garland alternative: Look for simple plastic bead strands, then double them up for a fuller drape.
Easy DIY ornaments
DIY is perfect when you need volume, not complexity. Keep it simple and repeat the idea across the tree.
Cinnamon salt dough ornaments
- Mix: 2 cups flour, 1 cup salt, 2 tablespoons cinnamon, 3/4 cup water (add slowly).
- Feel: The dough should feel like playdough. If it is crumbly, add water 1 teaspoon at a time. If it is sticky, dust in a little flour.
- Cut: Roll to 1/4 inch thick, cut shapes, poke a hanging hole with a straw.
- Dry: Air dry 24 to 48 hours, or bake at 200 to 250°F until hard, checking every 20 to 30 minutes.
- Finish: Tie with twine or ribbon scraps.
Ribbon bow ornaments
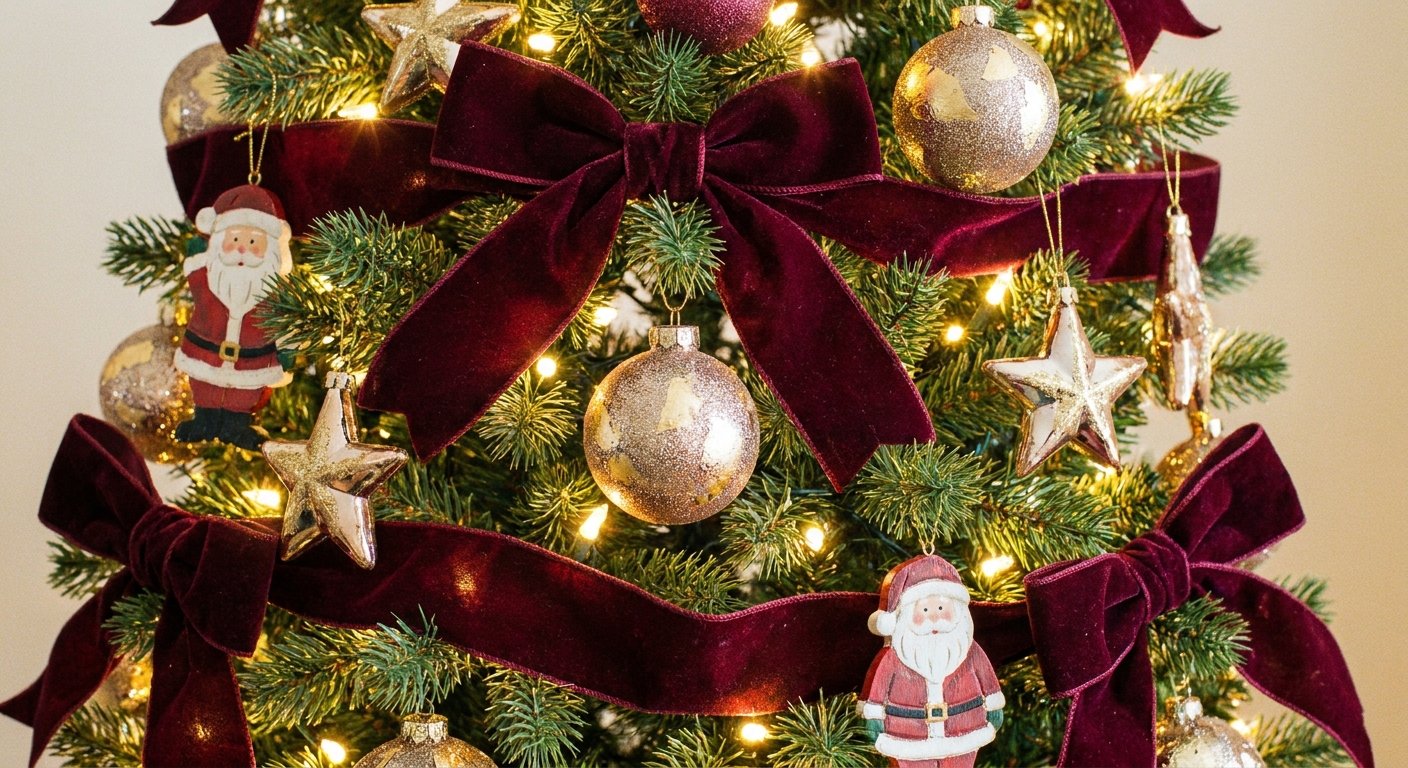
Cut ribbon, tie simple bows, then attach to the tree with twist ties or pipe cleaners. Make 10 to 20 bows in the same ribbon for a designer look on a tiny budget.
Pinecone glam
Brush pinecones lightly with white craft paint, or dab glue on the tips and sprinkle with glitter. Add a small loop of string for hanging.
Decorate step by step
- Fluff and shape the tree from bottom to top.
- Add deep filler picks to plug holes and build dimension.
- Wrap lights with depth, weaving in and out.
- Add ribbon next so it can help hide gaps.
- Hang large ornaments first, spaced out to create focal points.
- Fill with medium ornaments to build the main pattern.
- Tuck in small ornaments right at the end to erase empty spots.
- Topper last so it feels balanced with the final fullness.
A realistic $50 list
Prices vary by store and season, but this gives a smart structure for building a full look without overspending, especially if you are mixing in what you already have.
| What to buy | Why it matters | Budget range |
|---|---|---|
| 1 strand of warm white lights (if needed) | Upgrades the whole tree instantly | $10 to $20 |
| 1 to 2 spools of ribbon (wide plus narrow) | Fills gaps and looks custom | $8 to $16 |
| Shatterproof ornament set (single color family) | Fast fullness and repeat pattern | $10 to $18 |
| 6 to 12 picks (pinecone, berries, frosted leaves) | Adds depth and designer texture | $6 to $12 |
| DIY supplies (twine, paint, pipe cleaners) | Fixes droop, ties theme together | $2 to $6 |
Topper and skirt on a budget
Easy topper ideas
- Big bow: One wide ribbon plus one narrow ribbon layered together looks dramatic and cozy.
- Star or snowflake: A simple metallic topper looks timeless in any theme.
- Branch spray cluster: Three tall picks gathered at the top can feel like a boutique tree.
Tree skirt alternatives
- Woven blanket or throw in cream, plaid, or chunky knit texture.
- Brown kraft paper gently crumpled and layered for a rustic look.
- Simple basket collar look: If you already have a large basket, place it around the base for warmth and structure.
Fix common problems
“My tree looks sparse.”
Add ribbon and picks before adding more ornaments. Those two elements create fullness faster than buying another ornament pack.
“My ornaments look messy, not curated.”
Remove half, then rebuild in clusters. Repeat the same few styles across the tree rather than spreading every different ornament evenly.
“My lights disappear.”
Weave lights deeper and add a second strand. Depth lighting makes the tree glow from within.
“Everything slides forward.”
Use pipe cleaners or ornament wire so pieces stay exactly where you place them, especially on thinner artificial branches.
Quick safety notes
- LED lights run cooler and are generally a smart choice for a cozy, all-evening glow.
- Do not overload outlets: Follow the light manufacturer’s guidance for connecting strands, and use a quality surge protector when you can.
- Let paint and glue cure fully before hanging pieces indoors, especially if you have curious kids or pets nearby.
Keep it cozy
A $50 tree can still feel rich, warm, and full of wonder. Choose one theme, layer lights and ribbon for instant polish, then repeat a few ornament styles to build that designer rhythm all the way around.
If you want more budget-friendly holiday magic, hop over to DIY & Budget Decor for more thrifty sparkle, and browse Christmas Trees & Themes for more tree styling ideas.