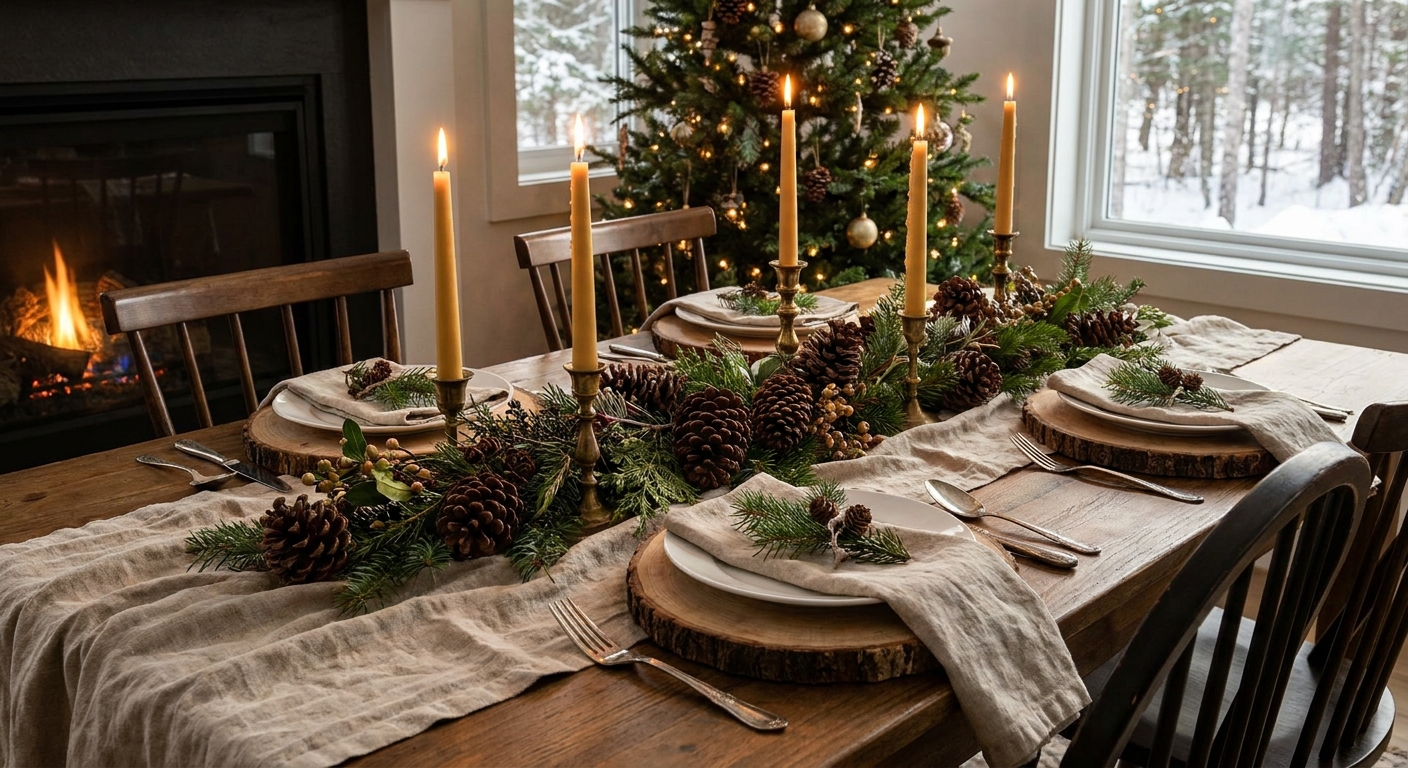
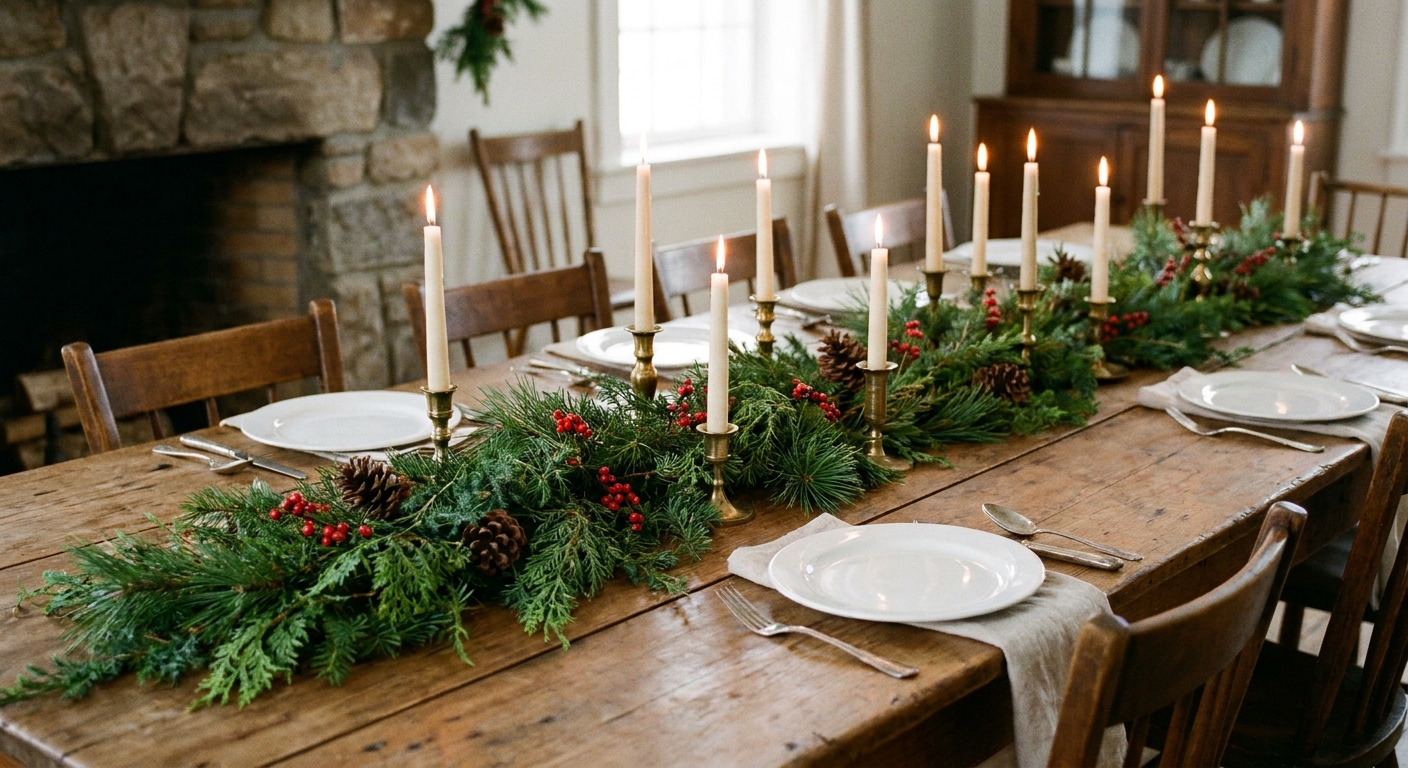
Let's gather some sparkle and make your home merry and bright! Pinecones are one of the coziest free craft supplies in winter, and with a little care, they turn into clean, bug-free, beautifully bright decor for garlands, bowls, wreaths, and centerpieces.
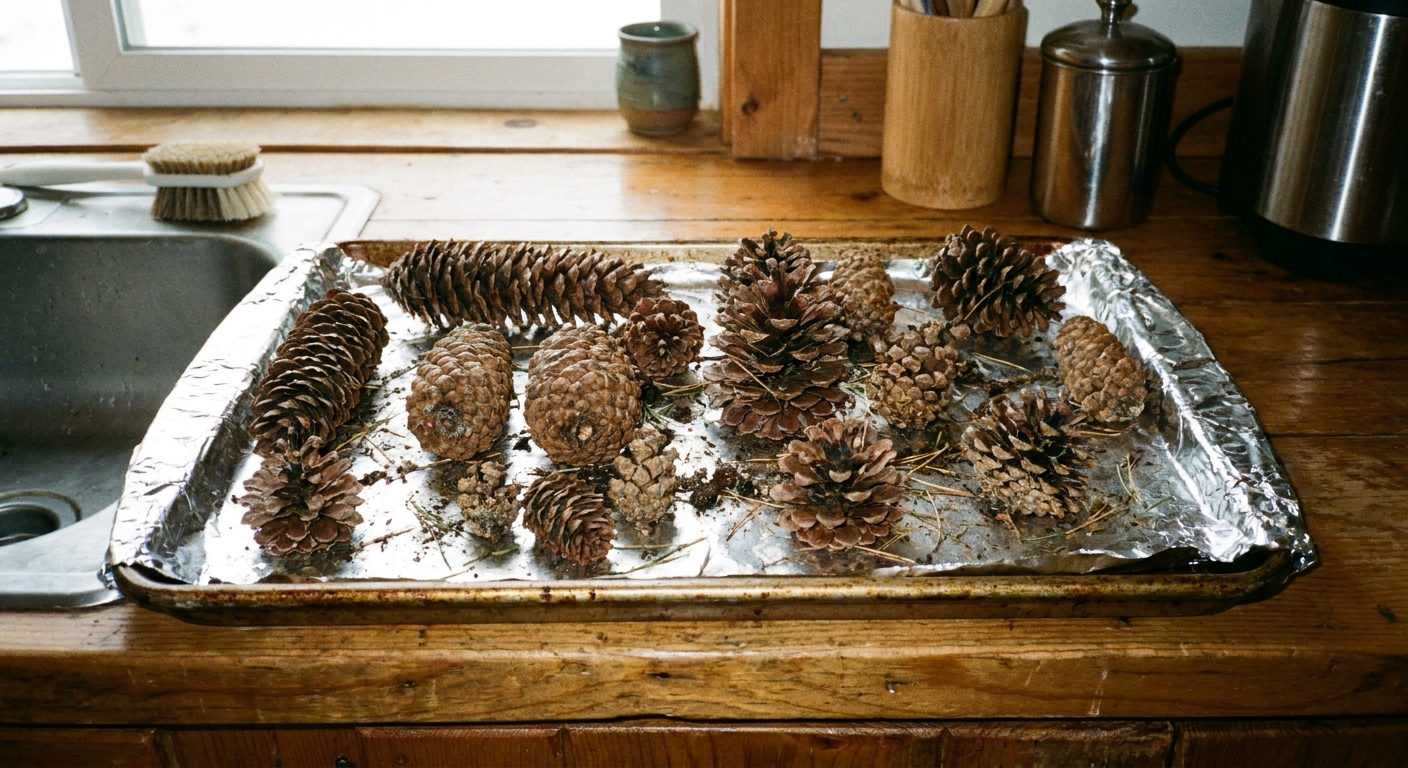
This guide walks through three big steps: foraging, cleaning plus baking to evict hitchhikers, and bleaching to lighten pinecones for snowy winter crafts. Choose the method that fits your time, your comfort level, and the look you want.
Quick safety notes
- Heat and chemicals both come with risks. Keep children and pets away from the work area and drying pinecones.
- Ventilation matters. If you bleach, work outdoors whenever possible. If you must work inside, open windows and use a fan.
- Protect surfaces. Pinecones can leak sap and tannins that stain. Use a tray, old towel, or kraft paper.
- Never mix cleaners. Do not combine bleach with vinegar, ammonia, or other cleaners.
- Food separation. If you bake pinecones, avoid preparing food at the same time. Use foil, and wash the pan well afterward.
Step 1: Forage pinecones
Where to look
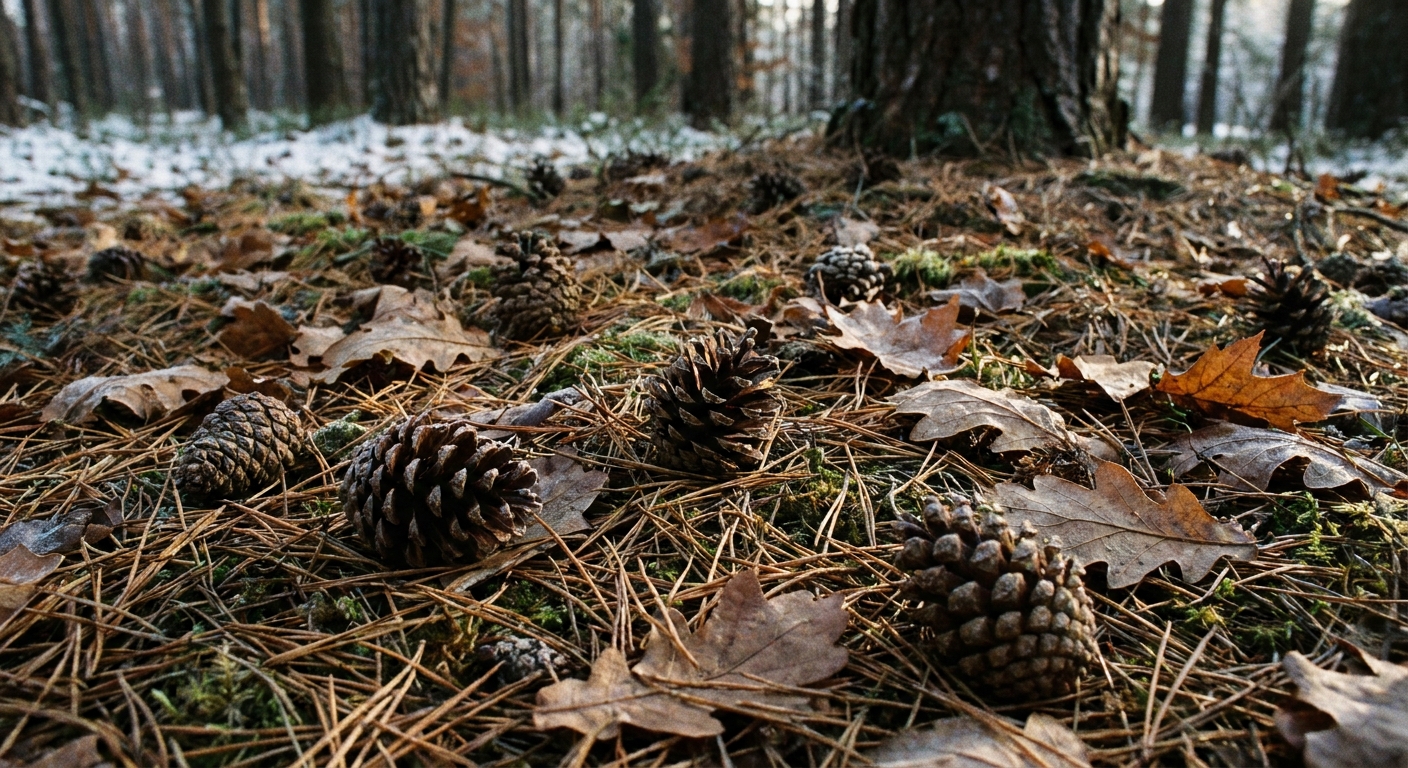
Look for pinecones on the ground under pine trees in parks, wooded yards, and forest edges where gathering is allowed. Aim for cones that are intact and not crumbling.
Pick the best cones
- Choose dry, firm cones. They should feel woody, not soft or spongey.
- Skip cones with visible mold. A little dirt is fine. Fuzzy growth is not.
- Check for sap. Sticky sap can attract lint and make paint resist. A small amount is manageable, but heavily sappy cones are fussy.
- Size variety is a win. Small cones fill gaps in bowls and garlands, large cones anchor arrangements.
Foraging etiquette
- Gather from the ground, not from branches.
- Take a little, leave a lot. Wildlife uses pinecones and seeds.
- If you are in a managed park, check posted rules before collecting.
Step 2: Clean pinecones
Cleaning removes dirt, pollen, and loose debris so your final finish looks crisp.
What you need
- Large bucket or sink
- Warm water
- Dish soap
- Old toothbrush or small scrub brush
- Old towel, drying rack, or wire cooling rack
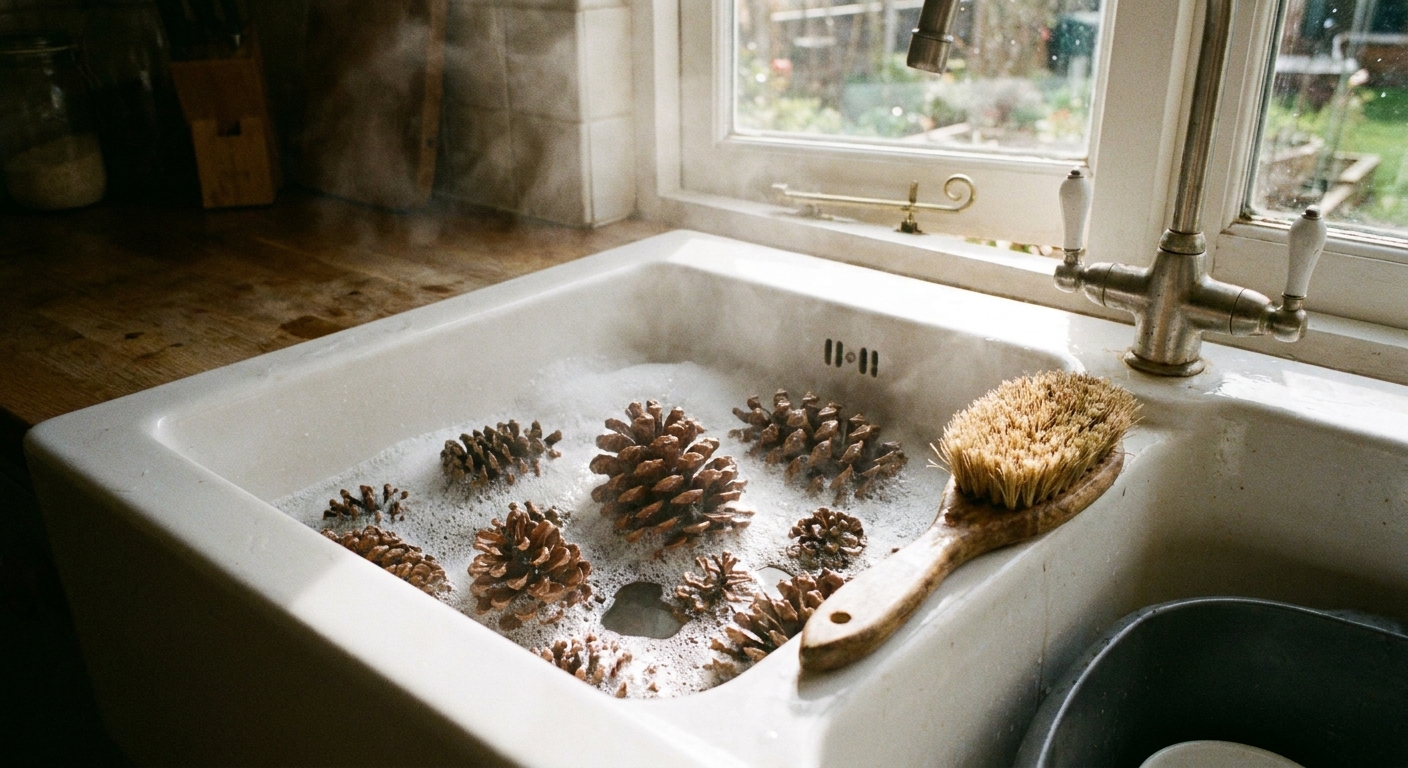
How to wash
- Shake and tap first. Outside, tap cones together or against a railing to knock loose dirt out.
- Make a soapy bath. Fill a bucket or sink with warm water and a small squirt of dish soap.
- Swish and scrub. Dunk cones and gently scrub where dirt collects between scales.
- Rinse well. Rinse until water runs clear.
- Drain and towel dry. Set cones on towels or racks.
Washing can close pinecones
Pinecones open and close with moisture. After washing, many cones will close up. That is normal. They re-open as they dry and especially once warmed in the oven.
Step 3: Bake pinecones
If pinecones are going indoors, baking is a popular step to help remove insects and eggs tucked under the scales. It also speeds up drying and encourages cones to open.
What you need
- Oven
- Rimmed baking sheet
- Aluminum foil or parchment paper
- Tongs or heat-safe gloves
Temperature and timing
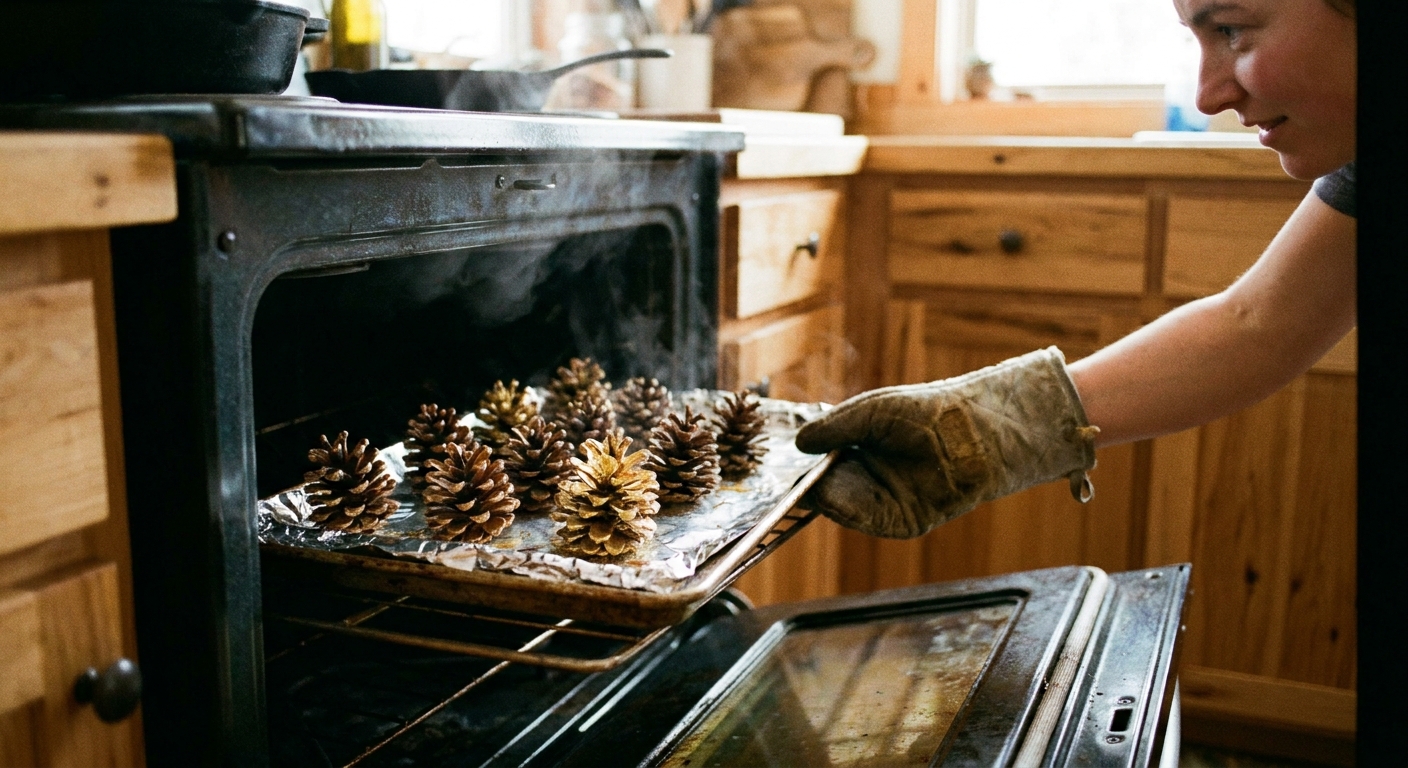
A gentle bake works best. Use 200 to 225 F and plan for 45 to 90 minutes, depending on cone size and moisture. Larger, wetter cones take longer.
How to bake
- Preheat the oven. Set it to 200 to 225 F.
- Line the pan. Use foil or parchment for easy cleanup.
- Arrange in a single layer. Leave space so air can circulate.
- Bake and monitor. Check every 15 to 20 minutes. Pinecones are flammable if overheated or left unattended.
- Cool completely. Let them cool on the pan, then move to a rack.
What to expect
- They will open. Heat helps scales spread.
- You may see sap. Some cones ooze sap when warmed. Occasionally sap can smoke a little, so keep the heat low and your eye on the oven.
- There may be a pine scent. Pleasant to many people, but airflow helps.
Little Sprig reminder: never walk away from baking pinecones. Stay close and keep the heat low.
Step 4: Bleach pinecones
Bleaching can lighten pinecones to a soft driftwood tone or a brighter winter look, depending on the method and the cone. Some species barely lighten and most cones will never look perfectly uniform, painted-white. If you want true bright white, consider a quick dry-brush of white acrylic paint after your cones are fully dry.
Important: Do not bake pinecones that still smell like bleach. If you bleach, rinse thoroughly and let them dry completely before any low re-bake to re-open the scales.
Option A: Bleach soak
What you need
- Regular unscented household chlorine bleach
- Water
- Plastic bucket or disposable tub
- Old plate or a small rack to hold cones under the surface
- Gloves and eye protection
Mixing ratio
A common starting point is 1 part bleach to 2 parts water. For a gentler soak, try 1 part bleach to 3 parts water. Stronger mixes can lighten faster but can also weaken cones.
Soak steps
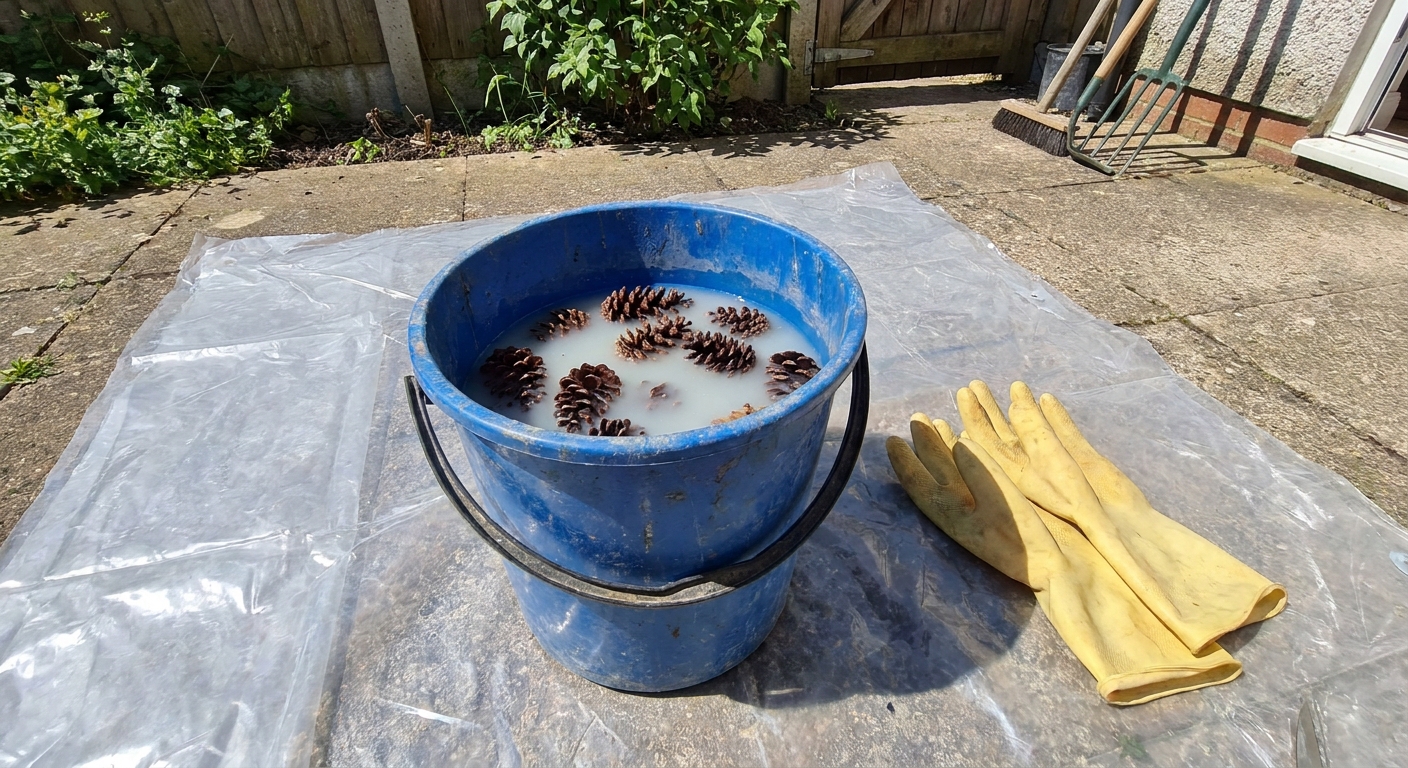
- Place cones in the tub. Add enough solution to cover them.
- Weigh them down. Cones float. Use an old plate to keep them submerged.
- Soak overnight for real lightening. For that soft driftwood to winter-white look, plan on 12 to 24 hours. Some cones, especially large or resin heavy ones, can take up to 48 hours.
- Check at 12 hours, then again at 24. Lift one cone, rinse a small spot, and peek at the true color. Wet cones can look darker than they will when dry.
- Rinse thoroughly. Rinse until water runs clear. Give them a few good rounds of fresh water.
- Dry completely. Drying can take 24 to 72 hours depending on airflow.
What will happen to the shape
Soaking usually makes pinecones close. Once they dry, they begin opening again. If you want them fully open after bleaching, you can do a short, low oven warm-up once they are rinsed and mostly dry.
Option B: Dab-on bleach wash
If you like a frosty highlight rather than a deeply lightened cone, skip spraying. Chlorine bleach is not something you want floating around as a fine mist. A dab-on method gives you more control with less airborne irritation.
How to do it
- Work outdoors on a protected surface, wearing gloves and eye protection.
- Mix a mild bleach wash. Start with 1 part bleach to 3 parts water. You can go a little stronger if you need to, but start gentle.
- Dab, do not mist. Use a sponge brush, old paintbrush, or rag to dab the wash onto the tips and outer edges of the scales.
- Let it sit briefly. Wait 5 to 10 minutes for subtle lightening.
- Rinse thoroughly. Rinse under running water, then rinse again. You want as little residue as possible.
- Dry fully. Set on a rack with good airflow.
Dry pinecones
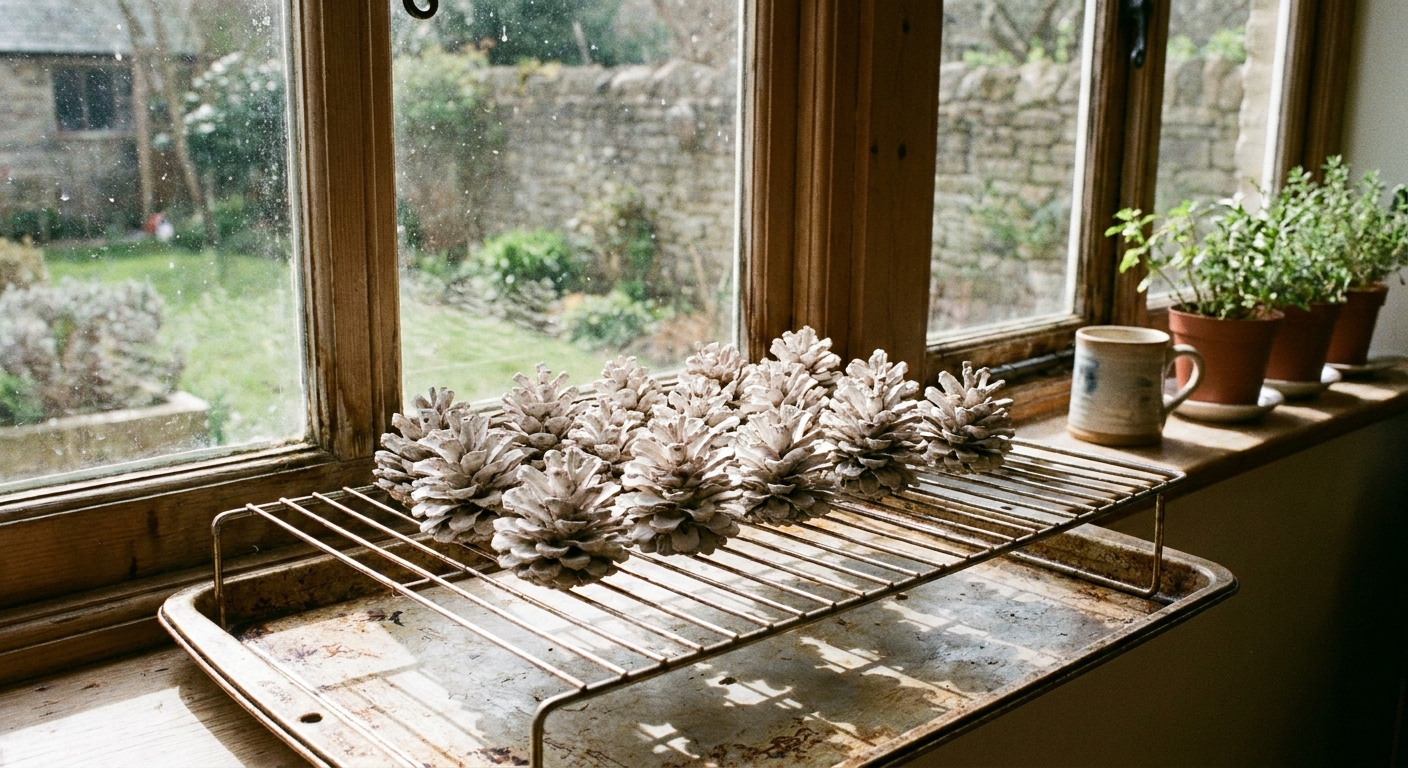
Drying is where pinecones become their prettiest selves. Good airflow is the secret.
Best drying setups
- Wire rack over a tray: air circulates around the cones.
- Single layer on towels: rotate cones and swap towels if they get damp.
- Warm, dry room: avoid humid bathrooms or damp basements.
How long does drying take?
- Washed only: 24 to 48 hours
- Bleach soaked: 48 to 72 hours, sometimes longer for large cones
- After baking: often ready the same day, once cooled
If they will not open again
- Give them more time. A damp center keeps them closed.
- Try a short, low oven warm-up at 200 F for 15 to 25 minutes once they are mostly dry.
- If you bleached them: only do this after a thorough rinse and full dry. If you can smell bleach, do not bake.
Seal pinecones
Sealing is optional, but it helps with longevity, shedding, and sap tackiness.
When sealing helps most
- If cones will sit in a bowl that gets bumped often
- If you are adding glitter and want it to stay put
- If cones feel slightly tacky from sap
- If cones are going into a wreath or swag that will be stored and reused
Simple sealing options
- Clear matte spray sealer: keeps a natural look.
- Clear gloss spray: makes cones look richer and slightly wet, like a fresh forest morning.
- White glue wash: mix a little glue with water and brush on lightly for a budget-friendly seal. Let dry fully.
Ventilation note: sprays should be used outdoors or in a very well ventilated area, following the label.
Decor ideas
Once your pinecones are clean, dry, and lightened, they are ready to work their cozy magic.
Fast craft ideas
- Centerpiece bowl filler: add pinecones, ornaments, and fairy lights.
- Nature garland: tie cones onto jute or ribbon for a mantel or staircase.
- Place card holders: tuck a name card between scales.
- Window sill vignette: group cones with candles and greenery.
- Tree accents: hang small cones with ribbon for soft woodland texture.
Pair with these Garland Glow ideas
- Foraged Evergreen Table Runner for a nature-forward tablescape that pinecones love.
- Wrap Wall Art Like Christmas Presents if you want your pinecones to be part of a whole-room cozy moment.
- 15 Budget-Friendly Christmas Centerpieces Under $20 for more ways to build a festive focal point.
Troubleshooting
My pinecones smell musty
Musty usually means they are not fully dry, or they had hidden mold. Give them more airflow and time. If the smell persists after thorough drying, it is best to discard them.
They turned darker after bleaching
Some cones have tannins that can shift color when wet. A rinse and full dry often improves the final shade. For a brighter look, use a shorter soak, then repeat later instead of one long soak.
They are sticky from sap
Low baking can draw out sap. You can spot-clean sticky areas with a little rubbing alcohol on a cloth, then let dry. If stickiness is mild, a clear sealer can help lock it down.
They are shedding tiny bits
That is common with older, brittle cones. A light seal coat reduces shedding, and using cones as bowl filler rather than garland can keep mess to a minimum.
Pinecone checklist
- Forage intact, dry cones
- Shake out debris outdoors
- Wash with warm soapy water, rinse well
- Bake low and slow at 200 to 225 F, monitor closely
- Bleach only if you want a lighter look, then rinse thoroughly and dry fully
- Seal if needed for durability or glitter
Now those pinecones are ready to sparkle through the season, from cozy rustic to snowy and bright. Happy crafting, decorators!