Let's gather some sparkle and make your home merry and bright!
Thrift store Christmas decor is full of hidden gems, and even the most outdated pieces can look charming and modern with a little spray paint, soft snowy texture, and a few simple finishing touches. This guide will help you choose the right candidates, prep them safely, and flip them into decor that feels fresh, cozy, and intentional.
What to Look For at the Thrift Store
The best flips start with the right shapes. Ignore the color for a moment and focus on silhouette, size, and texture. A good candidate looks nice even if it is currently beige, shiny red, or a little scuffed.
Best thrifted pieces to flip
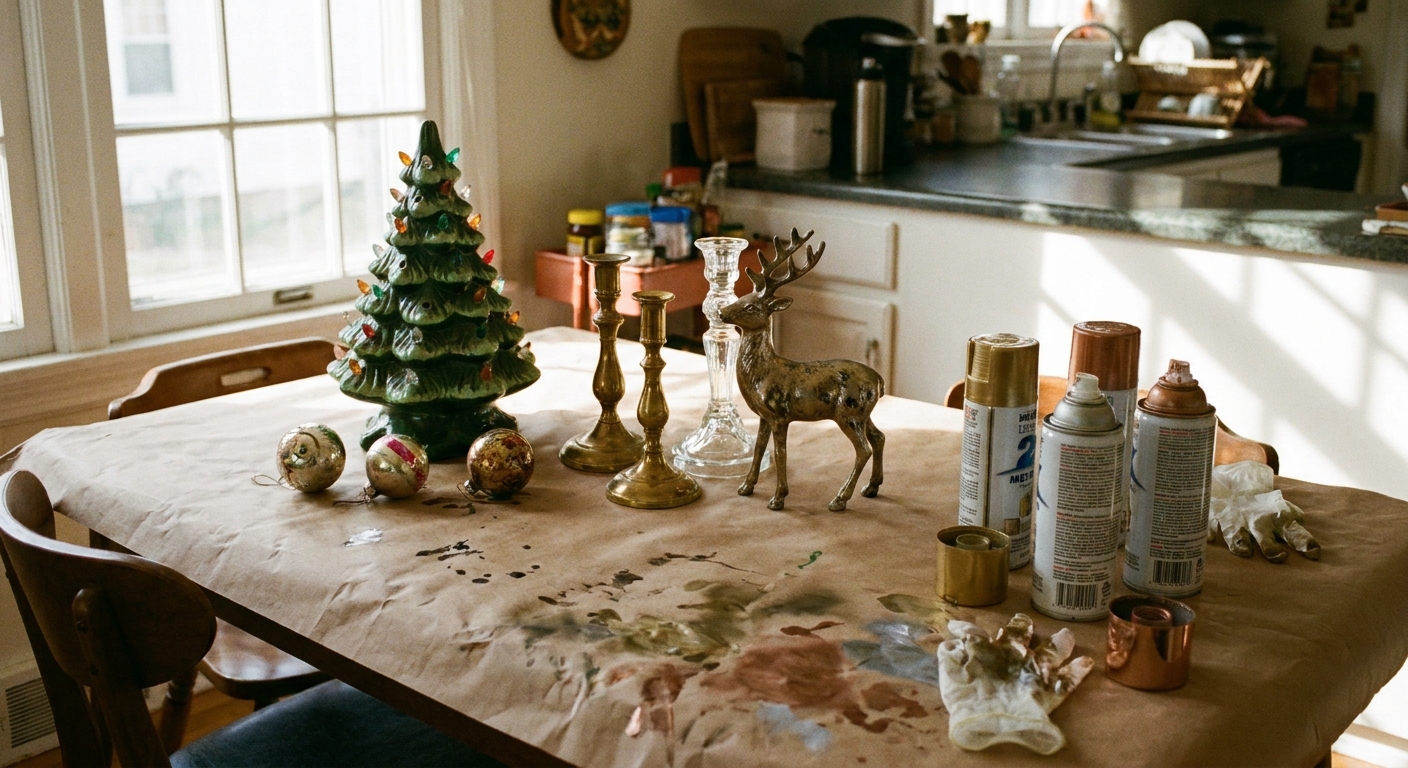
- Ceramic trees (with or without lights)
- Candleholders in brass, wood, or resin
- Nutcrackers and small figurines with crisp details
- Ornament bowls and low trays
- Picture frames that can become holiday signs or gallery wall accents
- Glass vases and jars (great for snowy scenes)
- Mini wreath forms and sturdy garlands that just need a refresh
Quick “outdated” clues (and why they are still worth grabbing)
- High gloss candy colors: easy to calm down with satin metallics, soft white, or muted green.
- Patchy gold: often looks expensive again with one consistent metallic coat.
- Busy glitter: can be sealed, painted over, or used only in small amounts for sparkle.
- Country motifs: can turn “craft fair” into “cozy cottage” with creamy paint, black accents, and natural greenery.
Pieces to skip
- Sticky, shedding glitter that transfers to hands even after tapping.
- Strong musty smell embedded in fabric items you cannot launder.
- Cracked ceramics that wiggle or have sharp edges, especially for tabletop use.
- Very soft plastics that can react poorly with certain sprays.
A Simple Plan Before You Paint
Before any sanding or spraying, decide on a small color story. Matching finishes is the secret to making a group of thrifted items look curated.
Easy modern palettes for flipped finds
- Warm metallics: champagne gold, soft brass, creamy white, and natural wood.
- Winter neutral: satin white, stone, brushed silver, and clear glass.
- Moody evergreen: deep green, matte black accents, and tiny touches of gold.
- Vintage glow: antique gold, soft red, and aged white, with intentional distressing.
If you want a quick styling companion for your finished flips, peek at 15 Budget-Friendly Christmas Centerpieces Under $20 for easy ways to group them on a table.
Prep Like a Pro (Even for $3 Finds)
Paint looks best when it has a clean, grippy surface. Prep is where “spray painted” becomes “store-bought.”
Supplies to gather
- Dish soap and warm water
- Isopropyl alcohol (for final wipe-down)
- Lint-free shop towels or lint-free rags
- Fine sanding sponge (optional but helpful)
- Painter’s tape
- Drop cloth or cardboard
- Primer (especially for glossy or slick surfaces)
Prep steps
- Wash: Clean grime and oils with dish soap and water. Let everything dry fully.
- Scuff (if needed): Lightly sand glossy ceramics, resin, or varnished wood. You are not removing the finish, just dulling the shine.
- Degrease: Wipe with a little isopropyl alcohol to remove any remaining residue.
- Mask: Tape off felt bottoms, light cords, battery compartments, mirrors, or any areas you want to keep paint-free.
- Prime when in doubt: Primer helps paint adhere and prevents chipping, especially on slick surfaces.
Sprig’s safety reminder: Spray paints and sealers are often VOC-heavy and flammable. “Door open” ventilation in a garage or basement is usually not enough. I do this outdoors whenever possible, well away from flames, pilot lights, or anything that can spark. Wear eye protection and gloves, and consider a properly rated respirator with organic vapor cartridges if you are spraying more than a quick touch-up. Always follow the can directions for dry times and disposal.
Material Notes (So Paint Actually Sticks)
A quick match-up between the material and the right prep can save you from chips, tackiness, and that heartbreak moment when a perfect flip peels.
- Ceramic: Clean well, scuff glossy areas, and use a bonding primer if it is slick or heavily glazed.
- Glass: Skip sanding unless you know what you are doing. Clean thoroughly, then use a primer labeled for slick surfaces, and handle gently even after curing.
- Metal: If you see rust, remove it as best you can and use a rust-inhibiting primer before color.
- Resin or plastic: Use an adhesion-promoter primer made for plastic, then apply light coats. This is where “too heavy, too fast” causes the most trouble.
- Old painted items: If you do not know the age, avoid sanding. Older coatings can contain lead. Clean, then prime and paint to encapsulate instead.
Metallic Spray Paint: The Fastest “High-End” Flip
Metallic spray paint is the quickest way to turn mismatched thrift finds into a coordinated collection. The key is thin coats and patience.
How to get a smooth metallic finish
- Shake well: Metallic pigments need extra mixing. Shake for the time listed on the can.
- Spray in the right conditions: Aim for mild, dry weather. Many spray paints behave best around 60 to 80°F with low humidity. Cold or damp air can turn finishes gritty or slow drying.
- Hold the can back: Spray from about 8 to 12 inches away.
- Use light passes: Start spraying off the item, pass across, then stop off the other side.
- Rotate the piece: Let each side dry to the touch before turning it.
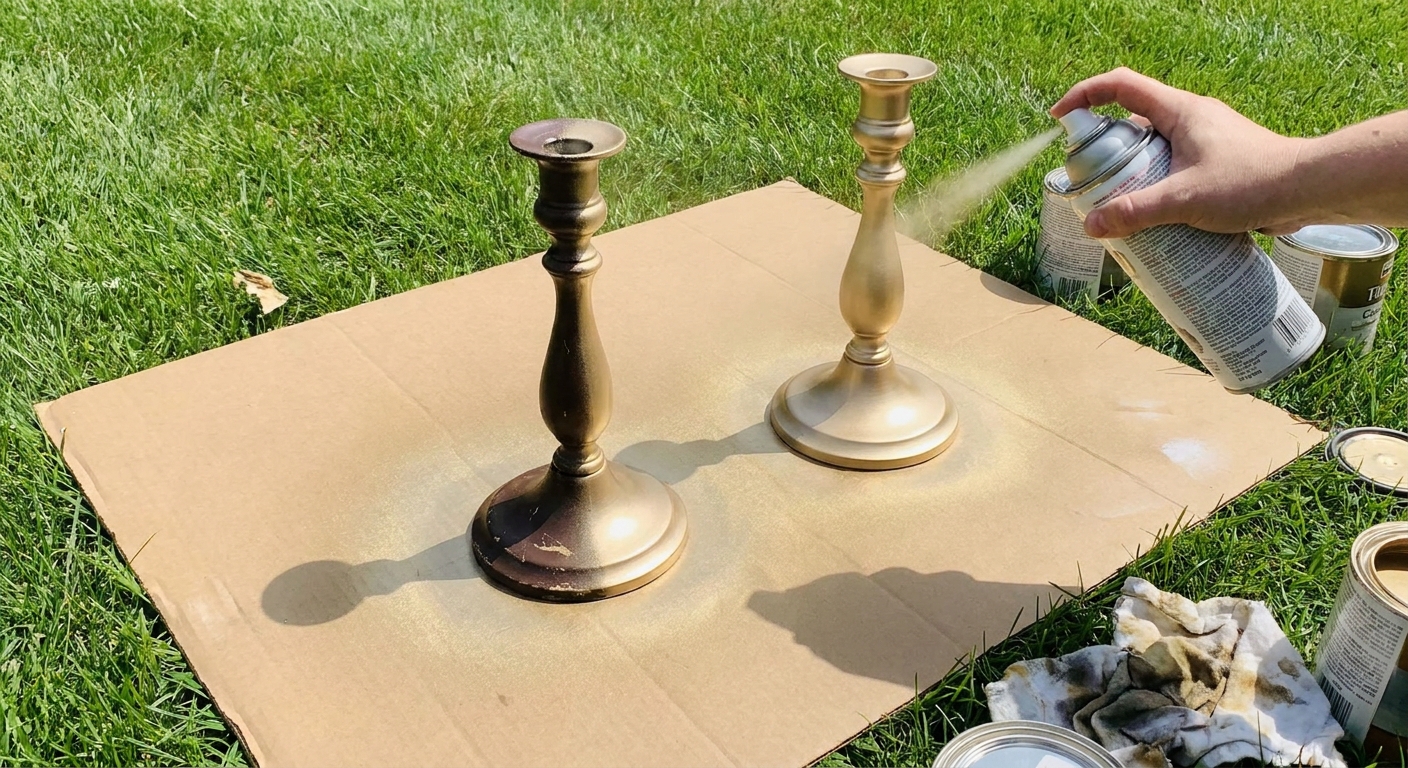
- Build coverage slowly: Two to four light coats beat one heavy coat every time.
Picking the right metallic
- Champagne or soft gold: warm and cozy, pairs beautifully with greenery.
- Brushed brass tones: less shiny, great for “designer” vibes.
- Soft silver: crisp winter look, especially with faux snow.
If you love the “expensive ornament” look, you might also enjoy 15 Dollar Store Hacks for High-End Christmas Ornaments for more budget-friendly shine.
Faux Snow: Instant Winter Magic
Faux snow is perfect for toning down bright colors and adding a cozy, frosted finish. It also helps blend chips or scratches that thrifted decor sometimes has.
Where faux snow looks best
- Tree branches and wreath forms
- Edges and ridges of ceramic trees
- Mini village roofs and window ledges
- Glass jars for a snowy scene base
How to apply it neatly
- Decide on placement: Snow looks most believable on upper surfaces and ledges.
- Work in thin layers: Build slowly so it dries evenly.
- Tap off excess: If you are using a powdery snow, gently tap to remove loose bits before sealing.
Tip: If you want a light dusting effect, apply faux snow sparingly and leave some of the base color showing through. That contrast reads crisp and modern.
Baking Soda Texture: Cozy and Matte
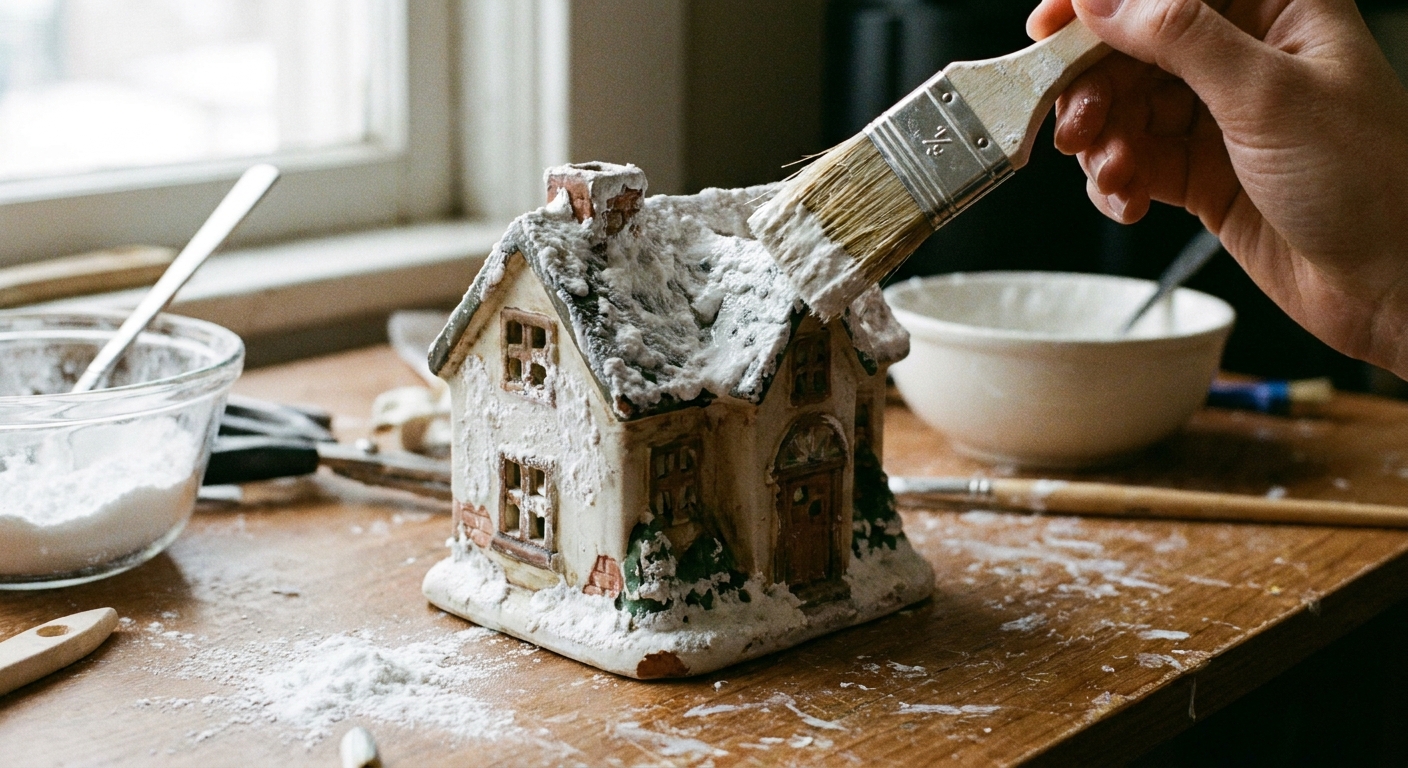
If a thrifted piece has the right shape but feels too shiny or plastic-y, a baking soda texture finish can make it look like matte pottery or snowy plaster. It is especially charming on small trees, houses, frames, and bowls.
This finish is best for decor that will not be handled a lot. Think shelves, mantels, and tabletop vignettes, not items that get moved daily.
What this finish is best for
- Smoothing out a “cheap” look on resin
- Creating a soft matte surface that feels elevated
- Adding subtle texture under faux snow or metallic accents
How to mix it
Use a small batch so it stays easy to spread. Different paints vary, so do a quick test on the bottom first.
- Start with: 3 parts acrylic craft paint + 1 part baking soda.
- Adjust: Add a pinch more baking soda for heavier texture, or a tiny splash of water if it is too thick to dab.
- If it seems crumbly: Back off the baking soda a little and add more paint.
How to apply it
- Base coat (optional): If your item is very dark, paint a quick base coat first.
- Stipple for texture: Use a stiff brush or sponge and dab, not swipe.
- Let it dry fully: Texture hides a lot, but it also takes longer to dry.
- Highlight if desired: Dry brush a tiny bit of metallic paint on raised areas for dimension.
Sealers and Dry Times
Sealing keeps finishes from scratching and helps faux snow stay put. Choose your sealer based on the look you want, and always test first, especially over metallics and snow.
Dry vs cure
- Dry to the touch: often 15 to 60 minutes, depending on product and weather.
- Handle gently: commonly a few hours.
- Fully cured: can take 24 to 72 hours (sometimes longer). If you stack or store too soon, pieces can stick together or imprint.
Choosing a finish
- Matte: best for modern, pottery-like flips and baking soda texture.
- Satin: a soft glow that can protect without looking super shiny. It can slightly mute some metallic sparkle, so test on the underside first.
- Gloss: best for a true ornament shine, but use intentionally.
Sealing tips
- Seal in light coats to avoid drips and cloudiness.
- Test on the bottom first, especially over faux snow and metallic paint.
- Let pieces cure before stacking or storing, not just dry to the touch.
Ceramic Tree and Lights Safety
Those thrifted ceramic trees are a classic for a reason, but I treat anything with electricity like a mini safety check.
- Inspect first: If the cord is brittle, cracked, or warm to the touch when plugged in, do not use it.
- Keep paint out of sockets: Do not spray inside bulb holes or on contacts. Mask them off.
- Choose cooler bulbs: LED replacement bulbs run cooler and are typically a safer pick for vintage-style trees.
- Do not bury heat: Avoid heavy coatings inside openings, and do not block ventilation areas on light bases.
Quick Flip Ideas
Need an easy starting point? These are simple, high-impact thrift flips that look beautiful grouped together.
1) The “Gold + Snow” ceramic tree
- Spray paint the tree a soft gold.
- Add faux snow lightly on the tips.
- Seal with satin for a warm glow (test first if you want maximum sparkle).
2) Modern matte village
- Paint thrifted houses with baking soda paint in warm white.
- Dry brush tiny hints of metallic on roof edges.
- Add tea lights nearby (not inside) for a cozy display.
3) Elevated candle moment
- Spray paint mismatched candleholders the same metallic.
- Group in threes with varied heights.
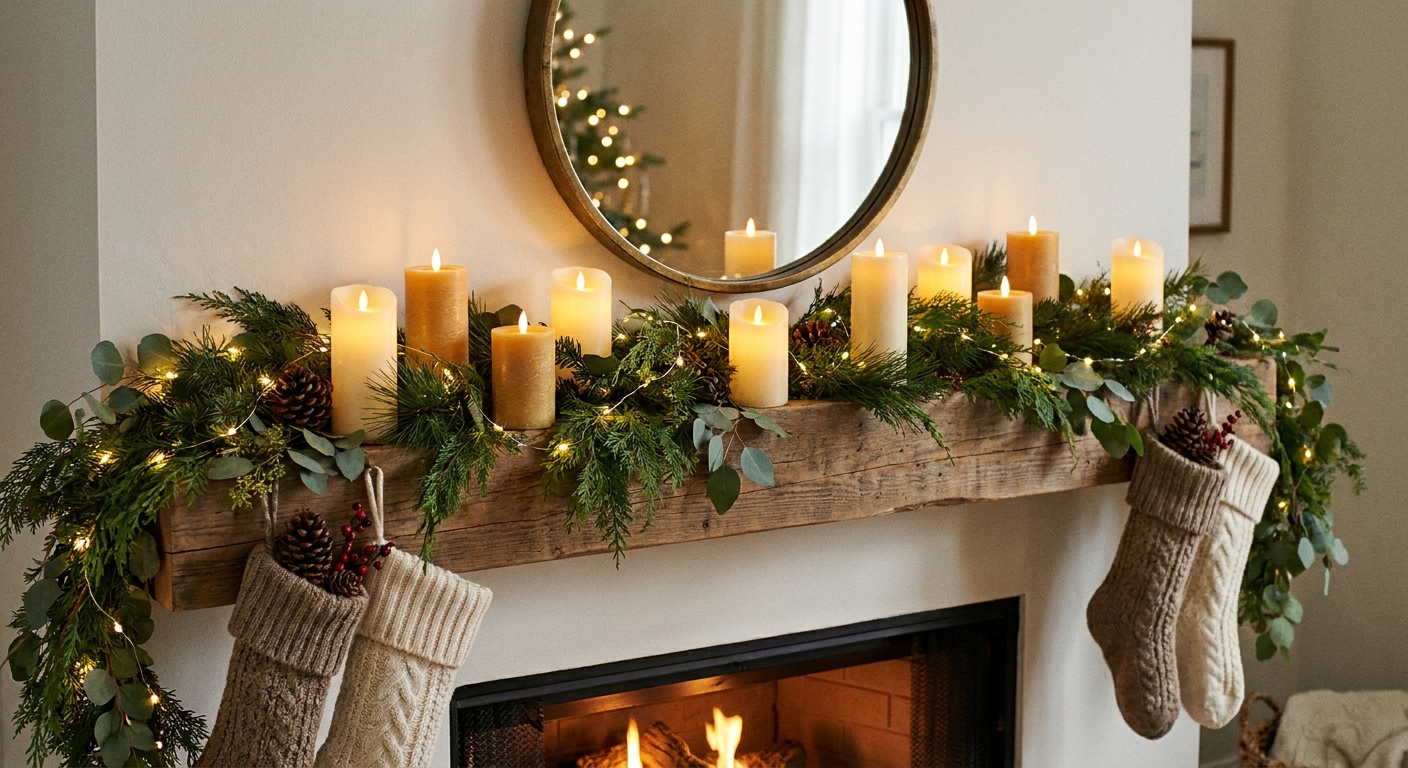
- Use flameless candles for easy sparkle. For cozy layering ideas, visit Layer a Mantel With Flameless Candles and Fairy Lights.
4) Thrifted tray to centerpiece base
- Spray a tray satin black or brushed gold.
- Add a few ornaments, a candle, and evergreen sprigs.
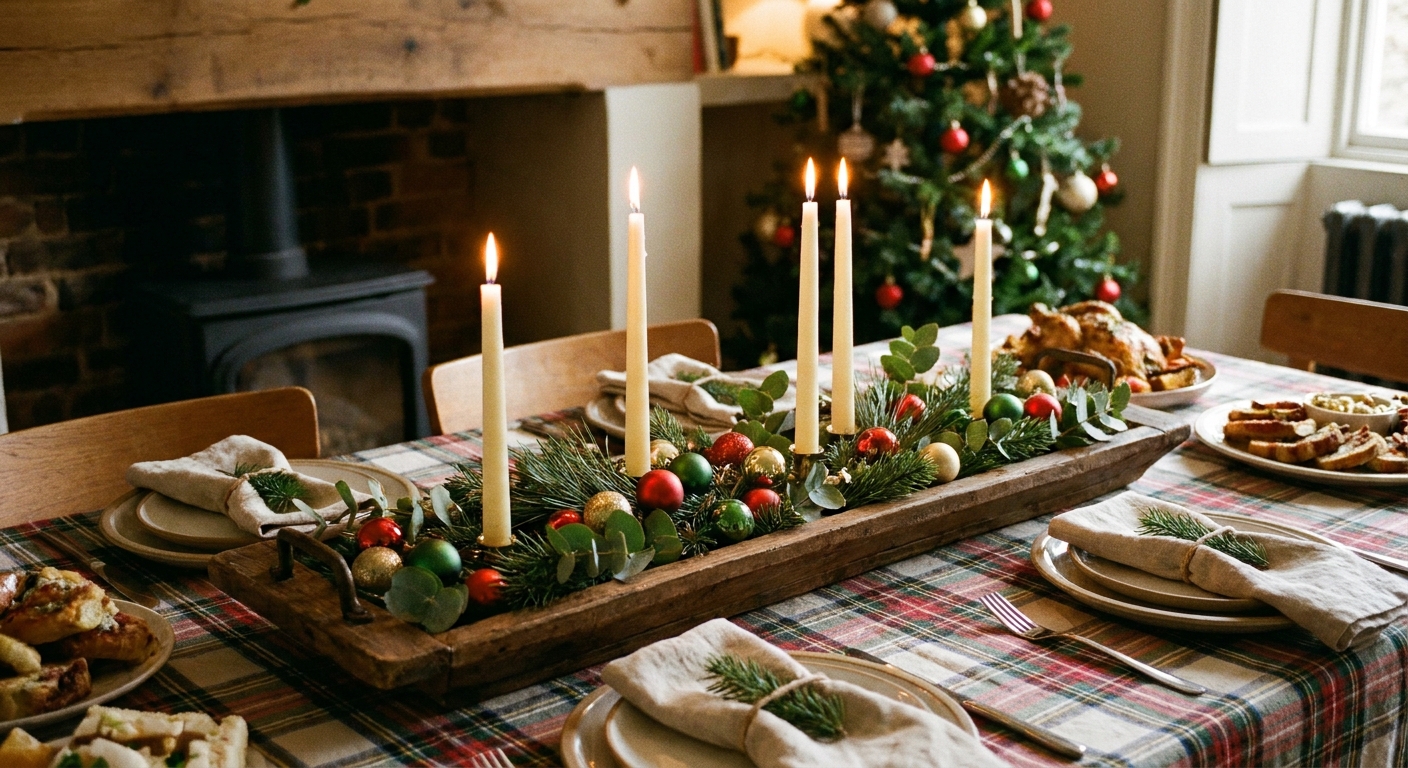
- Keep it low so it does not block conversation. For more table-friendly styling, see Small Christmas Dining Table Decor That Leaves Room for Food.
Troubleshooting Spray Paint
Drips or runs
Let it dry completely, sand the drip smooth, then re-spray in light coats.
Speckled or gritty finish
This can happen if you spray too far away, in wind, or in cold or humid air. Lightly sand and recoat in milder conditions, using smoother passes.
Sticky or never fully drying
Tackiness is usually a mismatch between the surface and the paint, spraying coats that are too heavy, or spraying in cold or humid conditions. Some plastics can also leach plasticizers that interfere with curing.
- Stop layering and let it cure longer.
- Do not seal until it is no longer tacky.
- Next time, start with an adhesion-promoter primer designed for plastic, then use lighter coats with more dry time.
Cloudy sealer over faux snow
Apply ultra-light coats and allow more drying time between coats. Testing the underside first can prevent surprises.
Style It So It Looks Intentional
Once your pieces are updated, styling is what makes them feel like a collection, not a pile of finds.
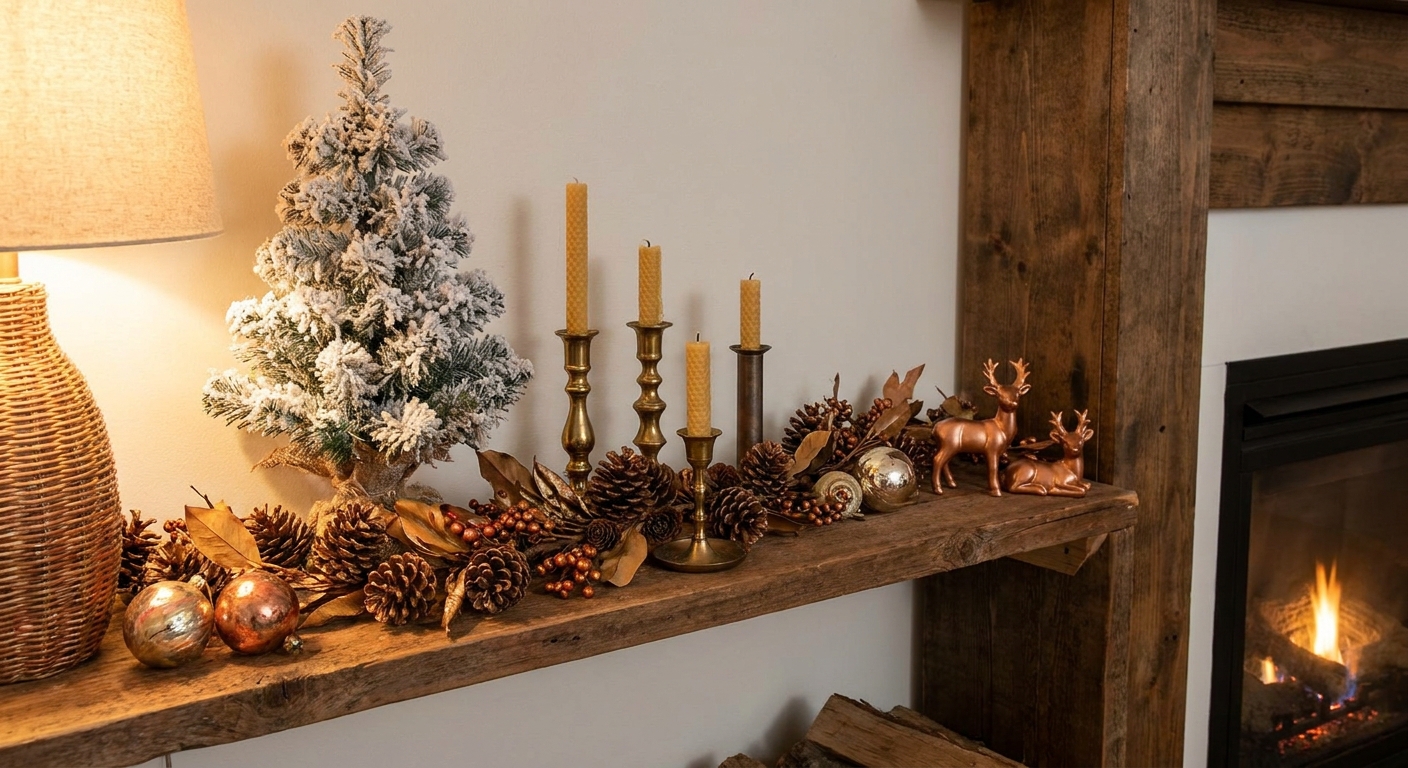
- Repeat finishes: choose one metallic and one neutral and echo them around the room.
- Vary heights: stack books under a piece, or use candleholders to create levels.
- Add something natural: evergreen sprigs, pinecones, or a simple garland instantly softens thrifted decor.
- Group in odd numbers: three or five pieces often look best together.
- Anchor with a tray: it makes a vignette feel tidy and designed.
For more budget-minded decorating ideas that layer beautifully with thrift flips, explore DIY & Budget Decor.
FAQ
Do thrift store items need primer before spray paint?
Not always, but primer is a wise step for glossy ceramics, slick resin, plastic, or anything that previously had a shiny clear coat. Primer helps prevent chipping and improves coverage.
Can faux snow go over spray paint?
Yes. Let the spray paint dry fully first. Faux snow looks best when it lands on ledges and raised details rather than covering everything evenly.
Will the baking soda finish flake off?
It can if it is applied very thickly or handled a lot. Keep the texture moderate, allow full dry time, and seal gently with light coats to protect the surface.
What is the easiest thrift flip for a beginner?
A single metallic color on candleholders or small figurines is the simplest. Thin coats, patience, and a matching sealer (tested first) do most of the heavy lifting.