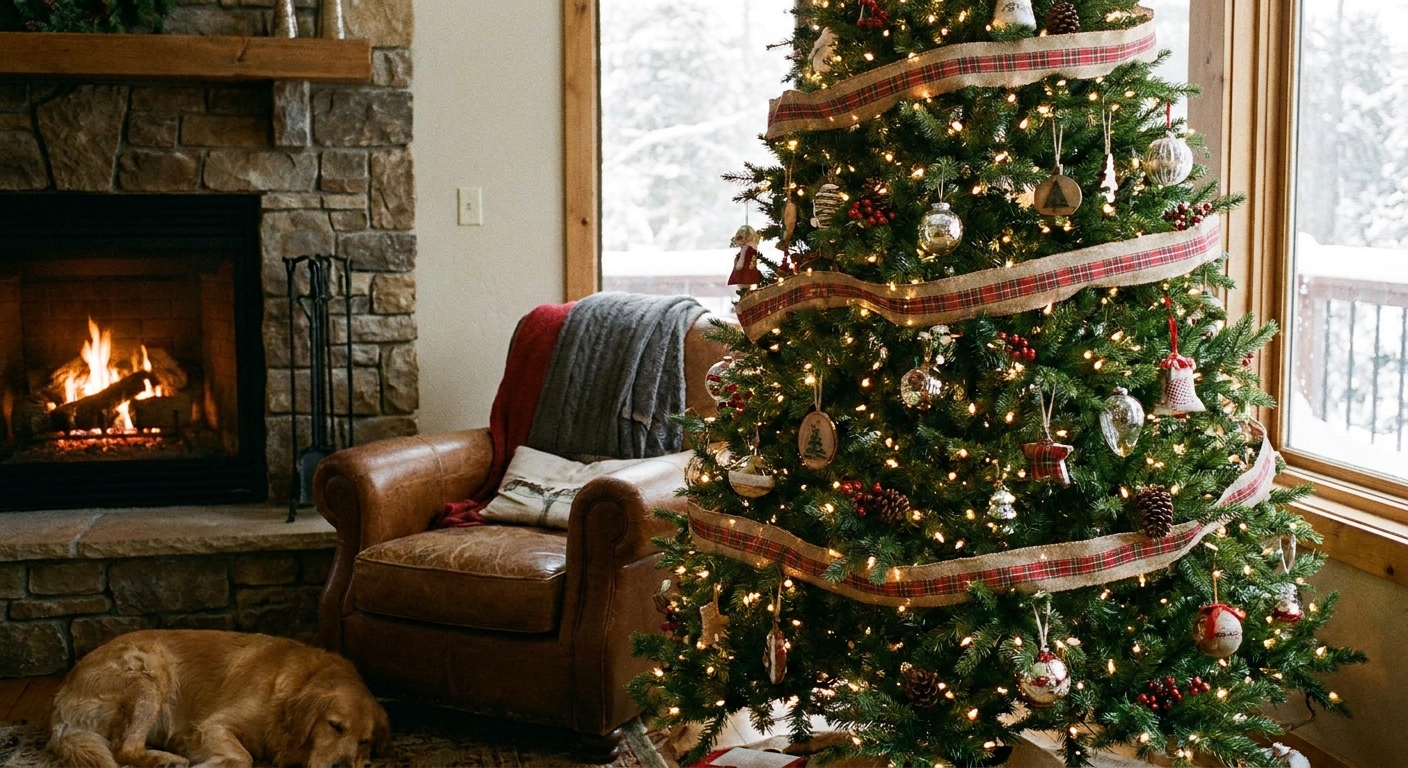
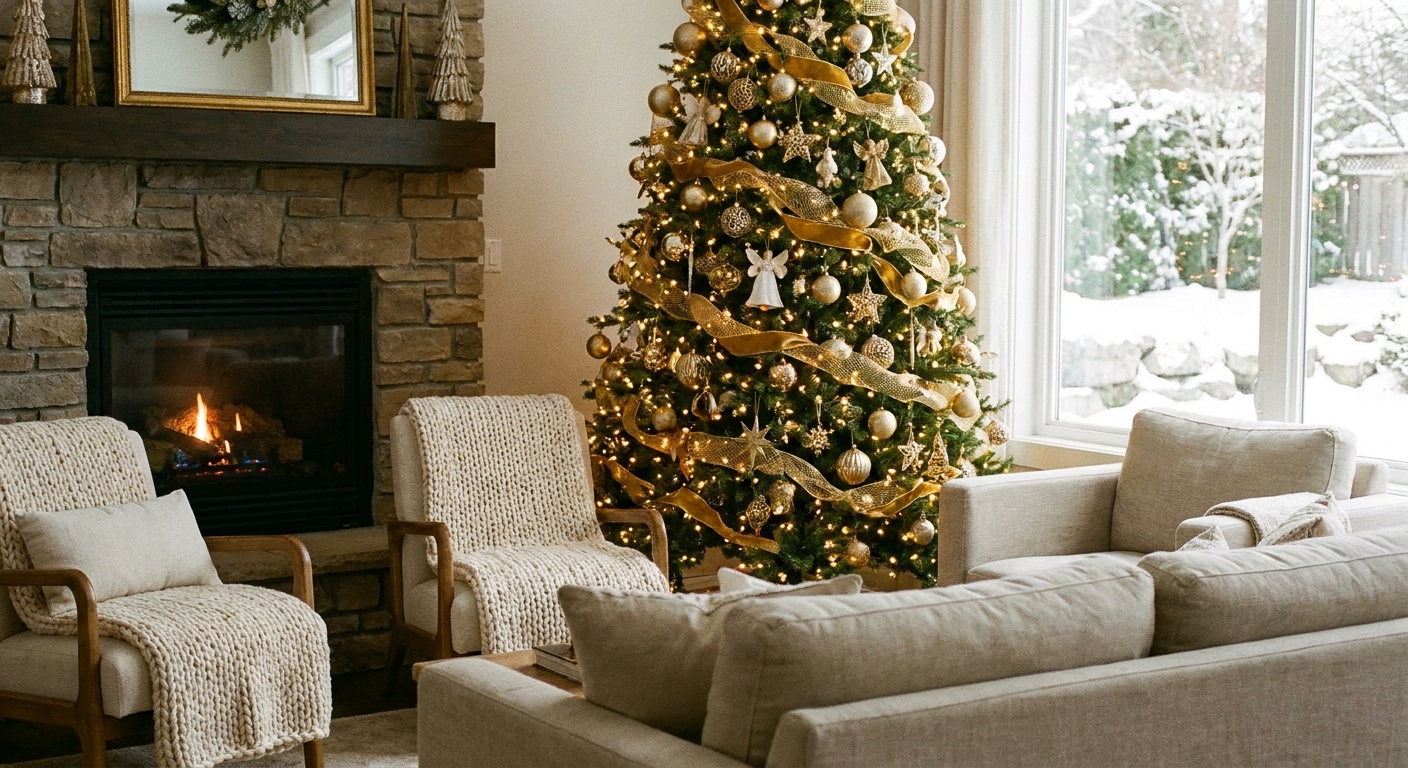
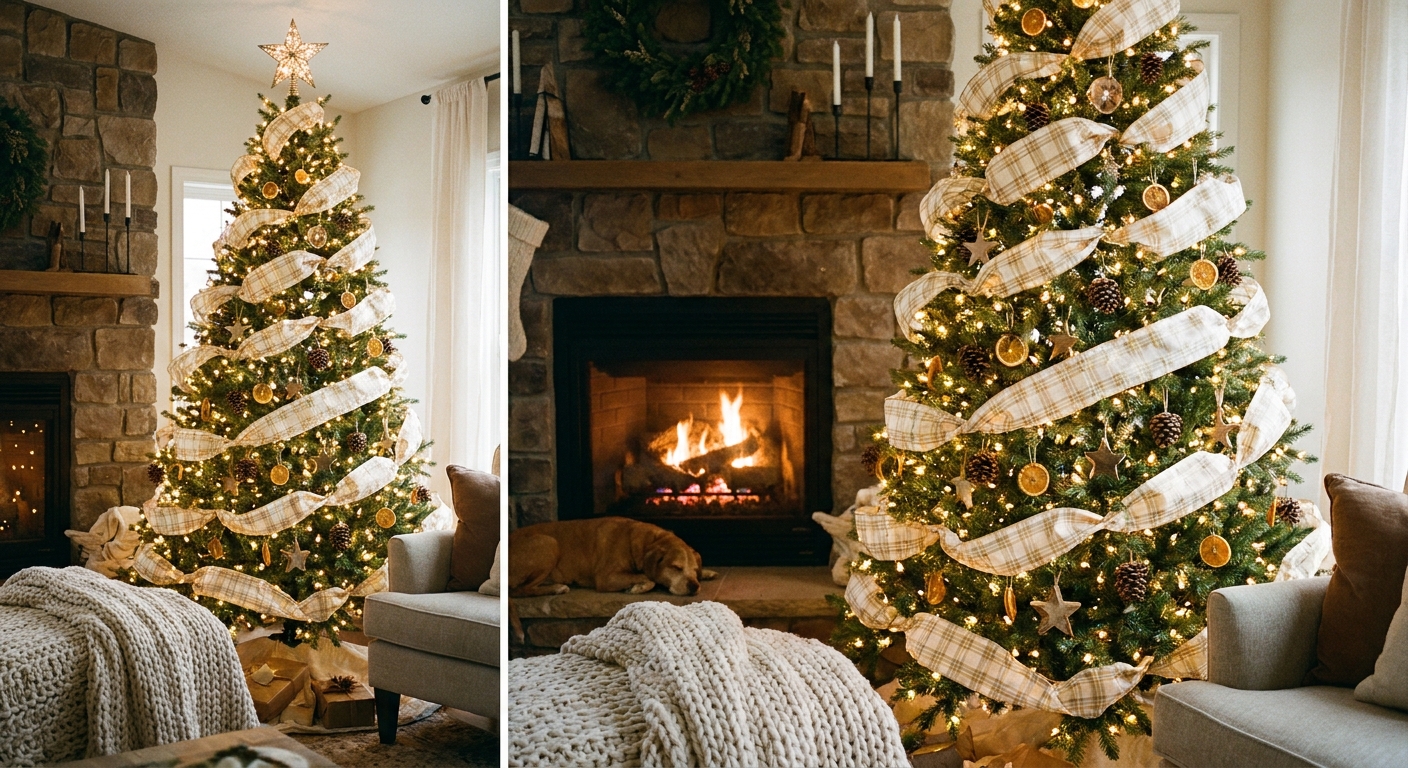
Let's gather some sparkle and make your home merry and bright! Dollar store ornament packs are a treasure chest when you know the secret: it is not what you buy, it is how you finish it. A little velvet ribbon here, a touch of gold there, and suddenly your tree looks thoughtfully styled and pulled together.
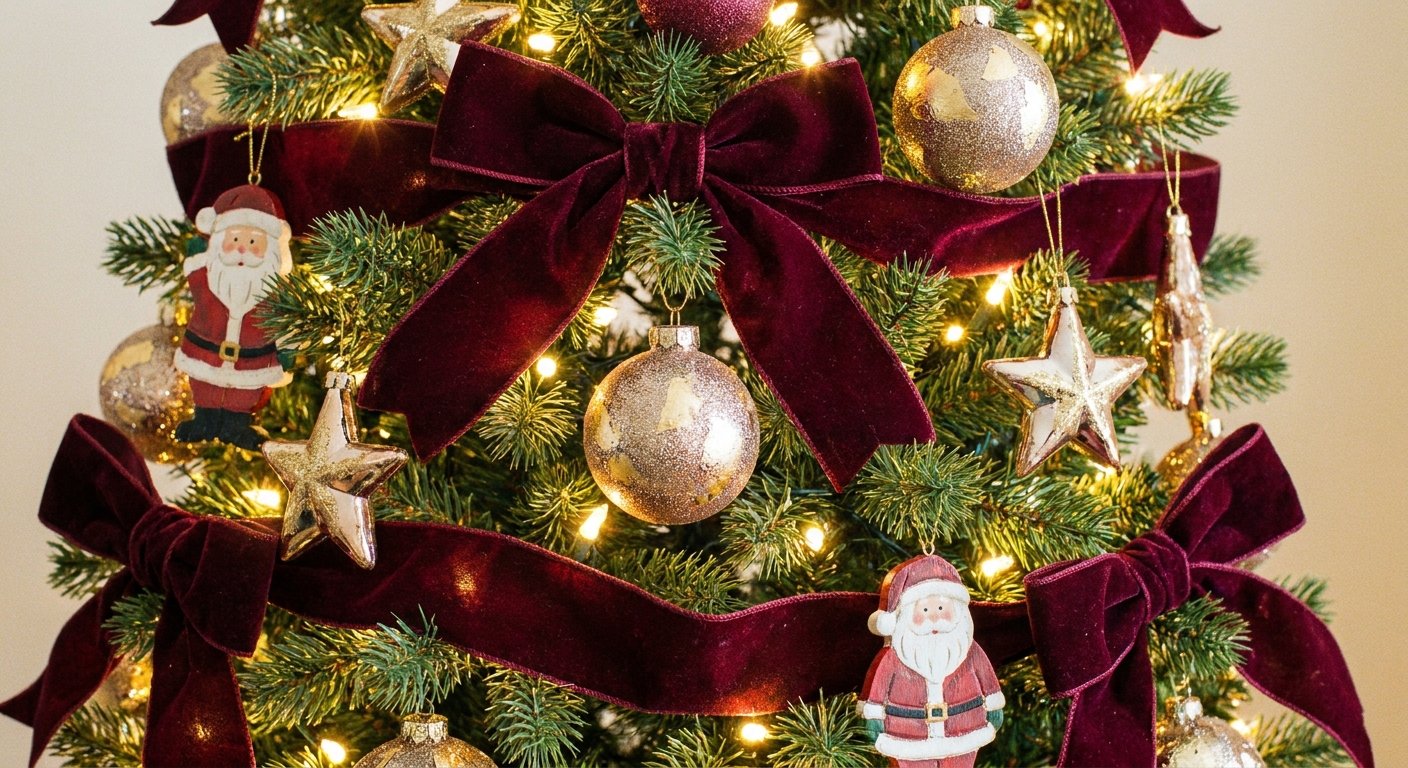
Below are 15 easy ornament glow-ups that lean elegant, vintage, and high-end. Mix a few styles for a collected look, or repeat one hack across the whole tree for instant polish.
Before you start
The 5-minute luxury edit
- Pick a palette: 2 main colors plus 1 metal (gold or silver) often looks the most high-end.
- Unify finishes: choose mostly matte and satin, then sprinkle in shine for contrast.
- Swap the hangers: replace thin string with ornament hooks, satin ribbon, or wire ties.
- Hide the seams: most budget ornaments show a plastic seam. Cover it with ribbon, trim, or a decorative cap.
- Repeat shapes: sets of matching balls look intentional, even if each one is customized.
Grab this first
- Velvet or satin ribbon (⅜ inch to 1 inch wide)
- Ornament hooks or floral wire
- Craft glue and hot glue (plus extra glue sticks)
- Spray paint (matte or satin) and optional clear sealer
- Metallic acrylic paint or metallic wax
- Fine sandpaper or a sanding sponge
- Decoupage medium and a soft brush
- Micro glitter, beads, and jewelry wire
- Air-dry clay (optional for medallions)
Sprig tip: Do one test ornament first. Different plastics, paints, and sealers can behave differently, and a tiny test saves a lot of sighing later.
If your tree needs a fuller foundation for all these pretty pieces, pop over to 9 Genius Hacks to Make a Sparse Artificial Christmas Tree Look Full and Lush.
15 ornament hacks
1) Velvet ribbon hangers
Best for: plain ball ornaments, oversized statement ornaments
- Cut 10 to 12 inches of velvet ribbon (⅜ inch to 1 inch wide). For deeper branches or longer tails, go closer to 14 inches.
- Remove the original string.
- Thread ribbon through the ornament cap loop and tie a neat knot or bow.
- Trim tails on an angle for a tailored finish.

2) Easy gilding highlights
Best for: molded plastic details, raised patterns, ornament caps
- Use metallic wax or metallic acrylic paint.
- Dry-brush lightly over raised areas so the highlights catch the light.
- Focus on edges and texture, not full coverage.
This creates that antiques-market glow where the shine looks earned, not loud.
3) Faux mercury glass with mirror paint
Best for: clear plastic ornaments, clear fillable balls
- Lightly mist the inside with water, then add a few quick sprays of mirror-effect paint.
- Swirl to coat, then turn the ornament upside down over a cup or sink to drain excess water.
- Let it dry between layers, then repeat in thin coats for a speckled, vintage look.
Sprig tip: Test on one ornament first. Some mirror paints stay tacky on certain plastics, especially if the coat is too heavy.
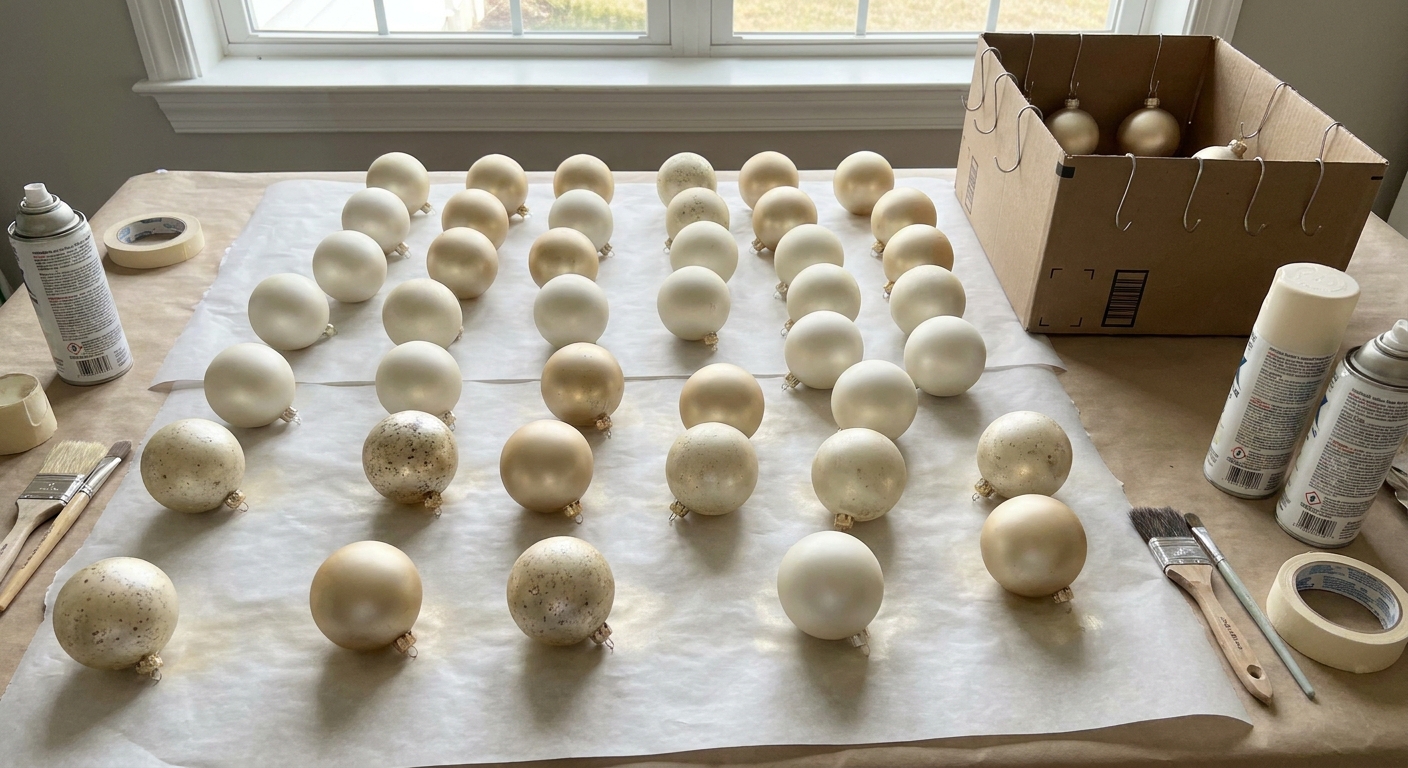
4) Satin spray makeover
Best for: shiny plastic ornaments in loud colors
- Spray with satin or matte paint in a refined color: warm white, champagne, sage, deep cranberry, or cocoa.
- Do 2 to 3 light coats instead of one heavy coat.
- Let them cure fully before stacking or boxing.
5) Pearl cluster ornaments
Best for: small plain balls, especially in ivory or blush
- Use half-pearls or mini pearl beads and a strong craft glue.
- Place pearls in little clusters, leaving negative space between groups.
- Add a thin gold cord hanger to finish.
Clusters look more couture than full coverage, and they sparkle without shouting.
6) Heirloom medallions with air-dry clay
Best for: flat ornaments, fillable discs, or a sturdy ball ornament
- Press a small circle of air-dry clay with a lace scrap, brooch, or textured button.
- Let dry, then paint in antique gold or creamy white.
- Glue to the ornament front and add a velvet hanger.
7) Napkin decoupage
Best for: clear or light-colored ornaments
- Separate the top printed layer of a paper napkin.
- Brush on decoupage medium and gently smooth the napkin over the ornament using a soft brush or your fingertip.
- Small wrinkles happen. Work them toward the edge, and patch tiny tears with another scrap of the same napkin pattern.
- Seal with another thin coat once dry.
Choose classic prints like tartan, toile, or tiny holly for a vintage vibe.
8) Snow drift edge glitter
Best for: pinecones, houses, berries, or textured ornaments
- Brush a thin line of glue on the top edges only.
- Sprinkle micro glitter, then tap off excess.
- Seal with a compatible clear spray sealer if needed, and test first to avoid clouding.
Full-glitter ornaments can read craft-store. Edge-glitter reads like fresh snow caught on details.
9) Vintage-looking ornament caps
Best for: any ornament with a flimsy plastic cap
- Paint caps in antique brass, pewter, or matte gold.
- Dot on a tiny bit of black paint, then wipe most away for patina.
- Finish with a velvet ribbon hanger or ornament hook.
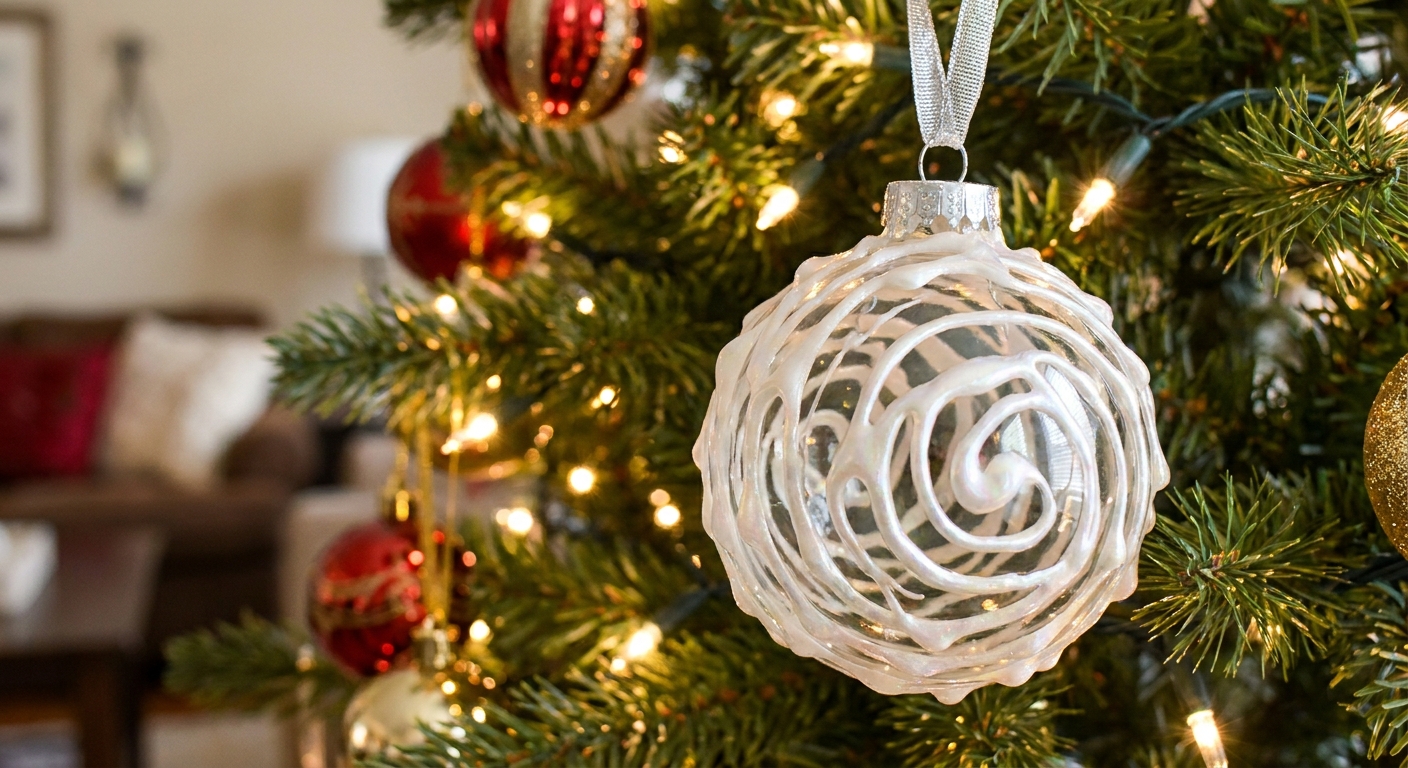
10) Icy drip effect
Best for: clear ornaments, “icicle” shapes, or plain balls
- Use hot glue to create slow drips around the top edge.
- For better grip, lightly scuff the drip area first on very slick plastic.
- Once cool, paint drips pearl white or metallic silver.
- Add a dusting of clear micro glitter for icy shine.
11) Ribbon wrap
Best for: large balls, foam ornaments, or lightweight plastic
- Start at the top and spiral wide ribbon down, slightly overlapping.
- Secure with tiny dots of glue hidden under the overlap.
- Finish at the bottom and tuck the end under neatly.
Try luxe textures: velvet, satin, dupioni-style ribbon, or linen-look ribbon.
12) Mini wreath ornaments
Best for: filler ornaments with lots of charm
- Wrap a green pipe cleaner or floral wire into a small ring.
- Attach tiny faux greenery picks or mini bottlebrush sprigs.
- Add a bow and a small jingle bell.
These look adorable tucked deeper into the tree for depth.
13) Faux porcelain with chalky paint
Best for: lightweight plastic shapes, hearts, finials, medallions
- Paint with chalk-style paint in warm white.
- Lightly sand edges when dry for a worn, heirloom look.
- Topcoat for a gentle sheen. Wax can work, but let it cure well so it does not stay tacky. If you prefer a non-tacky finish, use a water-based satin sealer instead.
14) Beaded tassel bottoms
Best for: finials, teardrops, and large balls
- String beads on jewelry wire to create a short dangle.
- Attach under the ornament cap or glue to the bottom tip.
- Add one statement bead at the end for weight and swing.
15) Vintage postcard fillable ornaments
Best for: clear fillable ornaments with a removable top
- Print or cut small images from holiday cards, book pages, or gift tags.
- Roll gently and insert into the ball so it unfurls against the inside wall.
- Add faux snow, tiny beads, or a pinch of tinsel for dimension.
Use a consistent theme for a charming little set: nutcrackers, winter villages, Victorian Santa, or sheet music.
Make it cohesive
The secret to high-end trees is repetition with small variations. Try one of these ornament formulas:
- Old-world gold: matte ivory balls + antique gold caps + velvet hangers
- Vintage winter: faux mercury glass + pearl clusters + snowy edge-glitter
- Classic plaid: tartan decoupage + mini wreath ornaments + brass accents
Need a theme to anchor the whole look? Browse Christmas Trees & Themes for more tree styling ideas.
Safety and durability
- Spray paint and sealers: use in a well-ventilated area and allow full cure time before hanging. As a general rule, plan on 24 hours for spray paint to fully cure.
- Mirror paint: test first. Some plastics react or stay tacky, and thin coats behave better than heavy ones.
- Hot glue: great for speed, but it can loosen on very slick plastic. Lightly scuff the spot first if needed.
- Glitter: micro glitter can shed less once sealed, but it still depends on glue and sealer. Tap off excess and let everything dry completely before handling.
- Topcoats and wax: let wax or sealer cure overnight before boxing to reduce sticking and dust grab.
- Pets and little helpers: skip bead dangles and loose glitter on lower branches. For more ideas, see Pet-Friendly Christmas Trees.
Storage note: Once everything is fully cured, store ornaments with dividers or tissue so fresh finishes do not stick together.
Styling tips
Once the ornaments look luxe, a few styling choices make them sing:
- Layer lights first so the glow sits behind the ornaments. If you want a tidy method, visit The Trunk-to-Tip Method for Christmas Tree Lights.
- Group in threes and fives with mixed sizes for a designer cluster effect.
- Use ribbon as structure so your ornaments have resting places. Try Ribbon Cascades on a Christmas Tree.

FAQ
What dollar store items make the best ornaments?
Look for larger plastic balls, clear fillable ornaments, finials, and any shapes with raised texture. Those take paint and highlights beautifully and look more expensive once finished.
How do you make plastic ornaments look like glass?
Use mirror-effect paint inside clear ornaments for a mercury glass look, or choose satin finishes on the outside. Then upgrade the hanger to velvet ribbon and paint the cap in antique metal tones. Always test one first since plastics can vary.
How many DIY ornament styles should you mix?
For a high-end look, pick 2 to 4 styles and repeat them across the tree. Too many different techniques can start to look like a busy craft table instead of a coordinated collection.
A cozy finishing touch
After the ornaments are dressed up, the tree feels like a true holiday centerpiece. For more budget-friendly sparkle around the house, explore DIY & Budget Decor and keep that Garland Glow magic twinkling from room to room.