Let’s gather some sparkle and make your tree merry and bright. A thin artificial tree can still look wonderfully full with a few clever layers, a little patience, and the right kind of “holiday camouflage.” These hacks focus on what actually changes the silhouette: branch direction, depth, and intentional filler.
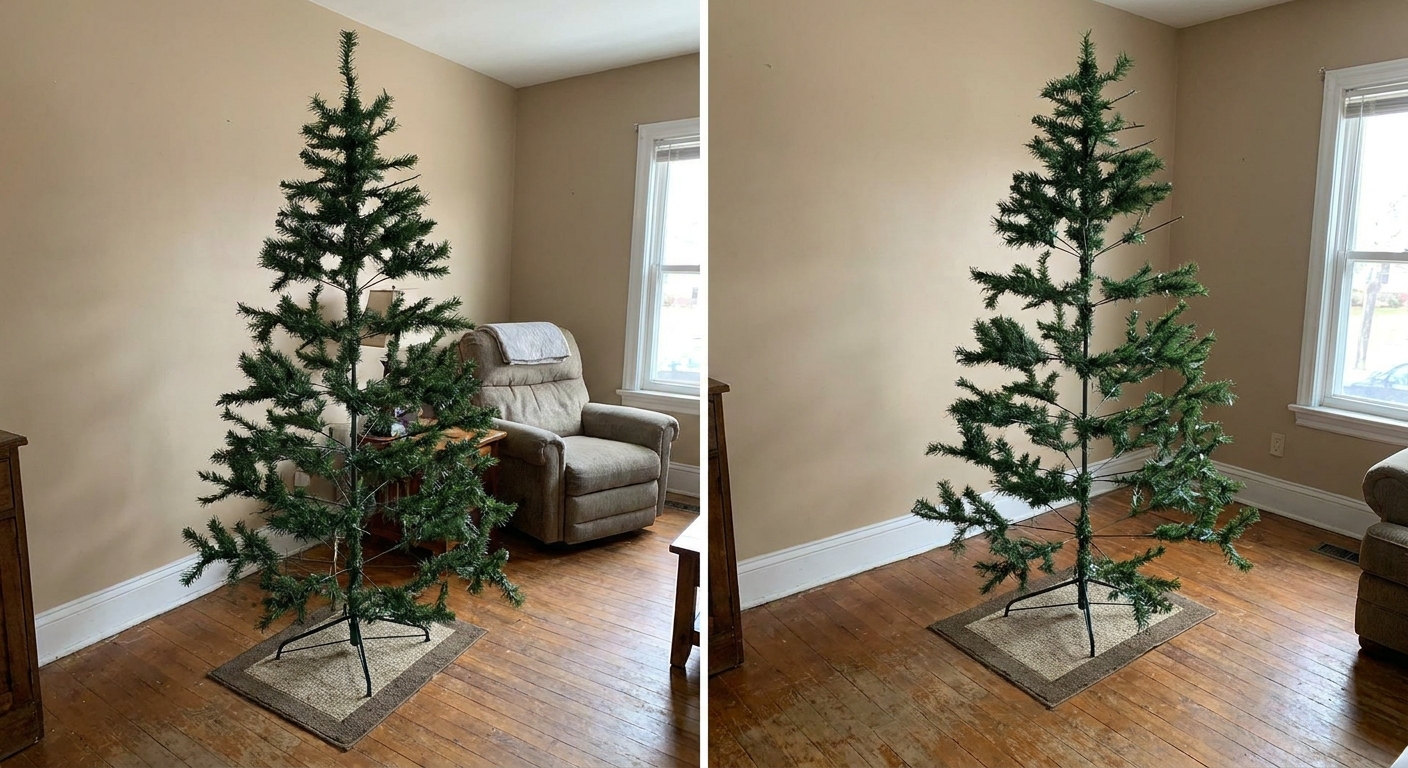
1) Fluff with a plan
Random fluffing leaves random holes. Instead, build your tree in tidy zones so every branch is aimed to do a job.
Do this
- Work bottom to top so the upper branches do not get in your way while you are filling the lower gaps.
- Fluff in rings: finish one full circle of branches at a time before moving up.
- Assign directions: angle some tips slightly up (adds lift), some straight out (adds width), and some slightly down (hides the pole and creates layered depth).
Quick gap-check
Step back 6 to 8 feet after each section. If you can spot the trunk quickly, it needs either more outward width or a filler layer (coming soon).
2) Fan branch tips
Many budget trees have branches where all the tips lie in one flat plane. That makes the tree look like a stack of green pancakes.
- Separate each tip so they radiate outward, not parallel.
- Fan tips horizontally to widen the silhouette.
- Then add depth by pulling a few inner tips forward so you get a fuller, bushier face.
If your tree has mixed PVC and PE tips, spread the fuller, more realistic tips where eyes land most: the front and center.
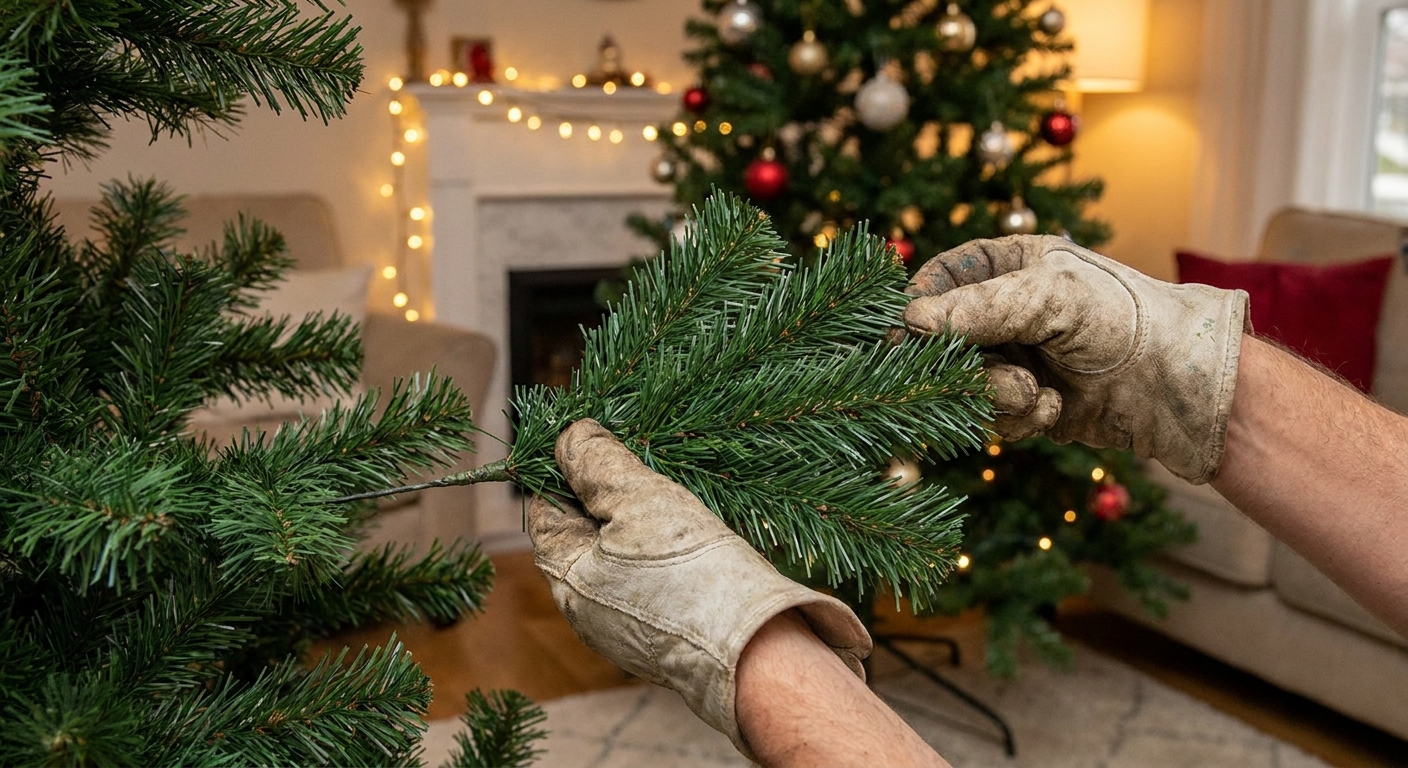
3) Use the inside-out trick
Sparse trees show their pole because the inner branches are not doing their share of the work.
How to do it
- Push inner branches forward so they fill the tunnel-like hollow near the center.
- Pull outer branches slightly down and out to create a layered canopy effect.
- Rotate the tree so the fullest side faces the main viewing angle, then fluff the “camera side” more heavily.
This creates a dense center and a soft outer edge, which reads lush even from across the room.
4) Add a base collar
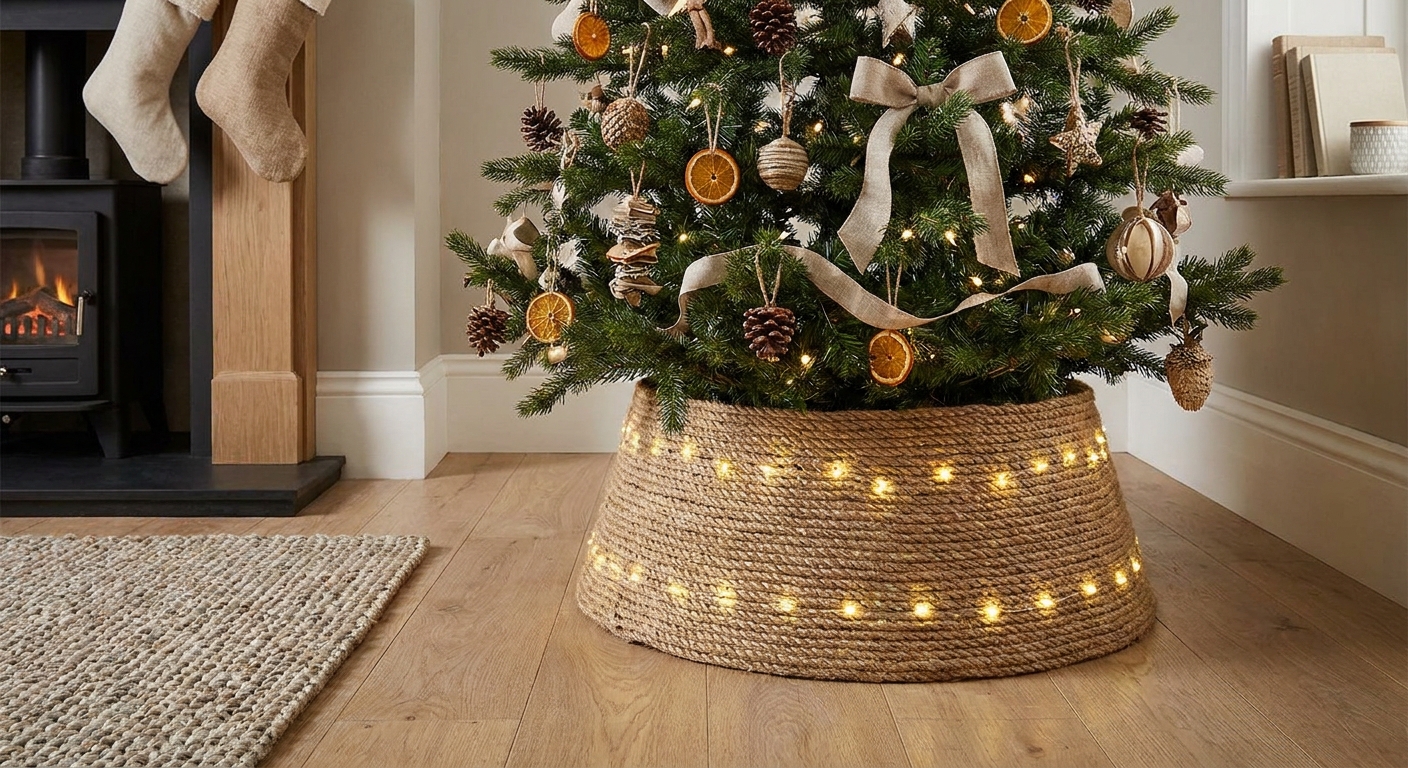
The bottom third is where a tree can look spindliest. A collar hides the stand and gives you a place to sneak in extra bulk.
- Use a tree collar, basket, or wide wrap to hide the stand and the lowest gaps.
- Tuck spare garland or extra picks into the collar area so the base looks grounded and full.
- Place gifts or a cozy blanket bundle close to the trunk to distract from thin lower branches.
Want more small-space help? These ideas play nicely with slimmer silhouettes: 15 Space-Saving Alternative Christmas Tree Ideas for Small Apartments.
5) Add cheap green garland
Here is the secret: you can “add branches” without adding branches. A simple green garland acts like undergrowth and instantly reduces see-through spots.
Best placement
- Weave garland deep near the trunk first, then bring a few loops forward.
- Target the worst gaps rather than wrapping perfectly evenly.
- Match tones if you can, but do not stress. Mixed greens often look more natural.
If your tree is especially bare in the middle, pack garland in that zone before you add lights and ornaments.
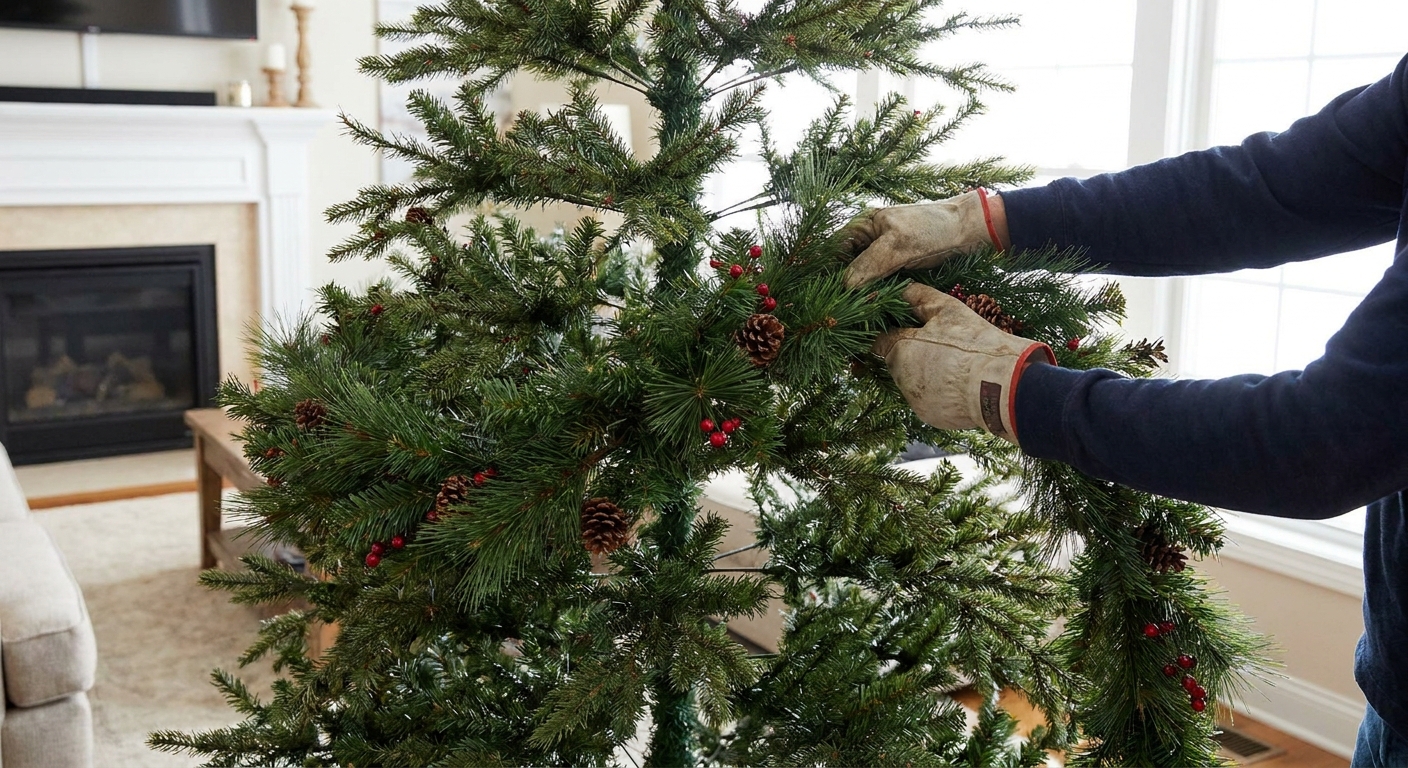
6) Use picks and stems
Floral picks are little miracles for sparse trees because they add volume exactly where you need it.
Pick smart
- Go big: pine sprays, cedar picks, frosted stems, berry clusters, magnolia leaves.
- Use odd numbers in a gap: 3 small picks often look more natural than 2.
- Mix textures so the tree looks layered, not stuffed.
Placement rule
Fill from inside to outside. First place a pick deep to hide the trunk. Then place one slightly forward to create depth.
7) Use ribbon for coverage
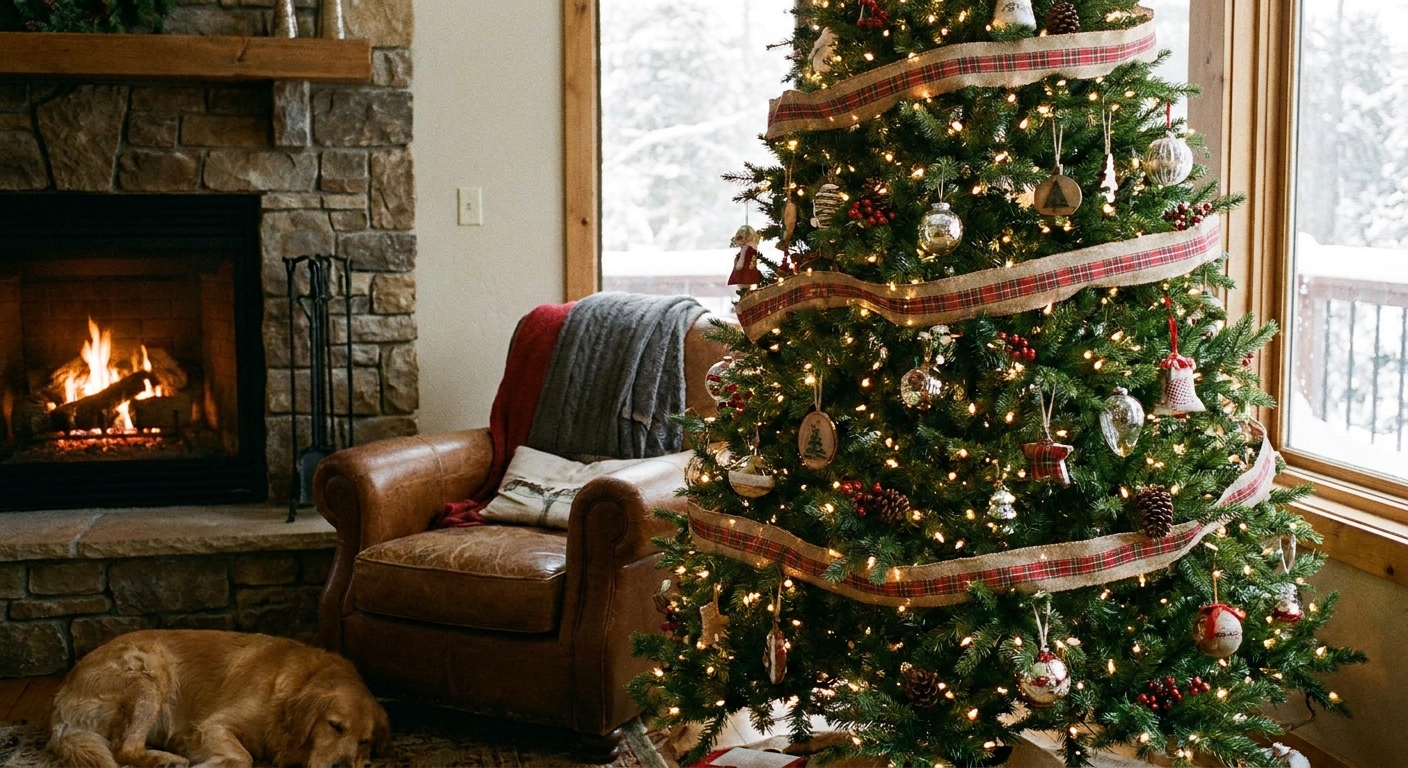
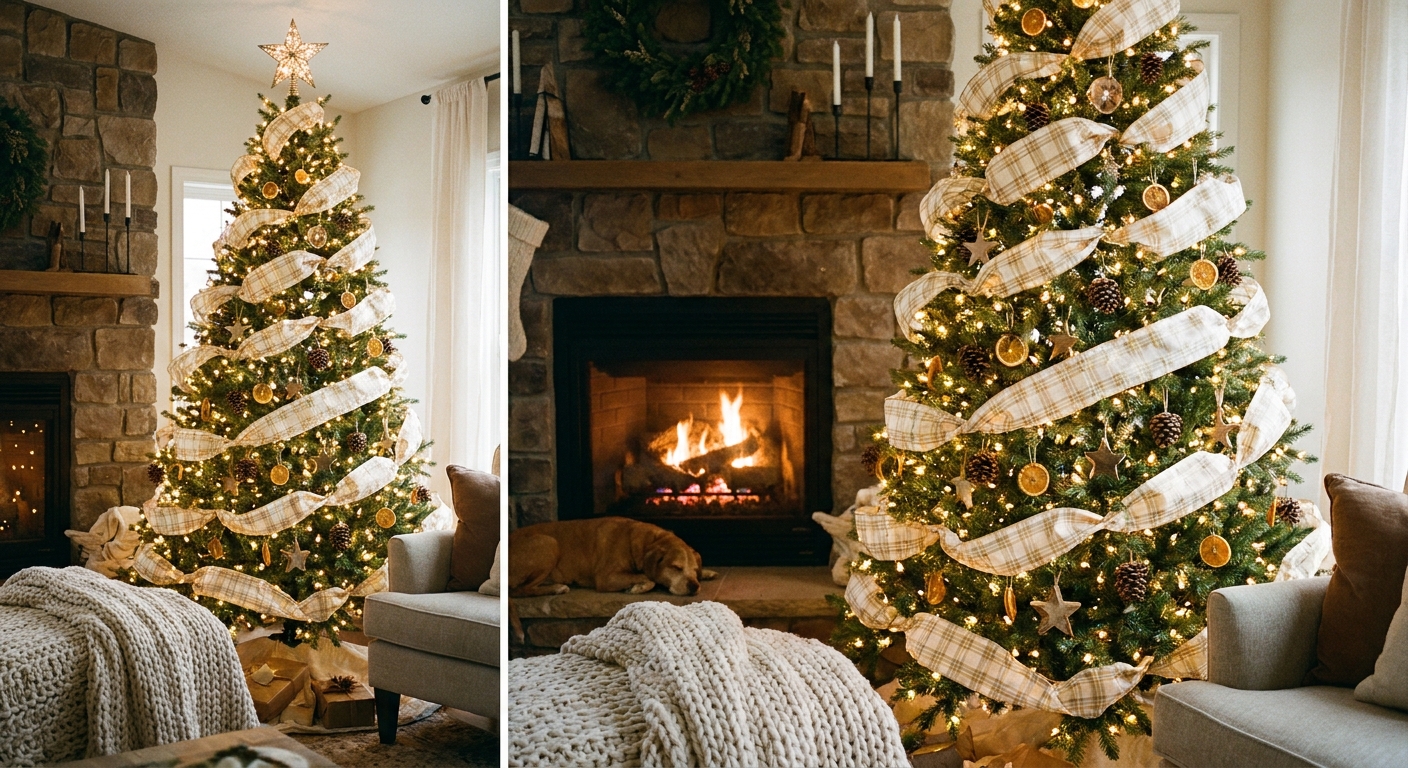
Ribbon is not just pretty. It is a coverage tool. Wide ribbon creates big swaths of color that make holes disappear.
Two easy approaches
- Loose vertical cascades: tuck the top end deep, then let the ribbon flow down and in and out of branches.
- Big loops: form soft loops and tuck the pinch point into the tree so the loop sits forward like a fluffy bow cloud.
Keep ribbon slightly forward of the deepest greenery. That is what makes the tree look dimensional instead of flat.

8) Use bigger ornaments
If a tree is thin, small ornaments can look like polka dots floating in space. Oversized ornaments read as lush because they cover more visual real estate.
Try this mix
- Large ornaments (4 to 6 inches) for the front and any thin zones.
- Medium ornaments to bridge between big pieces.
- Small ornaments only near the top and toward the tips.
Hang your largest ornaments slightly deeper than you think. It helps “push forward” the fullness of the branches around them.
If your tree needs to stay budget-friendly, sneak a peek here for thrifty wins: A Stunning Christmas Tree on a $50 Budget.
9) Light it in layers
Lights can either highlight gaps or blur them. The trick is layering.
Two-pass lighting method
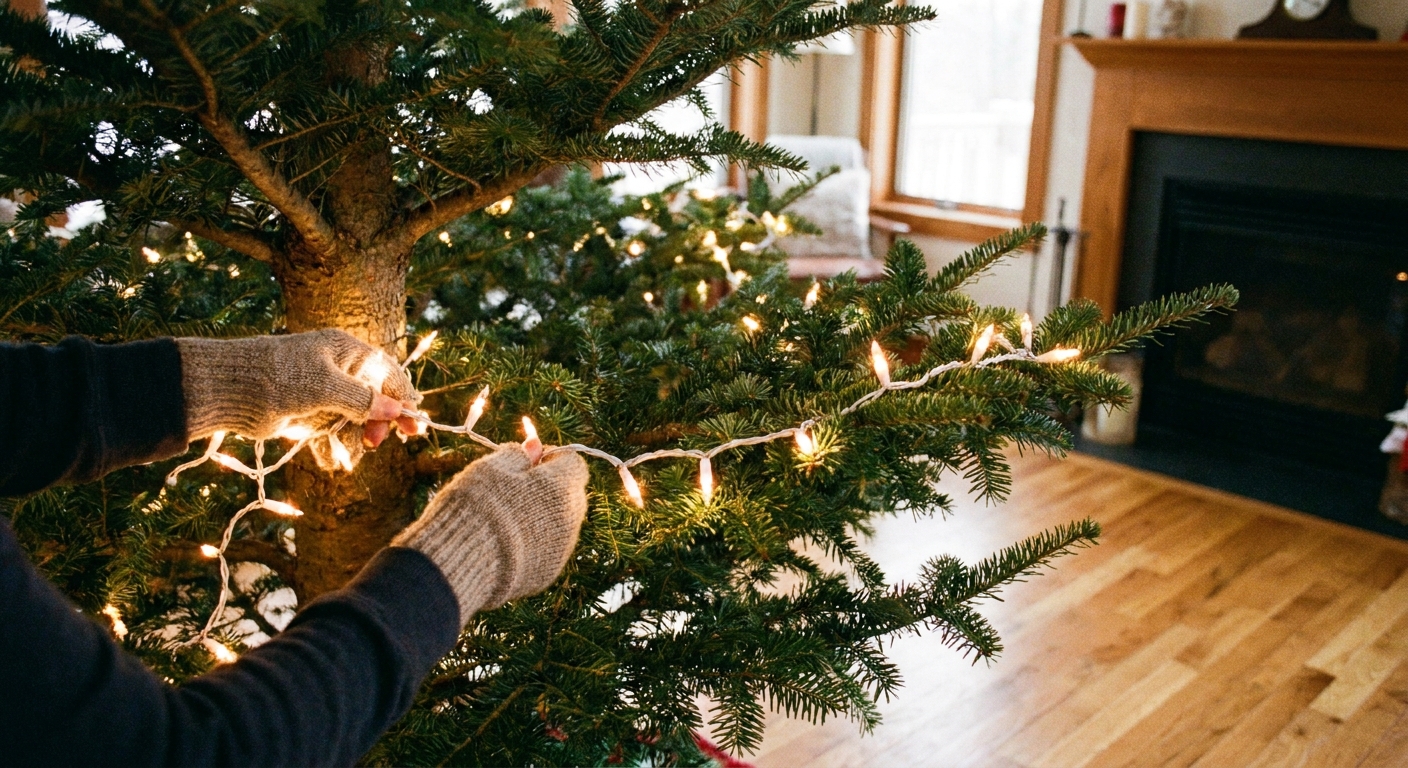
- Pass one (depth): weave lights closer to the trunk to create an inner glow that disguises empty space.
- Pass two (twinkle): add a lighter strand near the tips for sparkle and definition.
Tip: Warm white often looks fuller because it softens shadows, but any color works if you get that inner glow first.
Quick troubleshooting
The tree looks skinny from the side
- Pull more branches outward on the side view, then add a few picks aimed sideways to widen the profile.
The middle looks hollow
- Pack green garland deep in the center, then add one or two large ornaments right in front of that area.
The bottom looks bare
- Use a collar plus deep filler: tuck garland and picks around the stand area, then place larger ornaments low to anchor the look.
Lush tree checklist
- Branches fanned wide, tips separated
- Inner branches pulled forward to hide the pole
- Green garland woven deep as an underlayer
- Picks used to patch the biggest gaps
- Ribbon creating broad coverage
- Oversized ornaments placed where it looks thin
- Lights layered: inside glow, outside sparkle
If you love themed looks after the tree is full and fluffed, wander through Christmas Trees & Themes for more merry inspiration.