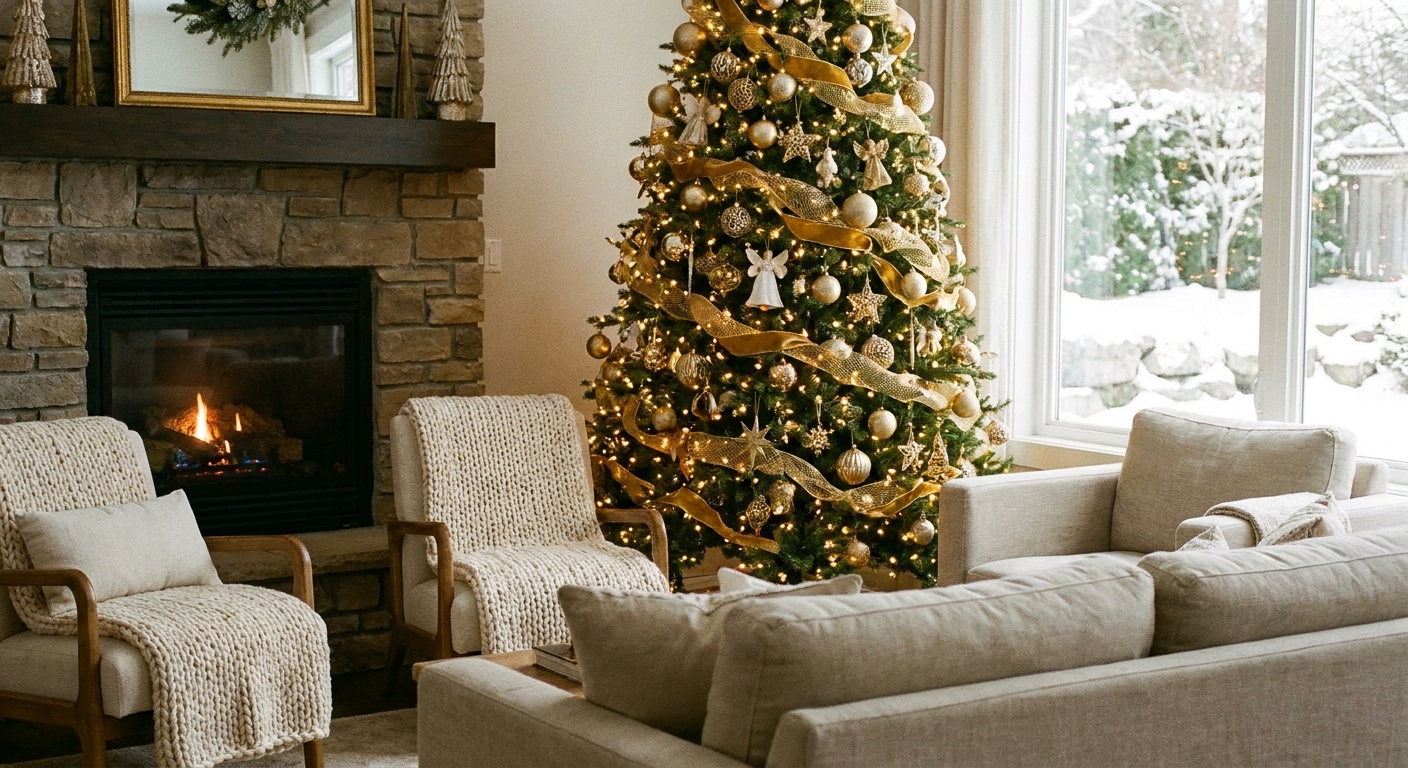
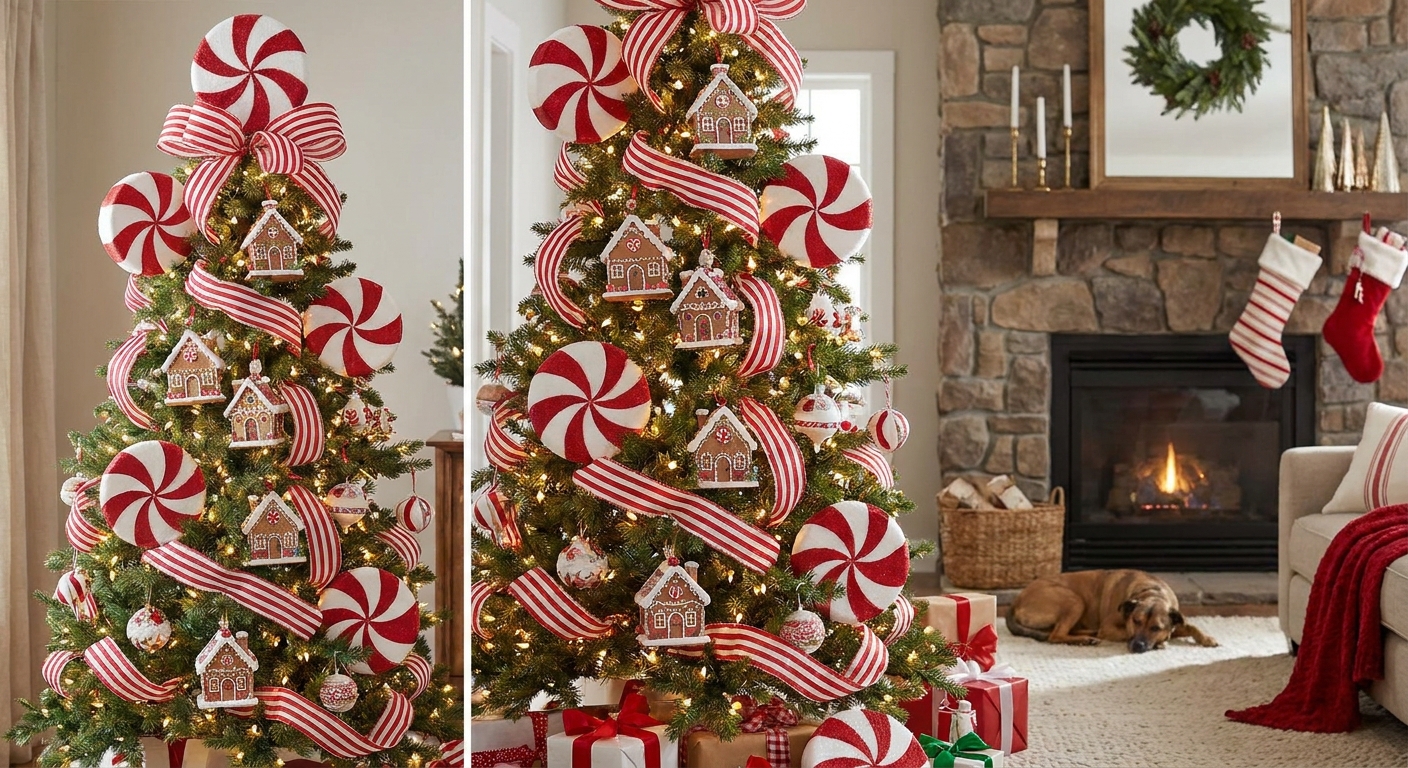
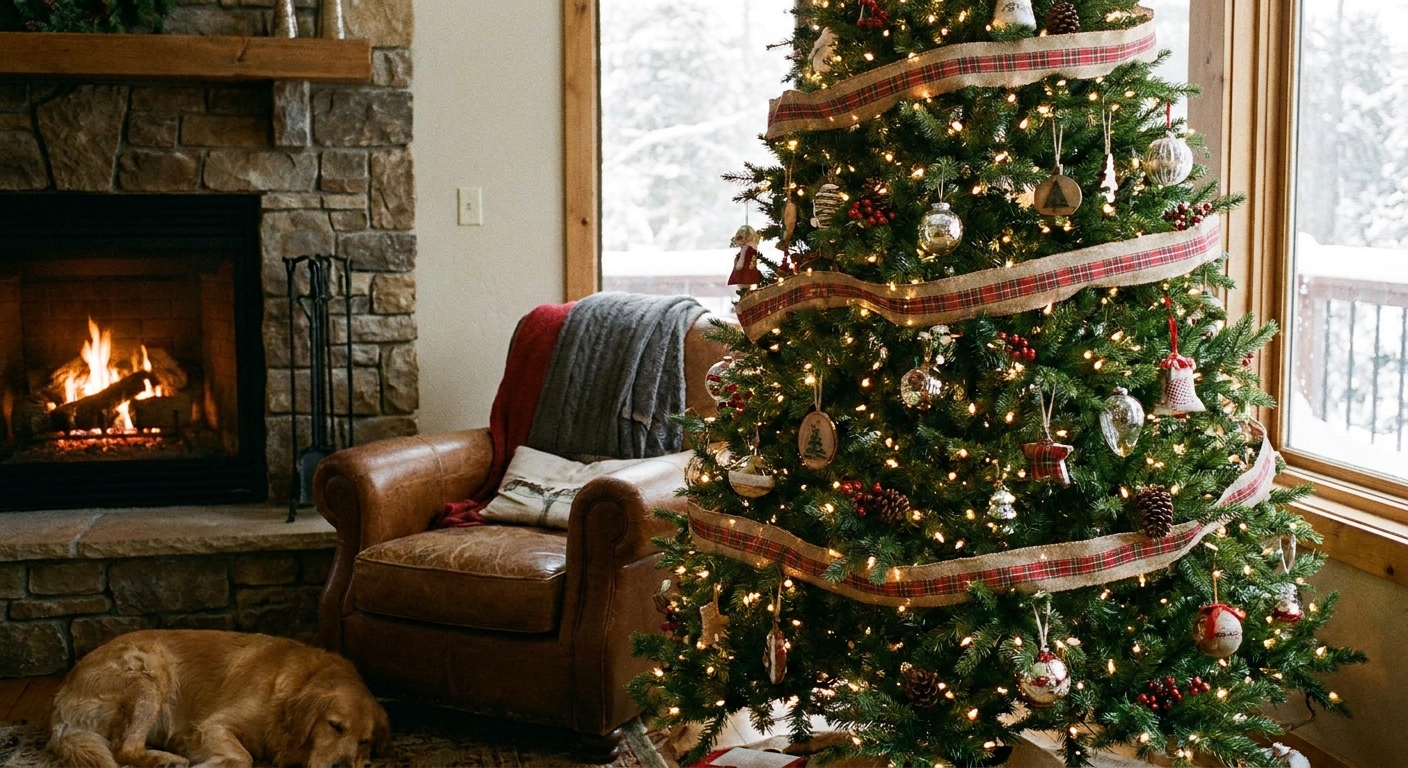
Let's gather some sparkle and make your home merry and bright! Ribbon cascades are one of the quickest ways to make a Christmas tree look professionally styled because they add movement, softness, and that swooshy, high-end finish.
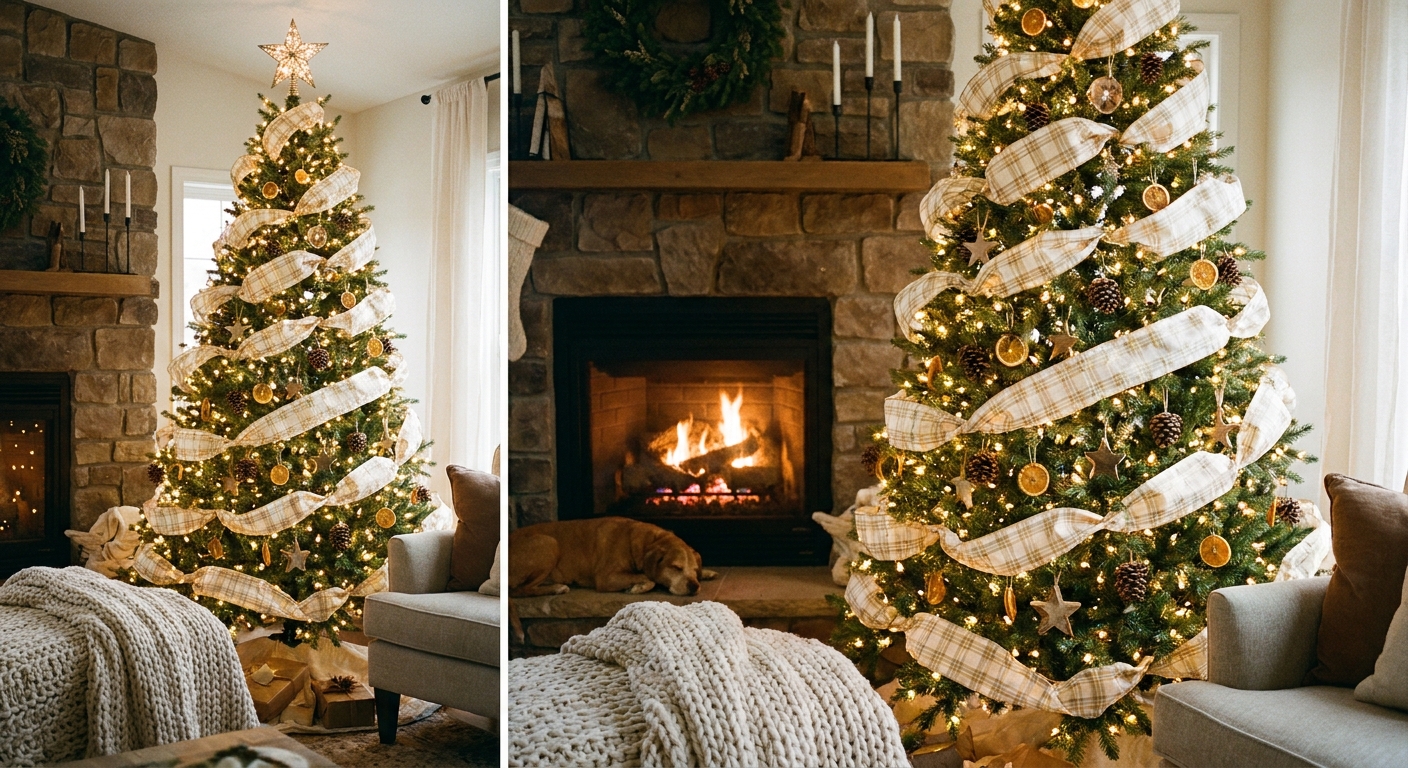
This guide walks through the same core techniques designers use: shaping wired ribbon, anchoring it into the interior branches, and repeating a consistent rhythm all the way down the tree.
Choose a ribbon plan first
A pro look starts before a single tuck. Decide on three things: width, finish, and how many ribbons you will run.
Ribbon width
- 6 to 8 inch ribbon: Best for bold, luxurious cascades on full trees.
- 4 inch ribbon: A perfect all-purpose size, especially for 6 to 7.5 foot trees.
- 2.5 inch ribbon: Great as a second layer or for slimmer trees.
Finish and texture
- Velvet looks rich and hides gaps beautifully.
- Dupioni or faux silk gives crisp structure and elegant folds.
- Metallic or glitter trim adds sparkle, but use it in smaller amounts so it reads as an accent instead of noise.
How many cascades?
For a balanced tree, a good starting point is 3 to 6 vertical cascades depending on tree size and fullness. Fewer cascades look modern and clean. More cascades look lush and traditional.
If you want more tree theme ideas to match your ribbon, you can browse Christmas Trees & Themes.
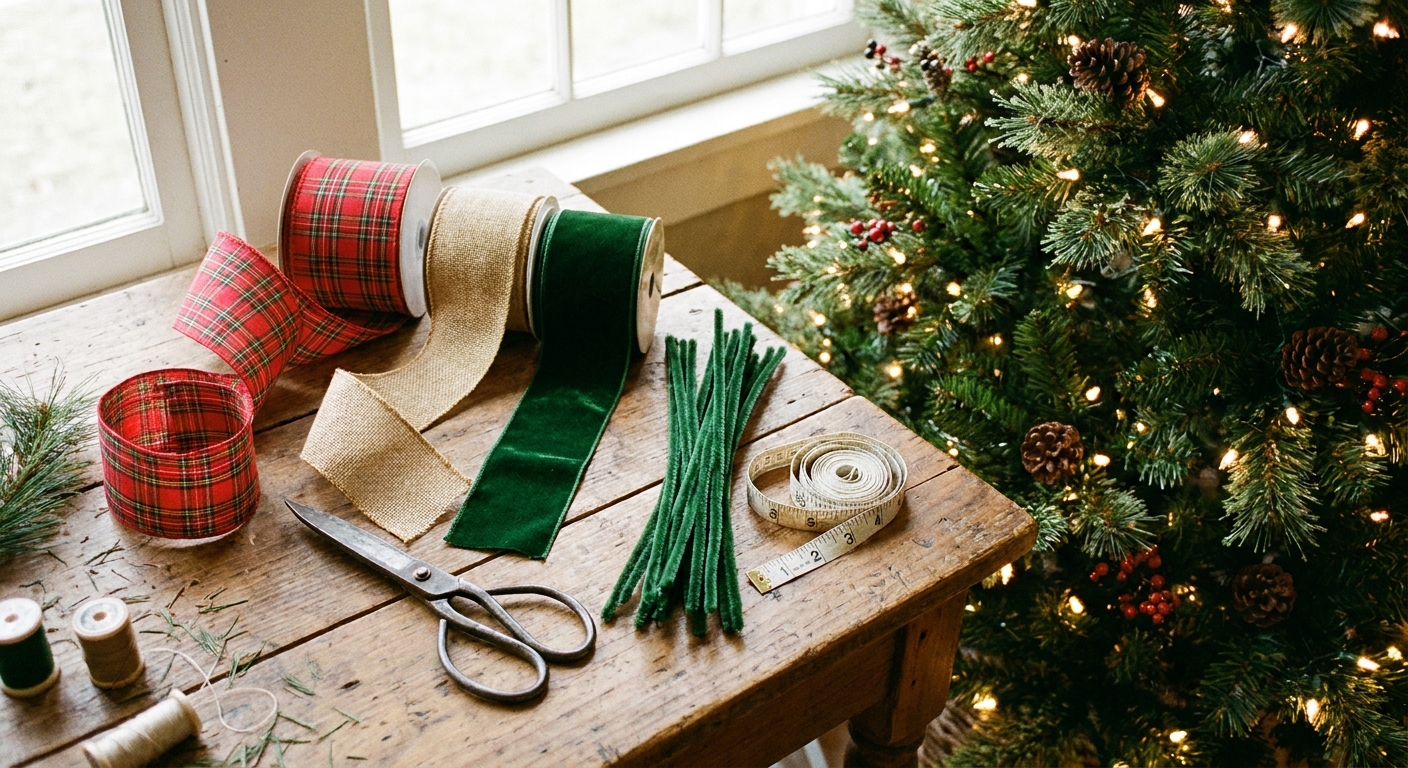
What you need
- Wired ribbon (at least 2.5 inch wide, ideally 4 to 6 inch for main cascades)
- Sharp scissors or ribbon shears
- Chenille stems (pipe cleaners) or floral wire in a matching color
- Measuring tape (helpful for consistent lengths)
- Ornaments and picks to finish the look after ribbon goes in
Order of operations
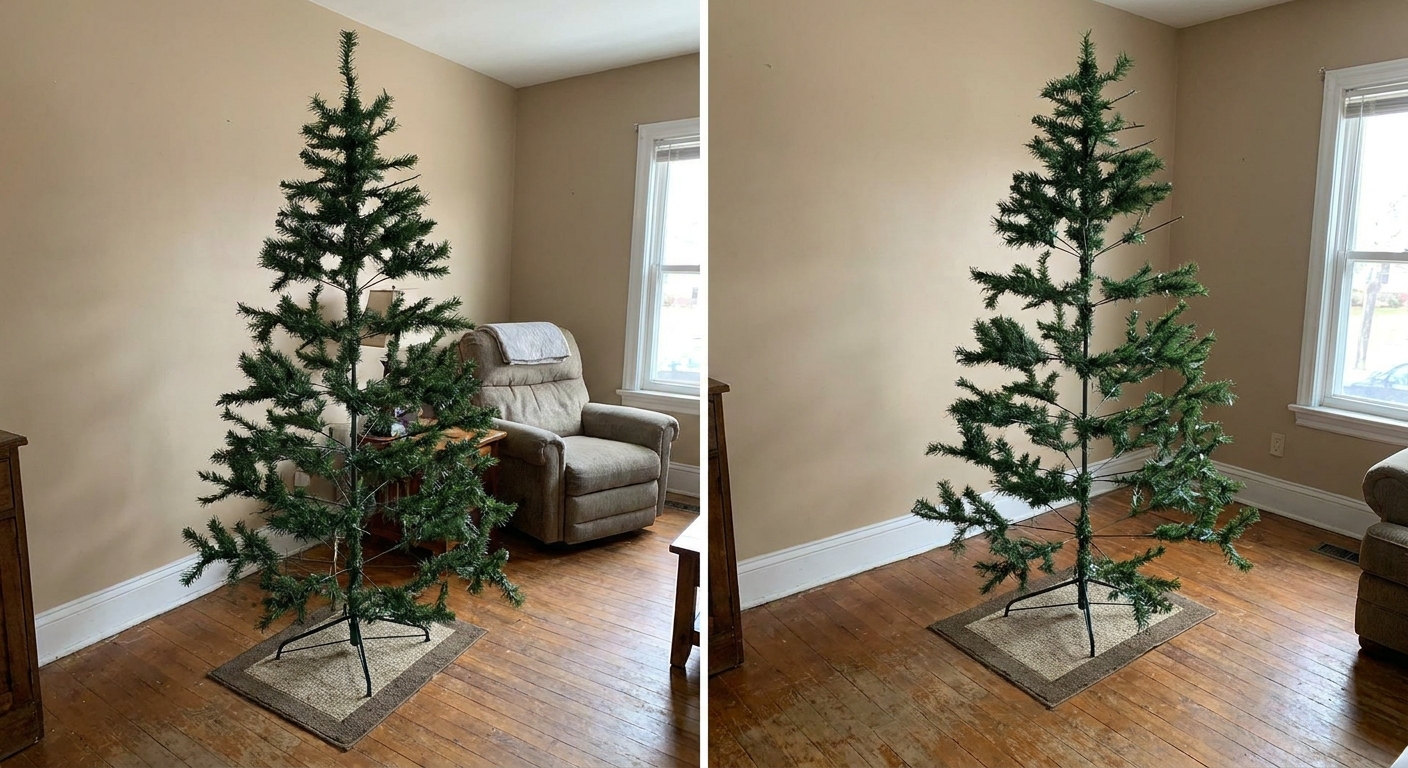
- Fluff and shape the tree fully, including the back if it shows.
- Add lights (if your tree is not pre-lit), pushing some lights deeper for glow.
- Place ribbon cascades next, so they can be anchored into the branches.
- Add large ornaments, then medium, then small.
- Finish with picks, berries, and special pieces to fill gaps and guide the eye.
Ribbon is a foundation layer, not a last-minute garnish. If it goes in after ornaments, it tends to sit on top and look loose.
Tree types and ribbon tips
Ribbon behaves differently depending on what you are working with, so give yourself permission to adjust.
- Real trees (often airy): Use shorter segments and closer tuck points so the ribbon does not fall forward. You may also want slightly narrower ribbon (2.5 to 4 inch) for better control.
- Artificial trees (often dense): You can usually go longer and fuller with your billows because you have more branches to grab and hide ends.
- Sparse trees: Tuck less ribbon inward at each anchor so it does not peek out the sides. More frequent, smaller waves look intentional and help cover gaps.
- Flocked trees: Velvet can cling to flocking, and glitter can shed into it. If you use either, handle gently and plan on a little extra cleanup.
How to add ribbon cascades
Step 1: Cut ribbon into segments
Instead of one long strand wrapped around and around, many decorators use separate segments. Segments are easier to control and give that intentional, “placed” look.
- Standard tree (6 to 7.5 ft): start with pieces about 30 to 42 inches long.
- Taller tree (8 to 9 ft): start with pieces about 42 to 54 inches long.
For a fuller look, a common starting range is 4 to 10 pieces per cascade, depending on how deep and frequent you want the waves.
Step 2: Shape the ribbon first
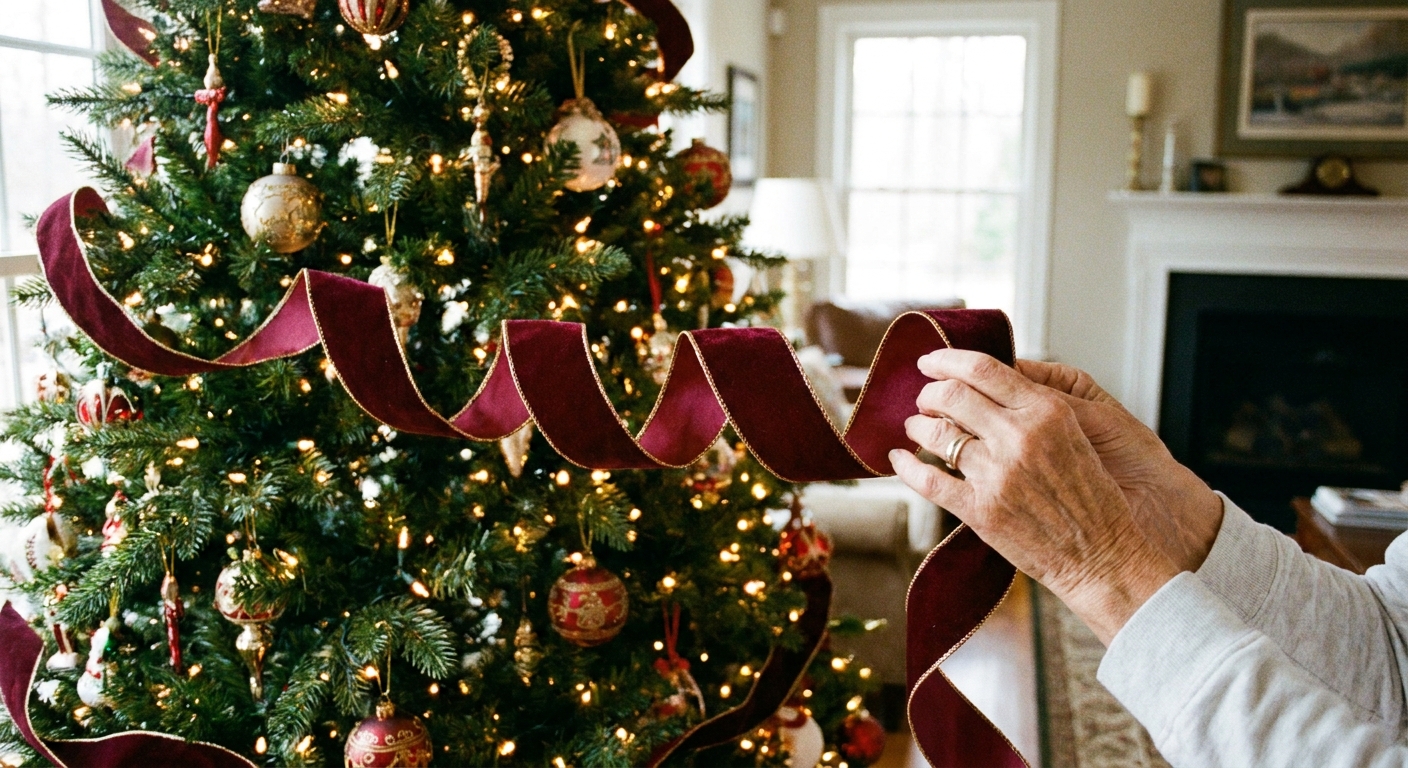
Wired ribbon looks best when it is gently sculpted.
- Run the ribbon between your hands to soften the roll memory.
- Create loose “S” curves, not sharp zigzags.
- If the ribbon has a right side, keep that side facing outward as you form the curves.
Step 3: Start near the top
Pick the front of your tree and choose where the first cascade will travel. Think of it like a ribbon path that drifts slightly left and right as it goes down.
- Anchor point: tuck the top end into branches near the top, just below the topper area.
- First loop: bring the ribbon forward, then dip it inward and tuck it back into the branches again.
- Repeat: alternate between forward billows and interior tucks.
Spacing tip: On an average tree, 8 to 14 inches between tuck points is a helpful starting point. Closer tucks look tailored. Wider tucks look grand and flowing.
Step 4: Do the interior tuck (the secret)
A cascade looks professional when it appears to come from inside the tree, not lie on top like a scarf.
- Open a branch pocket with one hand.
- With the other hand, push a section of ribbon inward toward the trunk. About 6 to 10 inches works well on many full trees, but on sparse trees, use less so it does not show from the sides.
- Close surrounding branches gently over the tucked section to hide the raw edge and hold it in place.
If a tuck keeps popping out, secure it with a small piece of chenille stem twisted around an inner branch.
Step 5: Keep the ribbon facing forward
As you create each billow, check that the prettier side stays forward. Wired ribbon can flip as it twists. Fix it right away by rotating the ribbon at the tuck point.
Step 6: Add more cascades
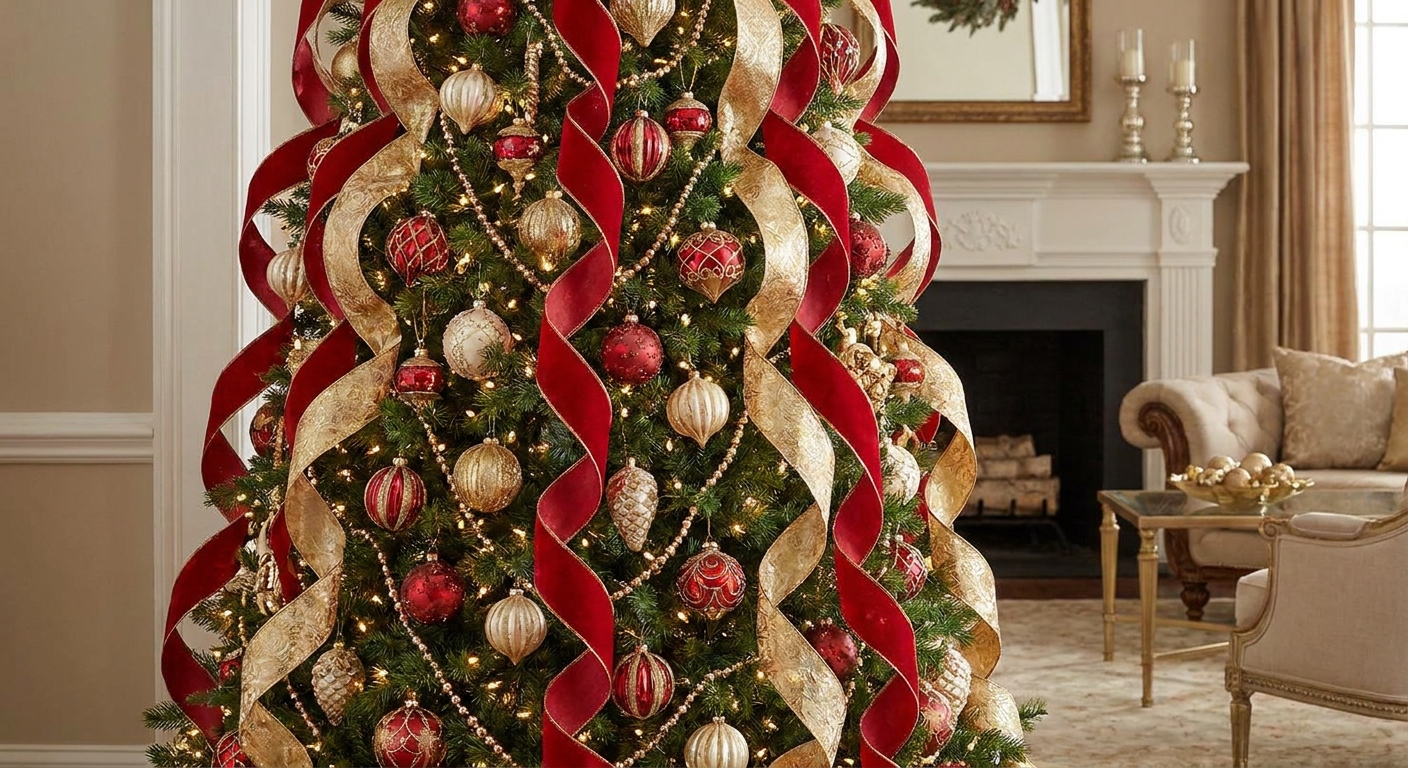
Once your first cascade is in, repeat the process around the tree. For a balanced look:
- Place cascades like numbers on a clock: 12 o'clock, 4 o'clock, 8 o'clock is a great starting trio.
- Make sure at least one cascade is visible from the main viewing angle.
- Vary the drift slightly so they do not look like identical stripes.
Step 7: Finish neatly at the bottom
For the last segment, tuck the tail into the branches near the base. If your ribbon will be near kids or pets, avoid long tails that can be tugged. A clean final tuck keeps everything secure and polished.
Ribbon math
Ribbon needs can swing wildly based on tree fullness, ribbon width, and how dramatic you like your waves. This quick estimate removes a lot of guesswork.
Quick estimate
- Ribbon per cascade = (number of segments) × (segment length)
- Total ribbon = (ribbon per cascade) × (number of cascades)
Example for a 7 to 7.5 ft tree
- Moderate look: 4 cascades × (6 segments × 36 inches) = 864 inches total = 72 feet
- Lighter look: 3 cascades × (4 segments × 30 inches) = 360 inches total = 30 feet
That is why you will often see a range like 30 to 60 feet mentioned for a 7 to 7.5 foot tree. It is a common starting point for many setups, but it can land lower or higher depending on your plan, especially if you are using very wide ribbon or doing lots of cascades.
Weaving vs cascading
Both can look high-end, but they create different moods.
- Cascading segments create bold, sculptural movement and are easier to control.
- Weaving a long strand creates a continuous, garland-like flow, but it can look messy if the tucks are shallow or uneven.
If you love the continuous look, you can still use a designer trick: weave in sections (top third, middle third, bottom third) instead of one never-ending spiral.
Two-ribbon layering
Layering ribbons is where trees start looking truly custom. Try one of these pairings:
- Base ribbon: 4 to 6 inch velvet. Top ribbon: 2.5 inch metallic-edged satin.
- Base ribbon: neutral linen. Top ribbon: plaid or stripe for cozy contrast.
- Base ribbon: deep jewel tone. Top ribbon: sheer sparkle for a glowy overlay.
How to layer: place the wider ribbon first. Then add the narrower ribbon on top using the same tuck points, or offset it by a few inches so the waves interlace.
Mistakes and fixes
My ribbon looks flat
- Make the billows bigger before tucking.
- Use wider ribbon or add a second cascade per side.
- Pull the front loop forward slightly, then re-tuck toward the trunk.
It looks like stripes
- Let each cascade drift left and right as it descends.
- Break up the look with ornaments placed on top of the ribbon in a few spots.
- Add picks (berries, pine, or glitter stems) where the ribbon disappears into the tree.
The ribbon keeps springing out
- Tuck farther inward and close branches over it.
- Use chenille stems to anchor hidden sections.
- If the ribbon is very stiff, use shorter segments so it behaves.
I can see raw cut ends
- Hide ends inside the tree with an interior tuck.
- Angle the cut end downward so it disappears behind needles.
- Use pinking shears for fray-prone fabric ribbon.
Finishing touches
- Place statement ornaments near ribbon curves. Your eye will follow the ribbon, so highlight the prettiest swoops.
- Balance texture. If the ribbon is matte, add a few shiny ornaments. If the ribbon sparkles, add velvety or matte ornaments for calm.
- Check depth. Add a few ornaments deeper inside the tree so it looks dimensional, not just decorated on the surface.
- Step back often. Look from the doorway. If one side feels heavy, shift one tuck point or add a small ribbon segment to even it out.
Mini FAQ
Do I need wired ribbon?
Wired ribbon is strongly recommended for the professional look because it holds sculpted waves. Unwired ribbon can work, but you will need more anchoring and it tends to droop.
Can I do ribbon cascades on a pencil tree?
Yes. Use narrower ribbon (2.5 to 4 inch) and shorter segments so the tree does not feel overwhelmed. Keep tuck points closer together for a tailored look.
More cozy holiday inspiration
If you are decorating beyond the tree, Garland Glow has plenty of twinkle-ready ideas. Explore Indoor Decor & Mantels, or for porch sparkle peek at Outdoor & Porch Decor.
Now give those ribbons a gentle fluff, tuck them inward, and let the cascades do their swooshy magic. Your tree is about to look like it wandered straight out of a winter wonderland.