Let’s gather some sparkle and make your home merry and bright! Those incoming holiday cards are tiny works of art, and with a few simple supplies, they can become a charming part of your room’s Christmas decorating story instead of a messy pile on the counter.
Before you start: make it look intentional
The secret to “stylish” is not spending more. It is repeating a few design choices so the cards read like decor.
- Pick one “frame” color: gold ribbon, kraft twine, white clips, or black binder clips.
- Limit the footprint: choose one main display spot and one overflow spot.
- Keep it gentle on paint and trim: removable hooks, washi tape, and poster putty can work well, but always follow package directions and test in a small hidden spot first. Wall finish, paint age, humidity, and how long it stays up all matter.
- Plan for growth: build a system that can expand as more cards arrive.
If you are already hanging garland or stockings, you might also like these damage-conscious hanging tips: how to hang front door garland without damaging trim and how to hang heavy garland on a mantel without nails.
Quick safety note: Keep card displays away from open flame and heat sources, and avoid low-hanging strings where toddlers or pets can tug. If you are styling a real-fire mantel, this guide helps: fireplace mantel decor that stays safe with a real fire.
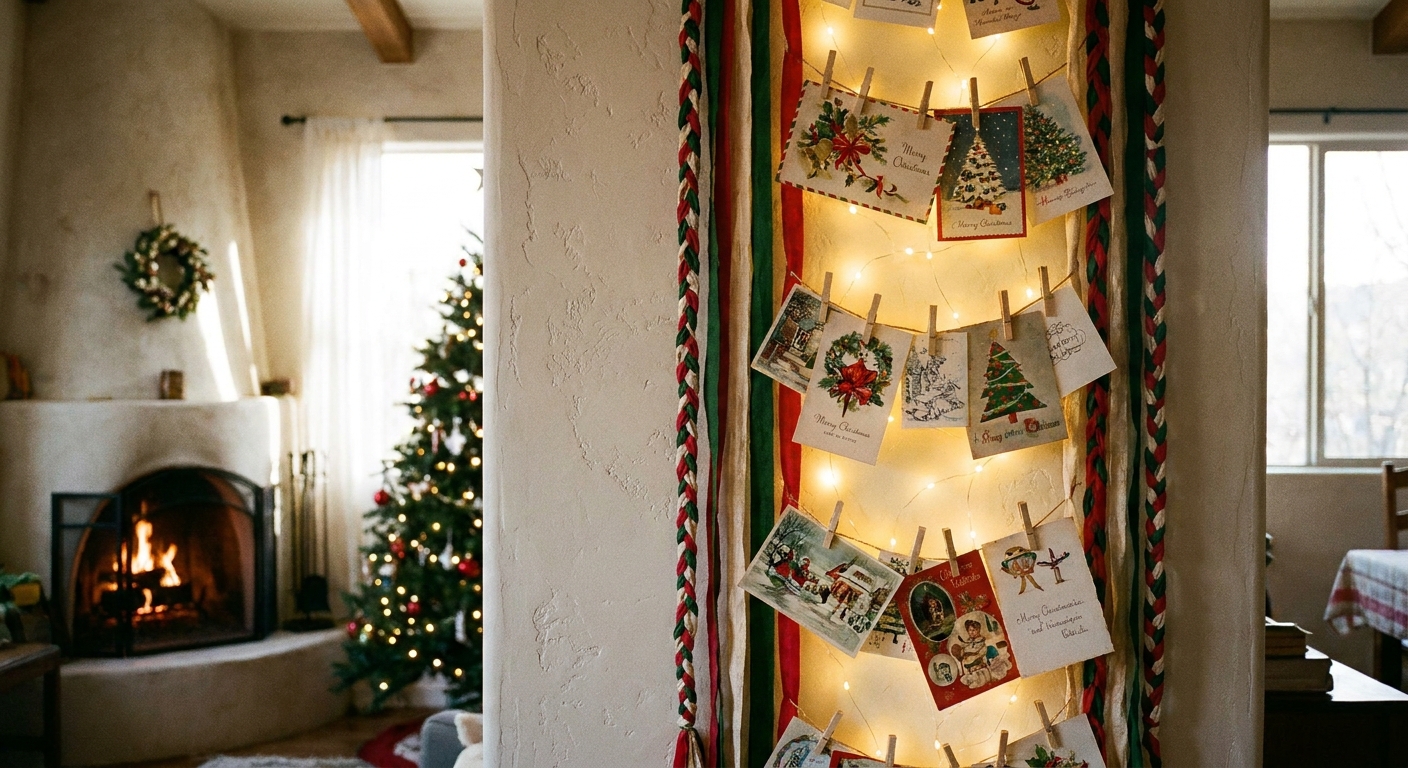
1) Ribbon ladder on a wall
This is one of the neatest ways to display lots of cards without taking over a table. It looks like a holiday wall hanging, especially in satin or velvet ribbon.
What you’ll need
- 2 long lengths of ribbon (each about 5 to 6 feet)
- Short ribbon pieces for rungs (10 to 12 inches each)
- Mini clothespins or mini binder clips
- 2 removable hooks or washi tape
How to do it
- Hang the two long ribbons parallel, about 8 to 10 inches apart.
- Tie short ribbon pieces across like ladder rungs every 8 to 10 inches.
- If your rungs want to slide, add a tiny dot of fabric glue to the knot on the back side of the ribbon. Let it dry fully before hanging cards, and keep glue off walls and trim.
- Clip cards to the rungs, starting at the bottom so it looks balanced as it grows.
Sprig’s styling nibble: Use one ribbon color that matches your tree ribbon for instant cohesion. If you love ribbon-heavy decorating, you will enjoy ribbon cascades on a Christmas tree.
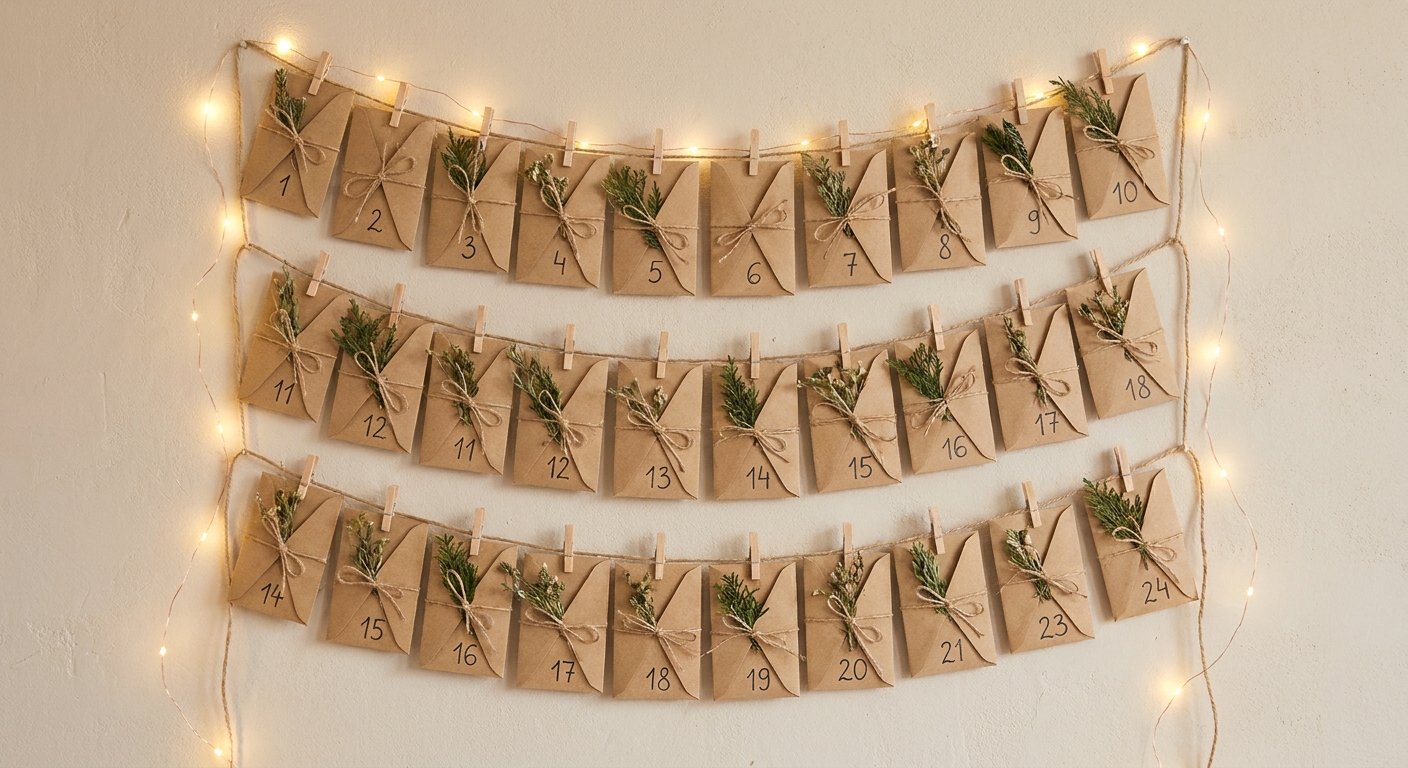
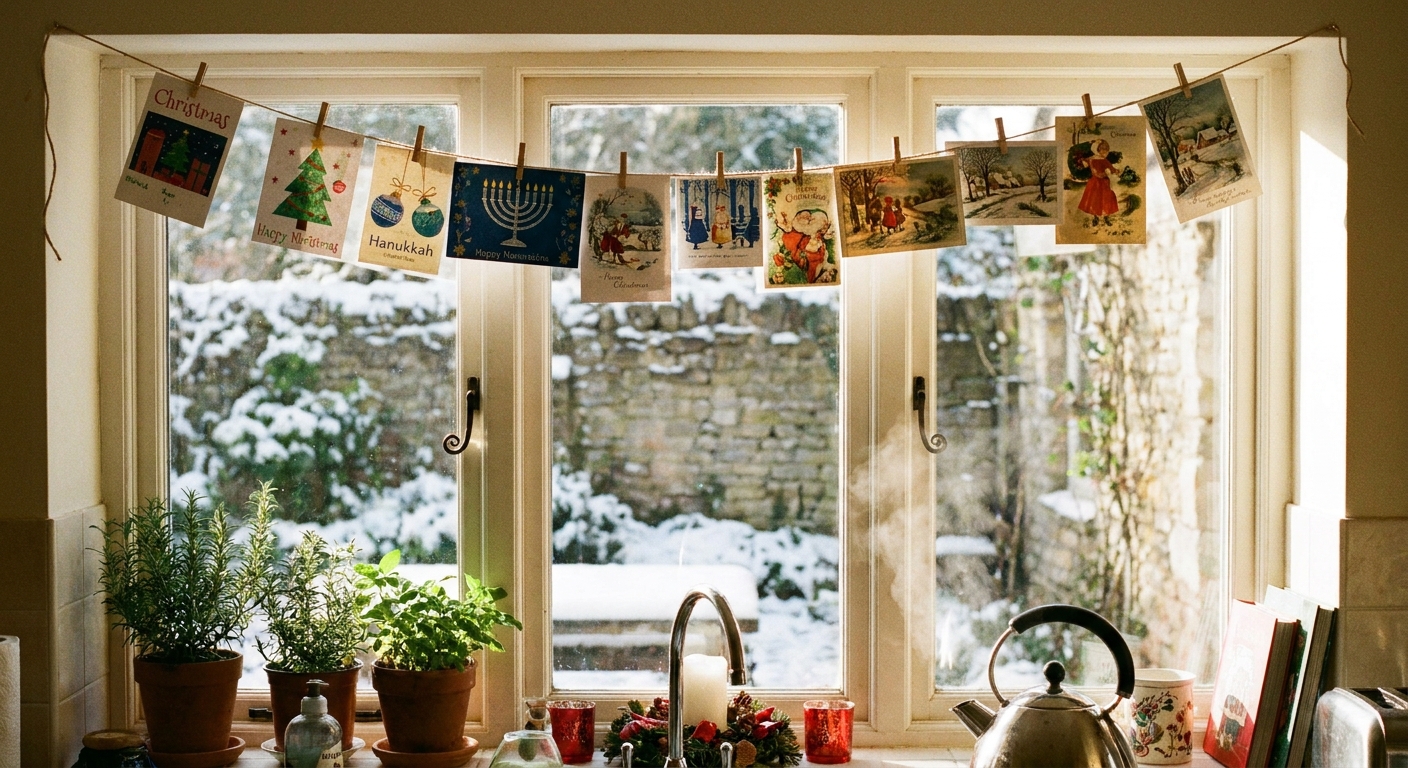
2) Twine and clip garland on a window
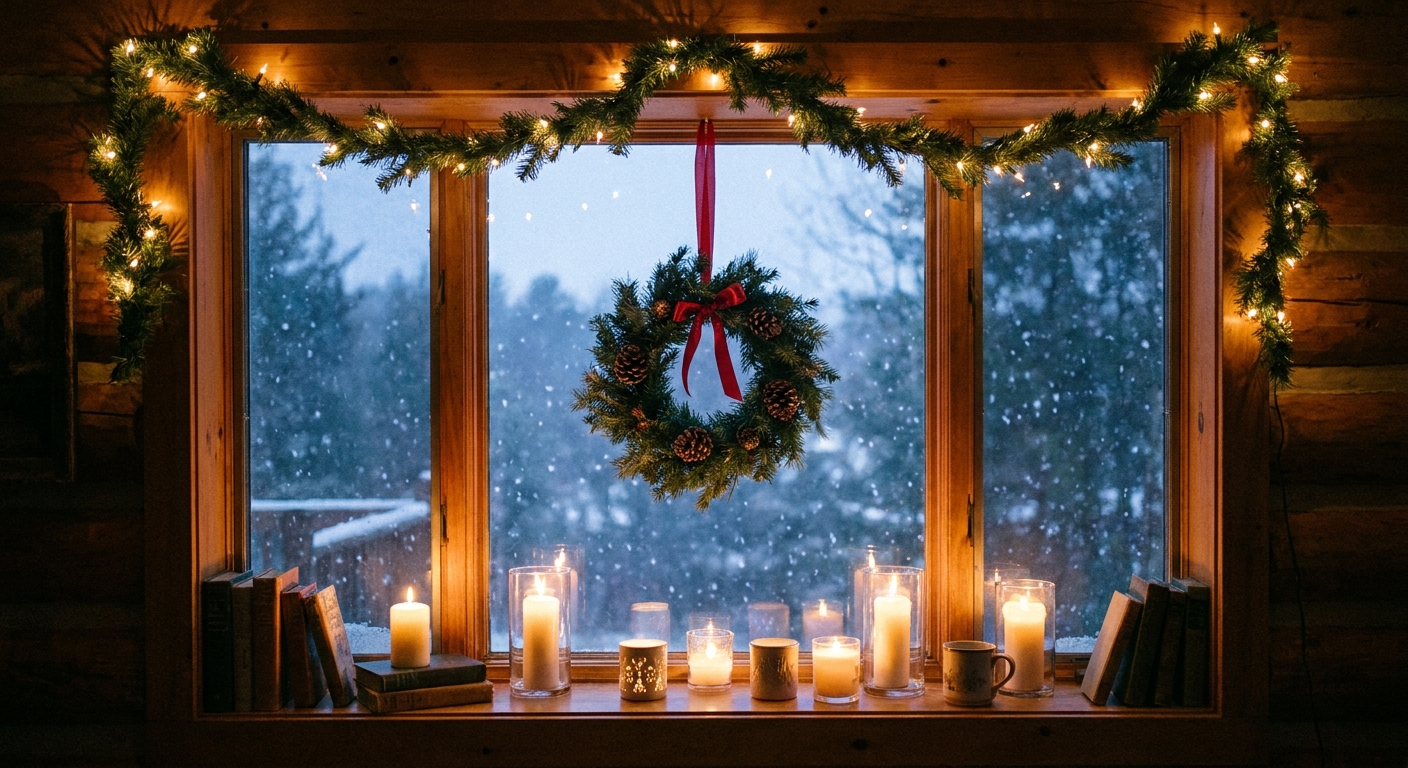
Holiday cards glow when they catch daylight. This method is simple and perfect for kitchens, hallways, and small apartments.
What you’ll need
- Twine, jute, or thin cotton cord
- Mini clothespins or small binder clips
- 2 to 3 removable hooks (use the third for a longer span, heavier cardstock cards, or if the center starts to sag)
- Optional: a short strand of warm white fairy lights
How to do it
- Place hooks above the window trim or along the wall near a doorway.
- String twine with a gentle dip in the middle, then clip cards along the line.
- If adding lights, run them behind the twine so the clips and cards are still the star.
Keep it tidy: If you add lights, tuck the battery pack out of sight with help from how to hide battery packs and cords in Christmas decor.
3) Card “post office” board
This one is wonderfully adjustable. It works for renters, dorms, and family command centers because you can rearrange cards as new ones arrive.
What you’ll need
- Bulletin board, cork tile, or foam board
- Thumbtacks or push pins
- Ribbon or wrapping paper to cover the board (optional)
How to do it
- Wrap the board in neutral paper or add a solid ribbon border if you want a cleaner look.
- Pin cards in rows, leaving a small margin between each card for breathing room.
- When the board fills up, rotate older cards out and keep favorites up front.
Style trick: Group cards by color in little clusters (reds together, blues together). That simple sorting makes the whole board feel curated.
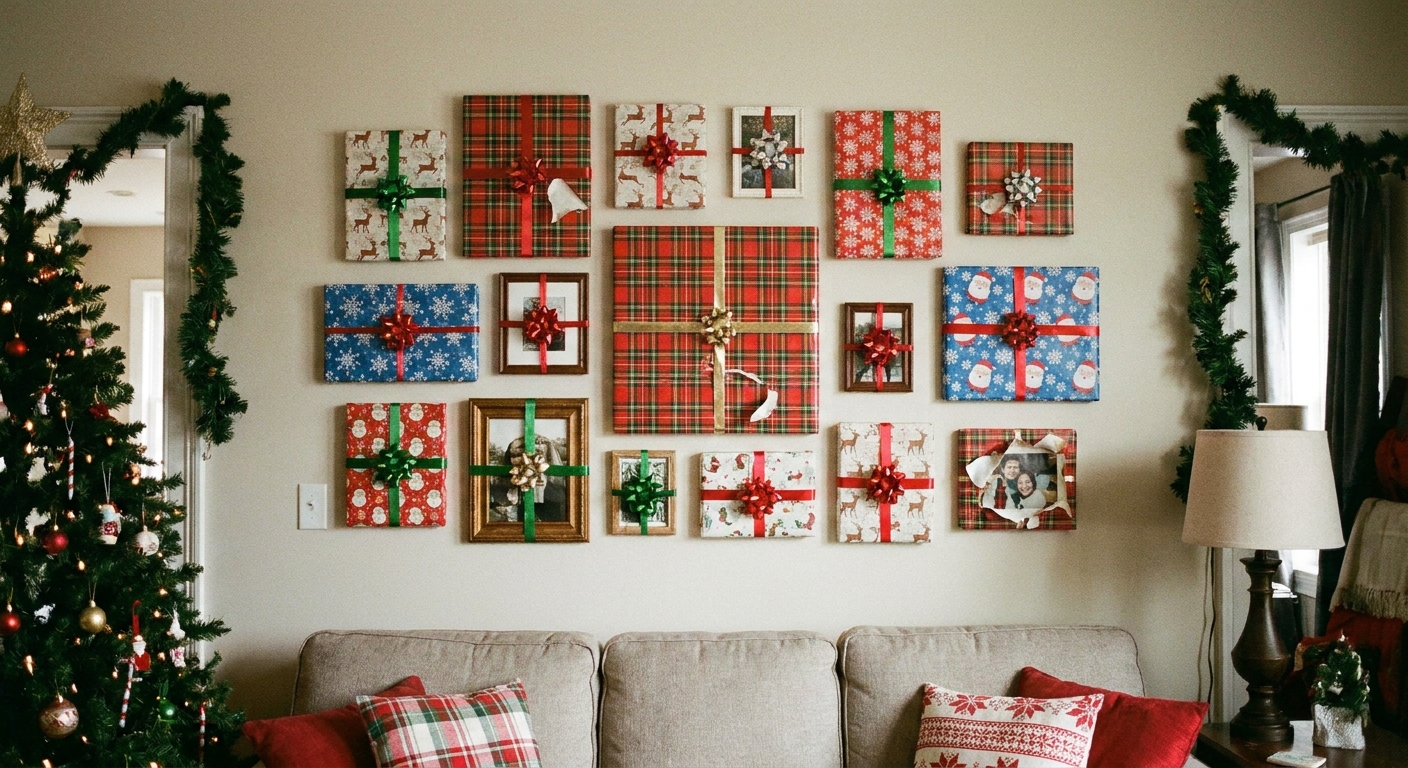
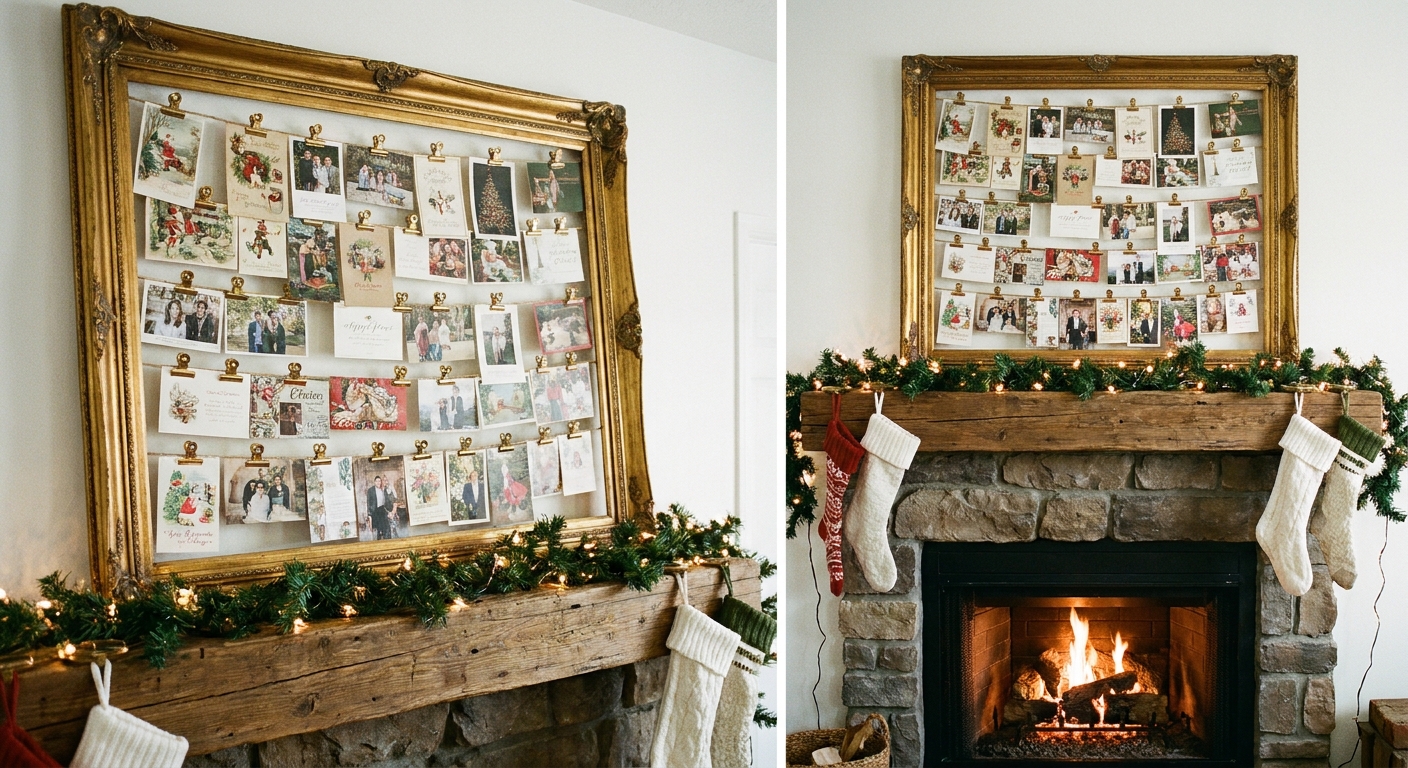
4) Frame the cards like art
Have a large frame hiding in a closet? Turn it into a rotating holiday gallery. This idea is especially pretty in dining rooms or entryways where wall decor matters.
What you’ll need
- Large empty frame (with glass removed for easy clipping)
- String, thin wire, or ribbon for 2 to 3 horizontal lines
- Stapler or tape on the back of the frame
- Mini clips
How to do it
- Flip the frame over and staple or tape string across the back in 2 to 3 rows.
- Turn it back over and clip cards to the strings.
- Lean it on a mantel, shelf, or console table, or hang it like regular wall art.
Extra cozy: If the frame sits on a mantel, pair it with candlelight for that soft glow. If it is an older frame, check for sharp points on the back, and make sure it is stable if you are leaning it. Place it where kids and pets will not bump it.
5) Wreath form card ring
This display is basically a holiday card wreath, and it is surprisingly inexpensive if you use a wire wreath form. It is also a clever solution when wall space is tight.
What you’ll need
- Wire wreath form (or sturdy wire hanger shaped into a circle)
- Ribbon for a hanger loop
- Mini clothespins or binder clips
- Optional: a few sprigs of faux greenery tucked into the form
How to do it
- Make a ribbon loop at the top for hanging.
- Clip cards around the ring, spacing evenly so it looks balanced.
- Add greenery sparingly so the cards remain easy to read and swap out.
Design note: Keep the clips consistent (all gold or all natural wood) for a clean, boutique feel.
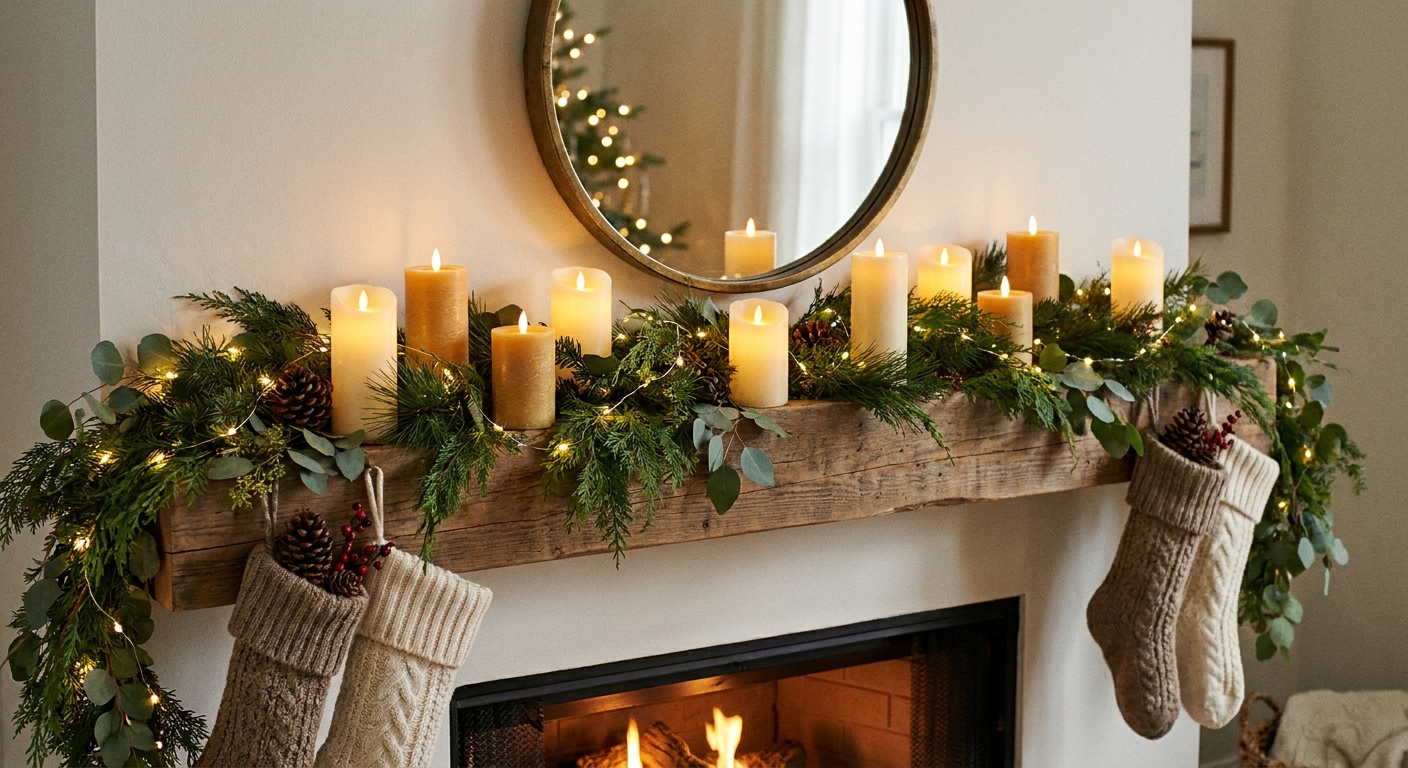
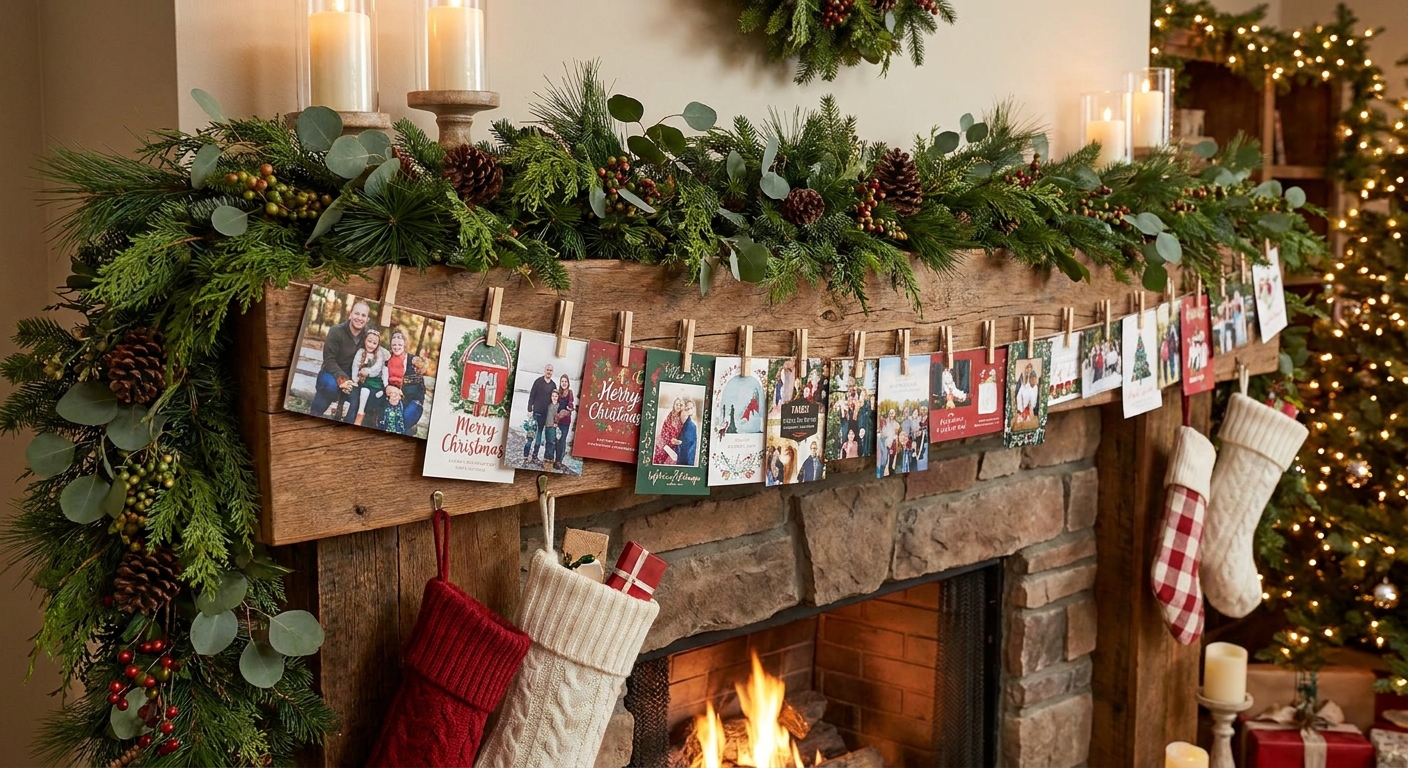
6) Clip cards to a garland
If you already have greenery up, this is the fastest, cheapest way to make cards feel like part of the holiday scene.
What you’ll need
- Garland (real or faux)
- Mini clips
- Optional: ribbon tails or fairy lights
How to do it
- Fluff the garland first so the cards do not look like an afterthought.
- Clip cards in a gentle rhythm. Try about 3 to 4 inches between a pair, then 6 to 8 inches before the next one.
- Anchor the ends with ribbon tails so the whole line feels styled.
Want a fuller look? Use the same fluffing mindset as tree styling. This tip is handy for greenery too: genius hacks to make a sparse artificial Christmas tree look full and lush.
7) Holiday card tray on a table
If wall space is limited or you prefer a minimal look, a tray turns cards into a tidy little vignette. This is also perfect for homes with lots of comings and goings because it keeps cards corralled.
What you’ll need
- A tray, shallow basket, or lidded box
- One small vase, candle, or ornament bowl as a centerpiece accent
- Optional: a ribbon to wrap a bundle of older cards
How to do it
- Stand the newest cards upright at the back of the tray like a mini display.
- Lay older cards flat underneath, rotated so different fronts peek out.
- Add one small decor piece to make it feel finished (not like paperwork).
Table space matters: If you are decorating surfaces that still need to function, you might also like Christmas kitchen island decor that leaves room to prep.
Quick fixes
“My display looks messy.”
- Limit to one or two rows, then rotate older cards out.
- Use matching clips and one repeating ribbon color.
- Keep the edges aligned where possible (especially on boards and ladders).
“My cards are curling.”
- Clip the bottom corners, not just the top.
- Use slightly heavier clips (small binder clips work well).
- For a tray display, stack the curlers under a few flatter cards.
“I don’t want to damage walls.”
- Choose removable hooks rated for the weight you are hanging, and remove them within the recommended time.
- Lean framed displays on furniture instead of hanging.
- Use a bulletin board that rests on a shelf or countertop.
Match your Christmas theme
Holiday cards come in every style, from glittery snowmen to minimalist greenery. A few small choices make them feel like they belong in your overall decor.
- Classic red and green: twine, wood clips, and real greenery.
- Modern neutral: white ribbon, black clips, and a clean frame.
- Gold and glam: satin ribbon and metallic mini clips. If you love that look, visit all-gold monochromatic Christmas tree.
- Cozy woodland: kraft twine, pinecones tucked behind a frame, and warm white lights. For more woodland warmth, see cozy rustic woodland Christmas tablescape.
Best places to put it
- Entryway: a framed card gallery or wreath ring feels welcoming.
- Kitchen: a window twine line adds charm without stealing counter space.
- Living room: clip to mantel garland or use a ribbon ladder wall hanging.
- Dining area: a “post office” board keeps cards visible during gatherings.
Need more small-space decorating ideas that stay functional? Wander through DIY & budget decor for more cozy projects.
After the season: save the favorites
When it is time to pack up the twinkle lights, here are a few low-fuss ways to keep your favorite cards (without creating a new pile).
- Photo box or lidded bin: file them by year with a simple label.
- Hole punch and binder ring: make a little flip-through “card book” for each season.
- Frame-worthy picks: save the best few to reuse in next year’s decor, like a mini art swap.
- Quick scan: snap photos and keep them in a dedicated album on your phone for easy nostalgia.