Let’s gather some sparkle and make your home merry and bright! If you’re dreaming of a lush, heavy Christmas garland on the mantel but your woodwork is a no-nails, no-drill zone, there are a few damage-free tricks that can hold greenery securely when set up correctly.
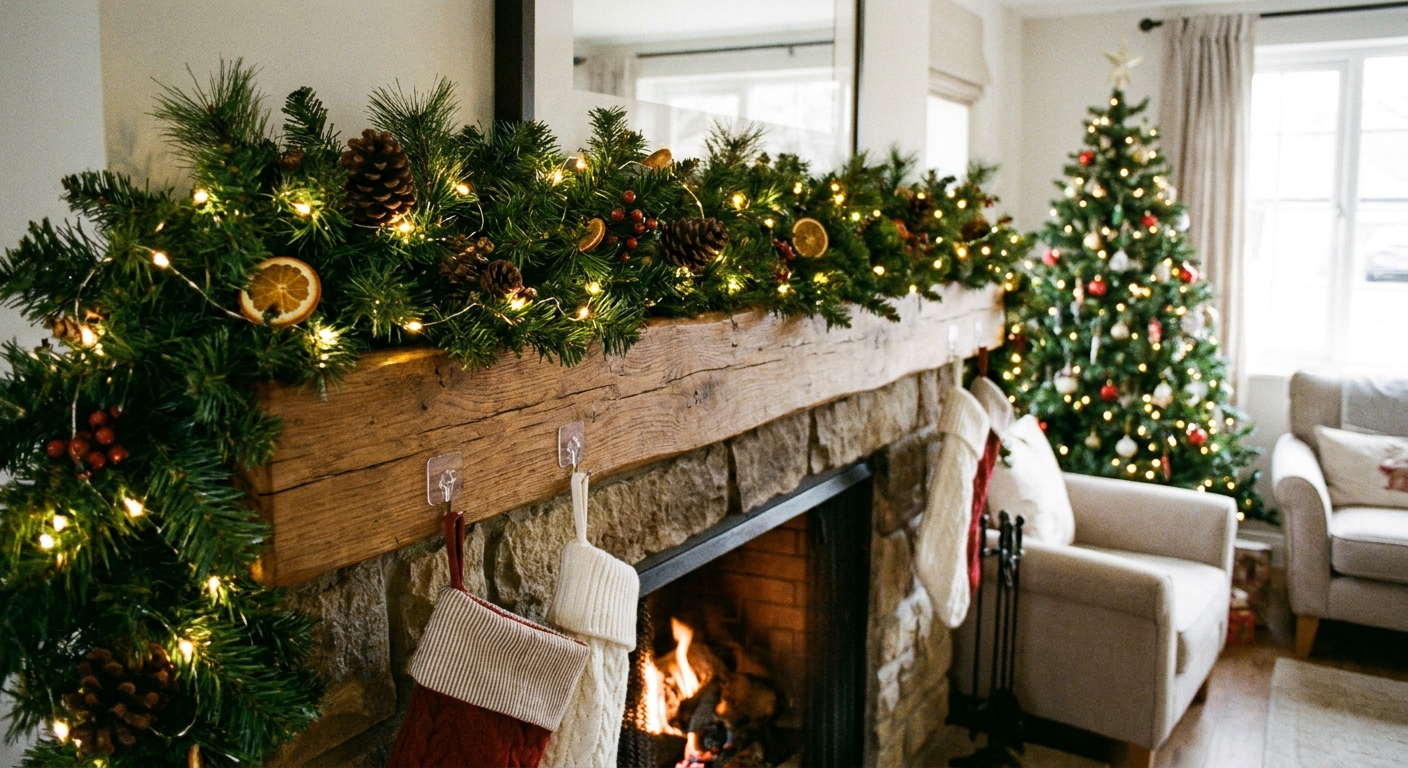
Pick a no-drill method
The best solution depends on your mantel shape, your garland weight, and whether you’re also hanging stockings. Here are three reliable approaches, plus when to choose each.
- Adhesive hooks: Best for most flat or lightly-profiled mantels. Great for shaping swoops and anchoring ends.
- Tension rod setup: Best when you want the weight supported from below or inside an opening, like between mantel legs or across a recessed area.
- Weighted mantel grips: Best for thick, slippery, high-profile mantels where adhesive has less contact area, or when you want a super-fast install.
For truly heavy garland, the secret is rarely “one hero hook.” It is usually more anchor points, less strain per point, and a little hidden support.
Before you start
Take two minutes to set yourself up for success.
- Confirm the surface: Finished wood and smooth painted surfaces are usually the easiest. Tile, stone, metal, and brick can work, but adhesives are less reliable on porous, dusty, or textured surfaces (and grout lines can be especially tricky).
- Wipe the area: Use a clean, dry cloth first. If needed, lightly clean and let it fully dry before sticking anything on.
- Check paint and timing: If your mantel is freshly painted or the finish is delicate, give it plenty of cure time and test one hook in a hidden spot first. Heat and humidity can also reduce adhesion.
- Plan your drape points: Decide if you want one central swag, two symmetrical swags, or a straight line across.
- Mind heat: If your fireplace will be used, keep decor and cords far from heat. When in doubt, keep everything outside the opening.
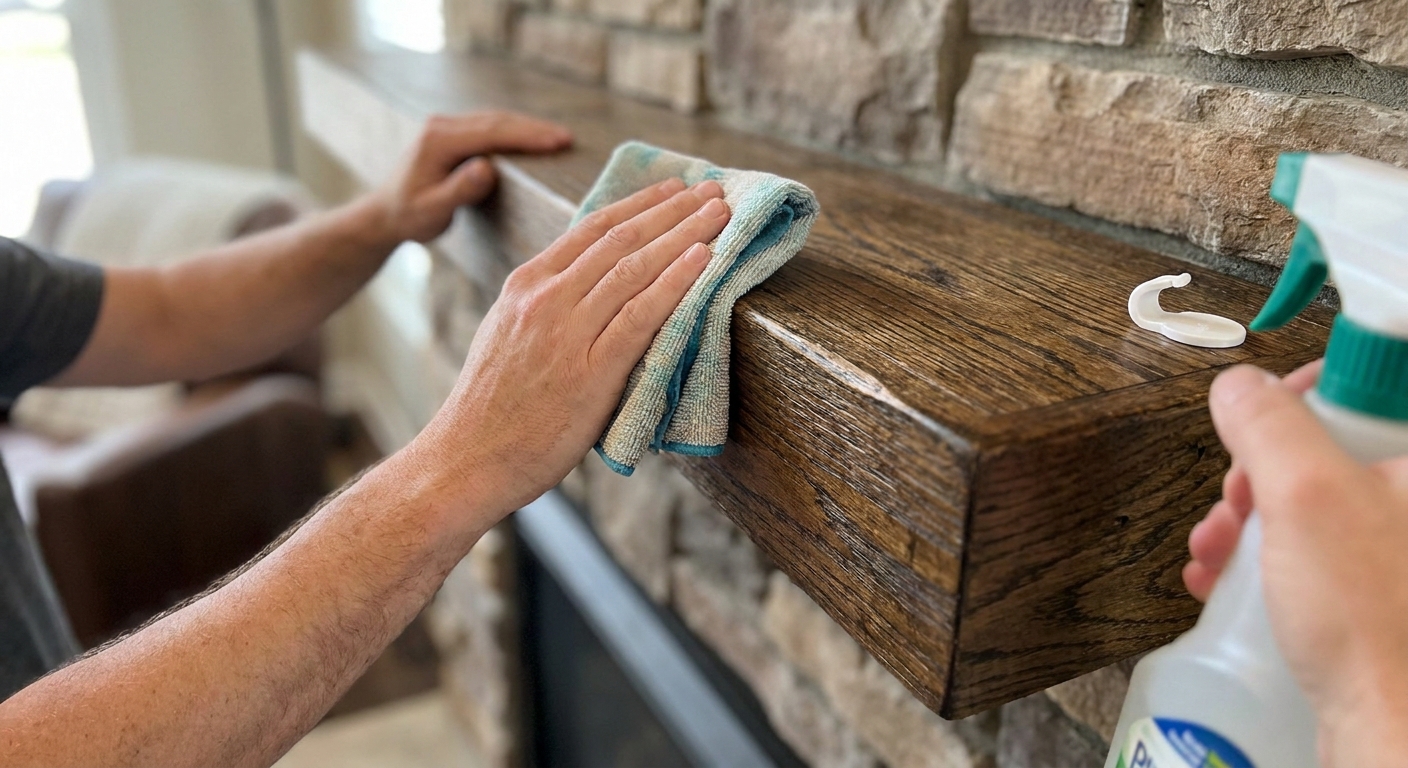
Method 1: Adhesive hooks
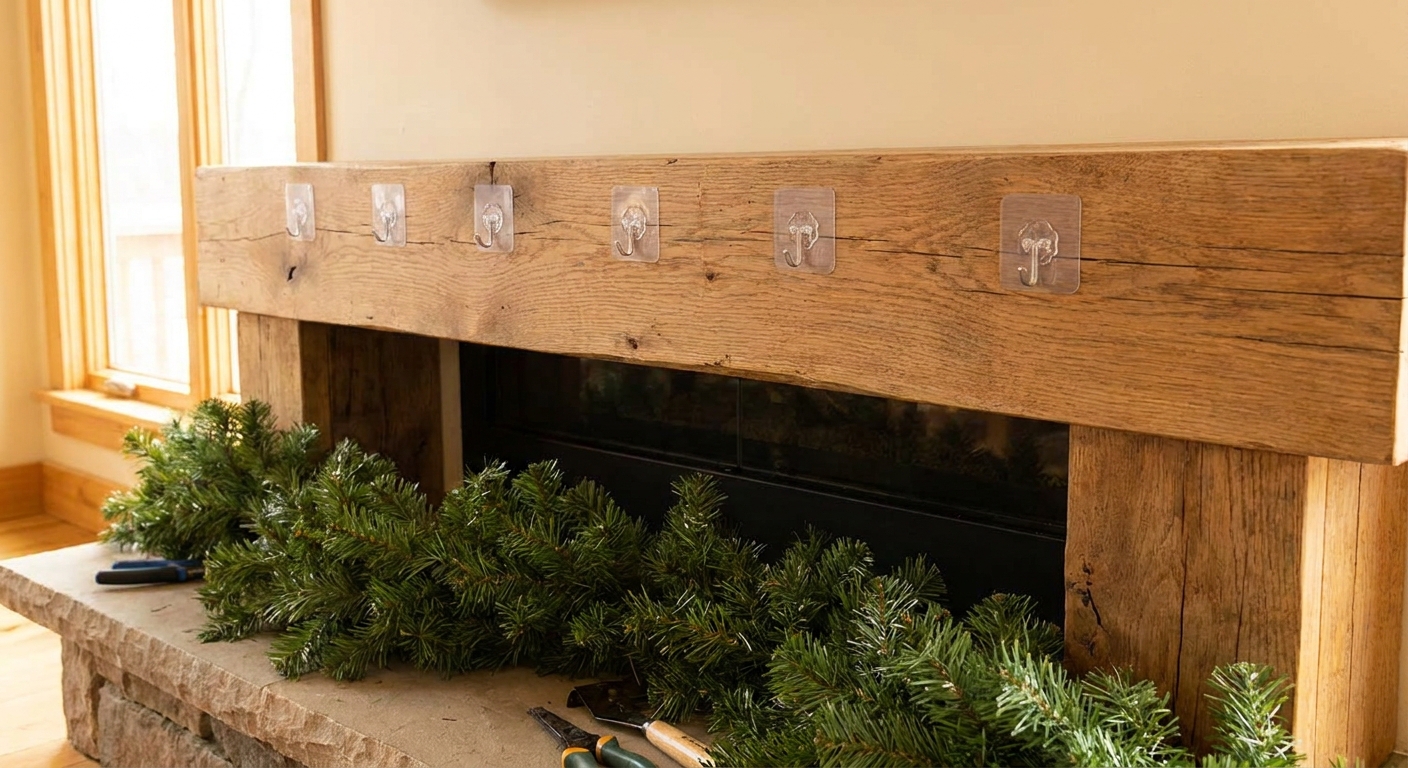
Adhesive hooks work beautifully for thick, full garland when you use enough of them and place them where the garland naturally wants to pull.
What you need
- Removable adhesive hooks sized for your surface and load
- Optional: clear fishing line or thin floral wire to tie garland to hooks
- Optional: soft ribbon to disguise tie points
Choose the right hook
- Use the rating as a best-case number: Most weight ratings assume an ideal surface and a straight-down pull. Swags create angles, which can reduce holding power.
- Go larger than you think: A few higher-capacity hooks usually behave better than a bunch of tiny ones.
- Consider outdoor-rated strips: These can help in rooms that run humid or chilly, but they still need a clean, smooth surface.
Step-by-step
- Estimate the load: “Heavy” can mean pre-lit garland, extra-thick faux pine, or anything loaded with ornaments. If you can, weigh the garland (even a quick bathroom scale check helps) or check the packaging.
- Plan anchors as a starting range: A single center swoop often takes 5 to 7 anchors to look secure (ends, corners, and a few along the top). Deep swags and loaded garland may need more.
- Place hooks where the pull is strongest:
- Ends: one hook near each end to stop sliding.
- Top front edge: for thick garland, start with hooks spaced about 8 to 14 inches apart, then adjust based on weight and sag.
- Deep swags: add a hook directly above each lowest dip to take the load.
- Apply each hook slowly, pressing firmly for the time listed on the package directions.
- Wait before loading (this matters for bulky decor). Let the adhesive set per the manufacturer’s guidance.
- Hang the garland in stages: anchor both ends, then the center, then fill in the in-between hooks.
- Secure with ties if needed: if the garland is springy, loop fishing line or floral wire around the garland base and the hook. Keep ties snug but not crushing.
Sprig’s little stability trick
If your garland is extra thick, reduce “lever pull” by keeping the garland’s spine resting on the mantel top as much as possible, instead of hanging the whole weight off the front edge.
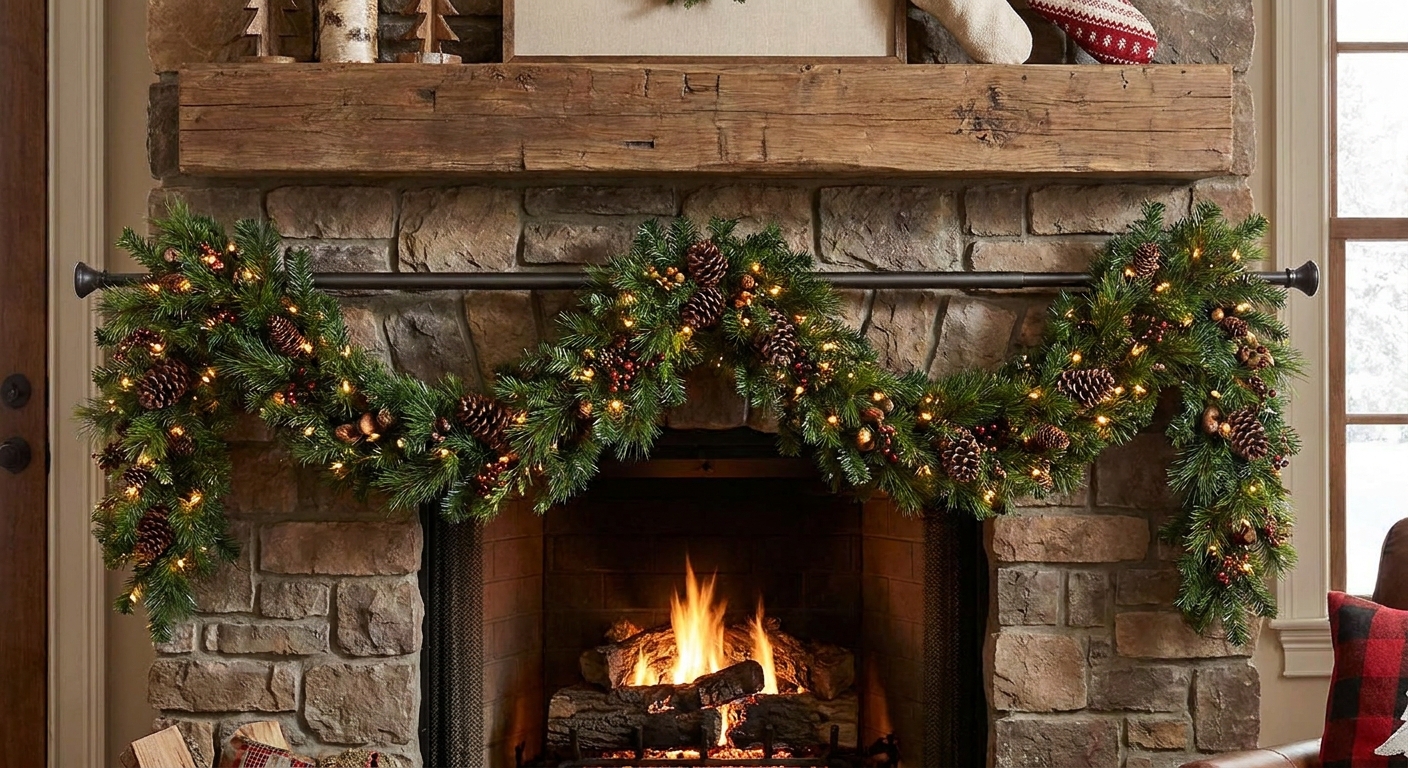
Method 2: Tension rod support
Tension rods are wonderful because they can carry weight without relying on adhesive. This method is especially handy if your garland is long, thick, or you are layering lights and ribbon.
Where to use a tension rod
- Between mantel legs (if your surround has side columns or an opening)
- Across an alcove or recessed area near the mantel
- Never inside a working firebox: If there is any chance the fireplace will be used, or if you are unsure, keep all decor and rods out of the opening. Even an “unused” fireplace can have drafts, soot, or surprise heat.
Step-by-step
- Measure the inside width of the space where the rod will sit.
- Choose a rod with a strong spring and grippy ends. Rubber ends help protect surfaces and reduce slipping.
- Set the rod slightly below the mantel shelf line so the garland can drape naturally and hide the rod.
- Wrap and rest the garland over the rod, then shape the front drape.
- Add small adhesive hooks up top for shaping if you want precise swoops. The rod holds the weight, the hooks guide the silhouette.
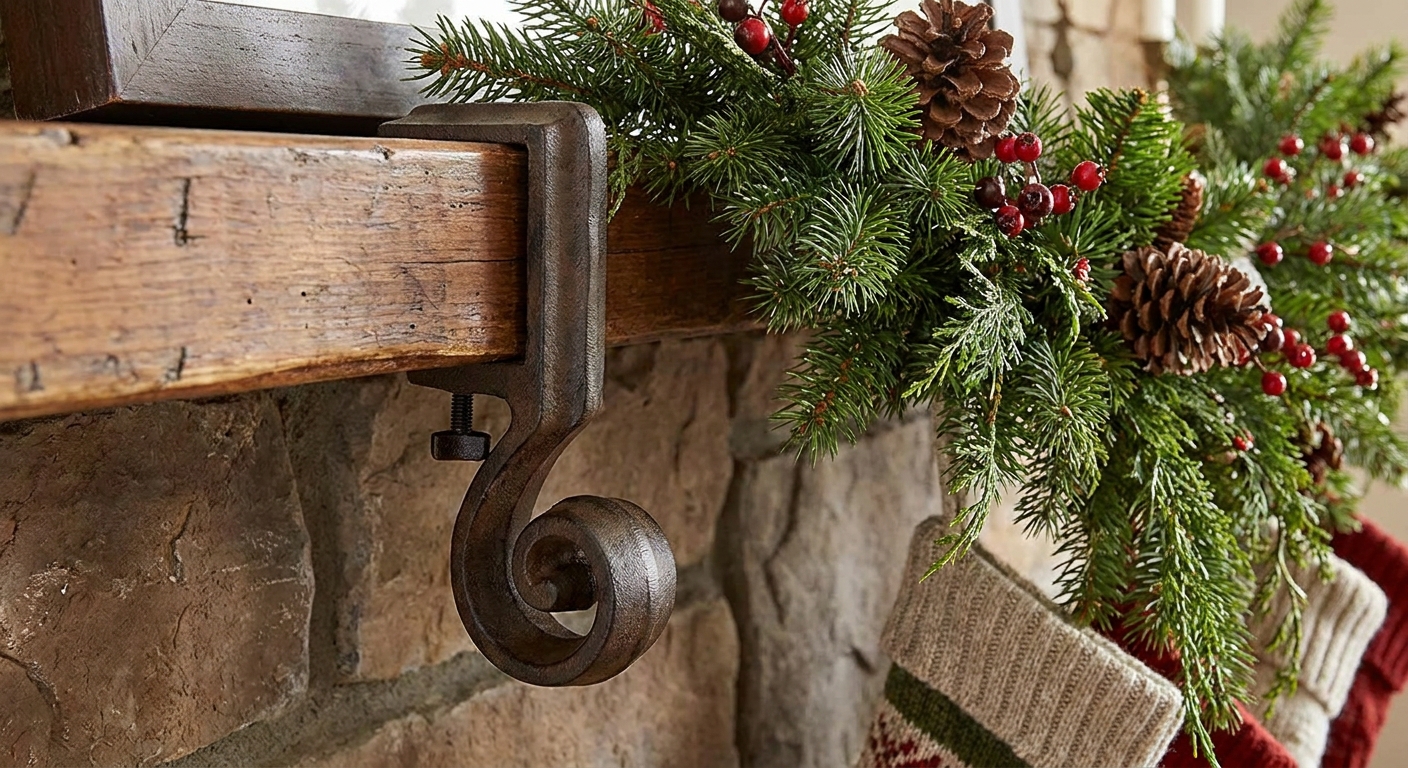
Method 3: Weighted mantel grips
Weighted mantel grips or over-the-mantel style holders can be a great option when you need strong support without sticky residue. They sit over the top of the mantel and use weight and friction to hold decor.
Quick cautions
- Check mantel thickness and overhang: These products vary, so make sure the grip actually fits your mantel profile.
- Protect the finish: If your mantel is delicate, add a thin felt pad where the grip touches, and avoid overtightening any clamps.
Step-by-step
- Place grips along the mantel top, spacing them evenly. Add extra at the ends and where you expect the deepest drape.
- Attach garland to the grips using built-in clips or by tying around the garland base.
- Cover the top hardware with the garland spine, a ribbon run, or décor like pinecones so everything looks seamless.
Best uses
- Thick mantels where adhesive hooks do not have much flat area
- Textured or dusty surfaces that do not play nicely with adhesives
- Last-minute decorating when you want instant adjustability
How many supports do you need?
Thick garland looks dreamy, but it needs enough anchor points to stay put. Use this as a starting point, then add more if anything slips or sags.
Simple rule of thumb: Add up the hook or grip ratings, then build in a cushion. Your total rated capacity should comfortably exceed the weight of the garland plus any lights, ribbon, and ornaments. If you cannot estimate weight, assume you need more anchors than you think and keep your pulls as straight-down as possible.
| Mantel length | Starting anchors for thick garland | Where to place them |
|---|---|---|
| 4 to 5 feet | 5 to 7 | 2 ends, 1 center, 2 to 4 along top front edge |
| 6 to 7 feet | 7 to 10 | 2 ends, 1 to 2 center supports, remaining evenly spaced |
| 8 to 10 feet | 10 to 14 | Every 8 to 12 inches, plus extra at dips and corners |
If you are using a tension rod as the main support, you can often use fewer top anchors because they are only shaping the garland, not holding all the weight.
Make it look full, not heavier
If the garland is already weighty, add volume with airy layers rather than piling on dense décor.
- Fluff first: separate branches and turn the fullest side forward.
- Use ribbon loops: wired ribbon creates big puffs with very little weight. For extra help, see Ribbon Cascades on a Christmas Tree and borrow the same looping idea for mantels.
- Light the inside: tuck mini lights deeper into the greenery so the garland glows without extra ornaments.
- Cluster lightweight accents: small ornaments, faux berries, and pinecones add sparkle without stressing your anchors.
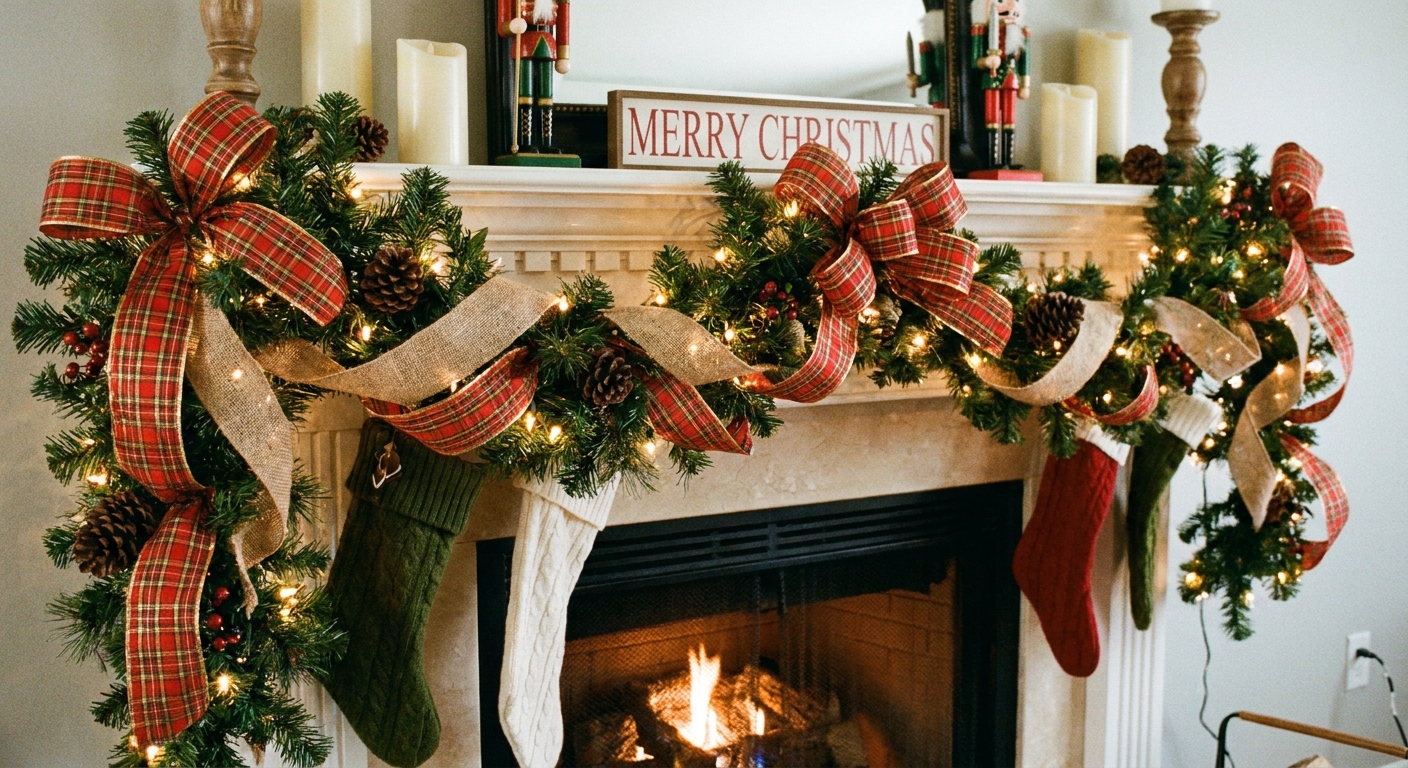
Stockings and garland
Stockings pull straight down, and that force can tug garland loose if they share the same support points. The easiest fix is to give stockings their own system.
- Use weighted stocking holders for stockings, and separate hooks for garland.
- Avoid adhesive hooks for stockings unless they are specifically rated for the load, your surface is ideal, and the pull is mostly straight down.
- Keep garland anchors higher on the top front edge, and stocking holders slightly forward so the two do not fight for space.
Quick fixes
Hooks keep popping off
- Clean and fully dry the surface, then try again.
- Use more hooks so each one carries less weight.
- Move hooks to reduce sideways pull. Adhesives prefer straight downward load.
- If your surface is porous or textured, switch to mantel grips or a tension rod approach.
Garland slides to one side
- Add a strong anchor at each end.
- Create a hidden tie point at the center to keep symmetry.
Mantel is brick, stone, or textured
- Try weighted mantel grips, or a tension rod solution if there is an opening.
- If using adhesive, choose options designed for textured surfaces and keep expectations realistic on rough brick and grout.
Garland sags in the middle
- Add an anchor directly above the deepest dip.
- Use a tension rod underneath to carry the center weight.
Damage-free takedown
The safest removal is slow and gentle. Rushing is what usually causes peeling paint or torn finish.
- Unload first: remove ornaments, ribbon, and lights before pulling off supports.
- Remove ties: snip fishing line or floral wire rather than yanking.
- Follow the hook’s removal method: many removable adhesive systems have a pull-tab designed to release cleanly.
- Clean residue carefully: use a soft cloth and mild cleaner appropriate for your mantel finish.
More cozy indoor ideas
If you’re sprinkling holiday magic through the whole room, Garland Glow has more warm-and-inviting decorating inspiration ready for you.
Now go give that mantel a twinkly winter hug. With the right supports tucked out of sight, your garland can look wonderfully lavish while your woodwork stays perfectly unbothered.