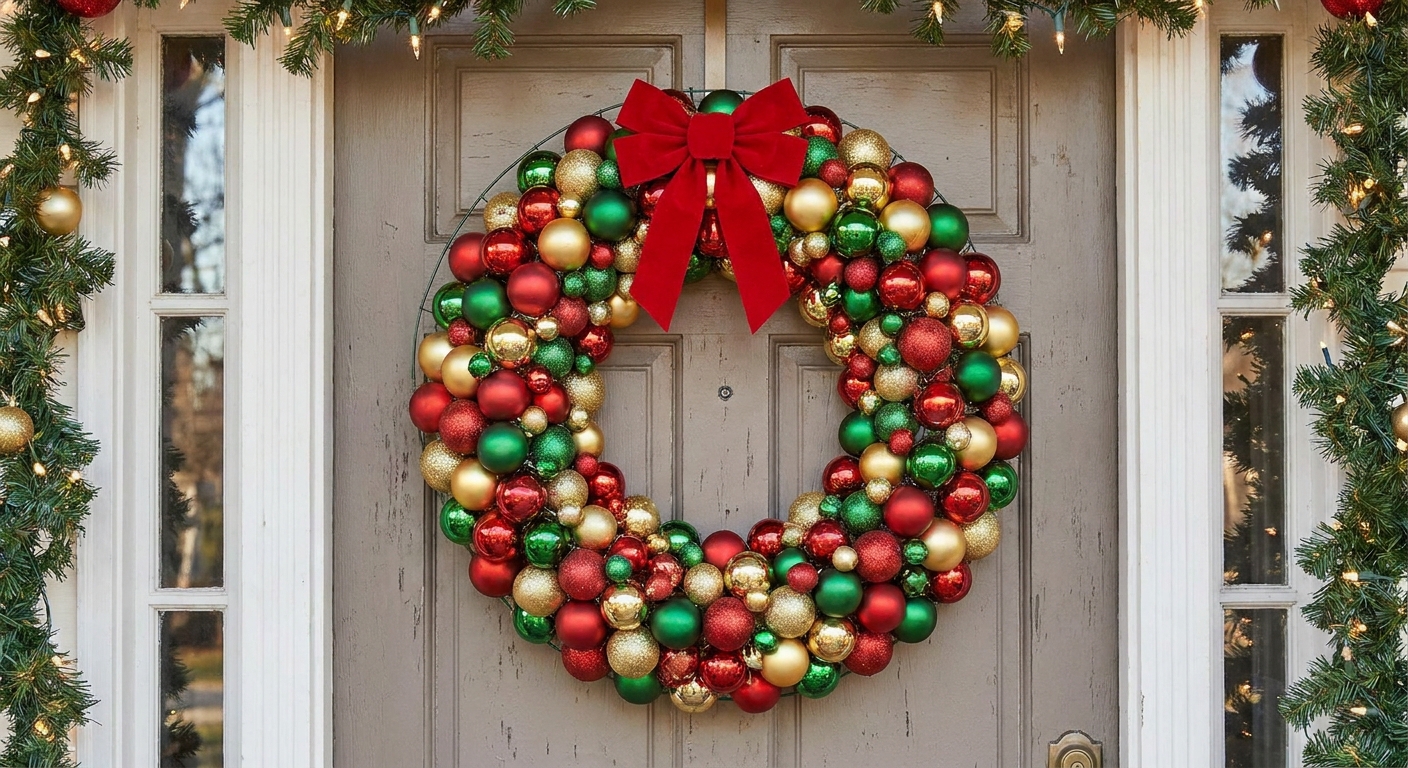
Let's gather some sparkle and make your home merry and bright! This shatterproof ornament wreath is bold, colorful, and wonderfully budget friendly. Best of all, it starts with something many homes already have: a simple wire clothes hanger.
Why this wreath works
- Big impact, low cost: Inexpensive shatterproof ornaments create a full look fast.
- Lighter and safer than glass: Plastic ornaments are usually lighter than glass and will not shatter into sharp pieces. Finished wreath weight still varies by ornament size and how packed you make it.
- Easy to customize: Go monochrome, classic red and gold, candy colors, or winter whites.
If you are decorating a small space and want high impact without clutter, this pairs beautifully with other budget friendly projects in DIY & Budget Decor.
What to gather
Supplies
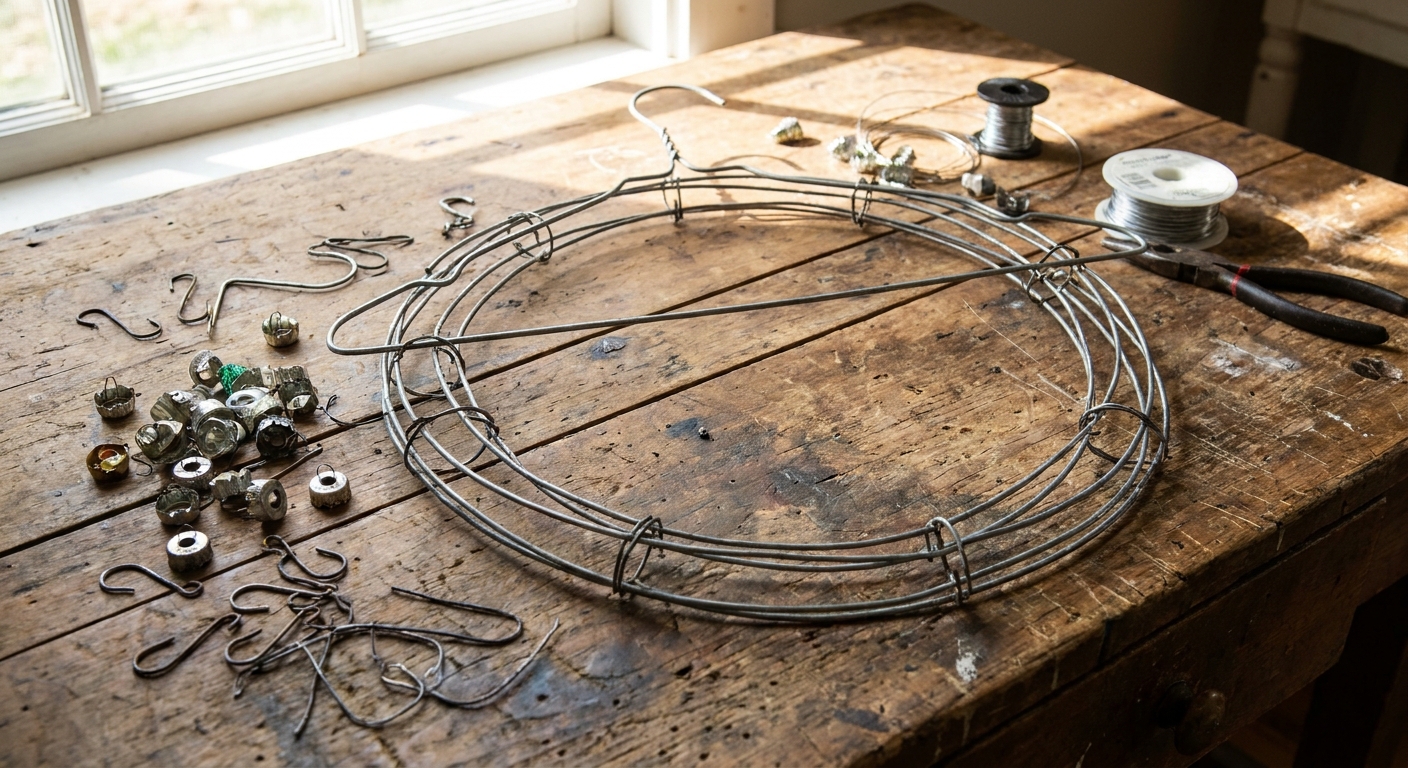
- 1 wire clothes hanger (the kind that twists at the top)
- Shatterproof ornaments in mixed sizes (see the quick guide below)
- Hot glue gun and plenty of glue sticks
- Pliers (helpful for untwisting the hanger neck)
- Wire cutters (only if you plan to snip the hanger and re-twist it securely)
- Ribbon for hanging and optional bow
- Optional: chenille stems (pipe cleaners) or small zip ties for extra securing
- Optional: felt pads or a small scrap of craft foam to protect the door
How many ornaments to buy
- Mostly 2 to 2.5 inch ornaments: plan on about 80 to 120 for a lush 18 to 24 inch finished wreath
- Mostly 3 inch ornaments: plan on about 60 to 90
- Mix of 2.5 to 4 inch ornaments: plan on about 50 to 80
Sprig tip: If you are between two quantities, grab the extra box. The smallest ornaments disappear into gaps like magic, and leftovers are perfect for bowl fillers or mini trees.
Nice extras for a designer finish
- Small ornament picks or faux berry picks
- One statement ribbon (velvet, satin, or wired)
- Mini ornaments to fill tiny gaps
Safety note: Hot glue is very hot and can burn skin. Work on a protected surface, keep fingers clear of fresh glue, and take breaks so the glue gun does not get knocked over.
Step 1: Shape the hanger
Set the hanger on a table and gently bend it into a circle. It will not be a perfect circle at first, and that is completely fine. The ornaments will hide small wonkiness.
- Keep the hook: The hanger hook becomes your built-in hanging point.
- Round the corners: Press the hanger’s shoulder corners inward to soften the shape.
- Check the size: Aim for a circle around 14 to 18 inches across before ornaments. Once filled, it will look larger.
Step 2: Prep the ornaments
This is the little step that saves a lot of frustration later.
- Remove ornament hooks: Set them aside.
- Test the caps: Gently tug each cap. If any are loose, pop them off.
- Glue the caps back on: Add a small ring of hot glue around the ornament opening, then press the cap back in place.
Sprig tip: Focus on gluing caps for the ornaments you will thread onto the hanger first. You can glue more as you go.
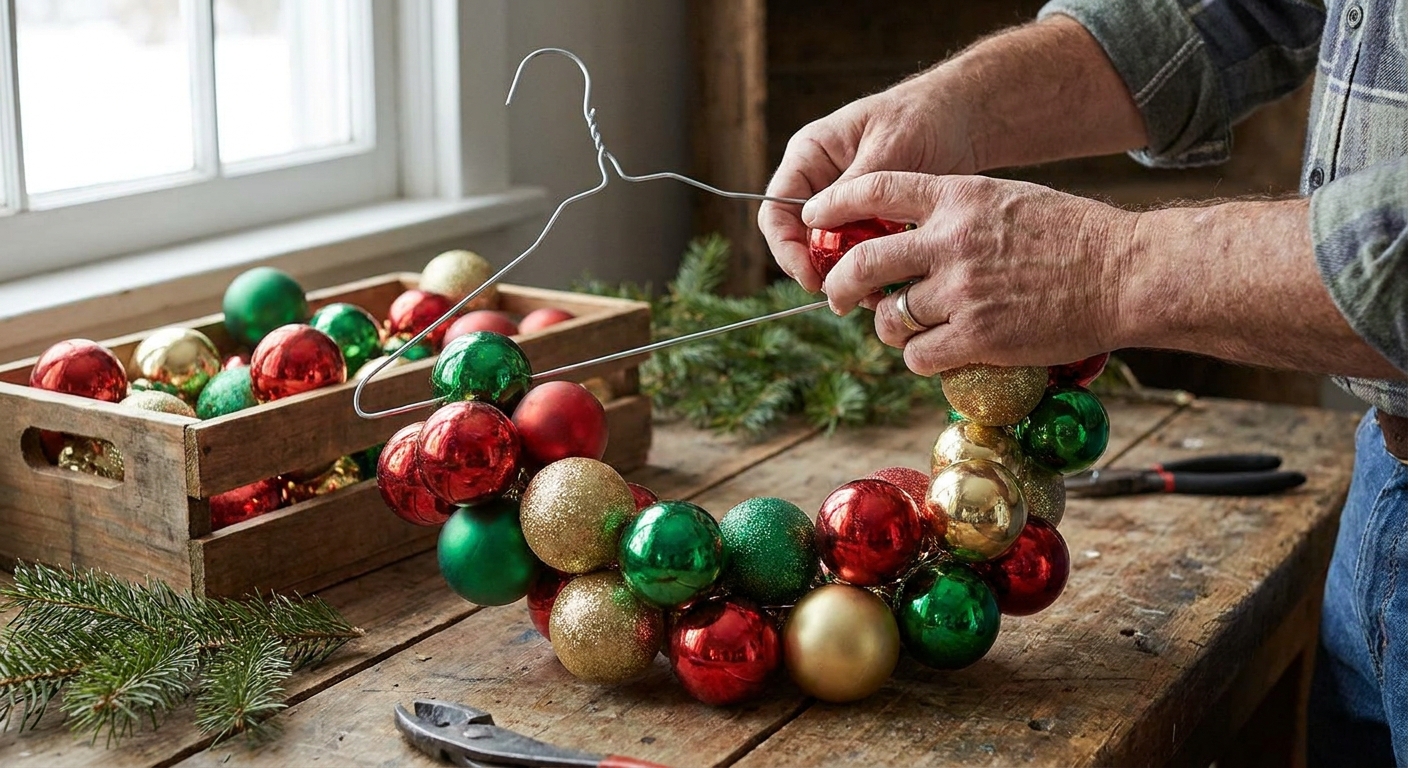
Step 3: Load the hanger
Ornament wreaths look fullest when the base is packed tight and the colors are mixed evenly.
Open the hanger
At the twisted neck of the hanger, untwist carefully so you can swing one end open. Pliers make this much easier. Use wire cutters only if you intend to snip the hanger and then re-twist it securely.
Thread ornaments on
- Start with a mix: Slide on a blend of large, medium, and small ornaments.
- Rotate as you go: Turn ornament caps in different directions so the spheres sit naturally.
- Pack them snug: The tighter the ornaments sit, the more full the wreath looks.
When one side is full, twist the wire closed again and repeat if you opened multiple sections.
Optional but worth it: Add 2 to 4 chenille stems or small zip ties at key points (near the hook, the opposite side, and one or two sides). This helps prevent shifting if you transport the wreath or hang it somewhere breezy.
Step 4: Add fullness
Once the hanger is loaded, the wreath will already look festive. Now it is time for the full, layered look.
- Lay the wreath flat: Place it on your protected work surface.
- Fill gaps from the front: Hot glue small and medium ornaments into open spots. Aim to cover visible wire.
- Add depth: Glue a few ornaments slightly on top of others to create layers, especially around the outer edge.
- Keep the hanger hook clear: Leave a small area open so it still hangs easily.
Glue rule that helps: Put glue on the ornament cap area or on the spot where ornaments touch each other, then press and hold for a few seconds.
About glue strings: They love to show up on dark ornaments. Let them cool fully, then peel them off. A low-temp glue gun can help reduce strings if you have one.
Front facing or 360
This tutorial makes a front facing wreath, which is perfect for a door. From the side, you may still glimpse a bit of wire, depending on how tightly you pack. If you want a more 360 look, glue a few extra ornaments around the outer edge and slightly onto the back rim.
Step 5: Ribbon and bow
Ribbon gives your wreath that finishing touch that feels extra cozy and intentional.
Hanging ribbon
- Cut a long piece of ribbon (about 30 to 45 inches).
- Tie it securely around the hanger hook.
- Adjust length so the wreath hits the spot you want on the door or wall.
Scale tip: Wider ribbon (about 1.5 to 2.5 inches) tends to read better on a full ornament wreath.
Optional bow
Make a simple bow with wired ribbon and attach it with hot glue, a chenille stem, or both. If the wreath is very full, tuck the bow slightly into ornaments so it looks nestled rather than perched.
If you want extra door decorating ideas around your new wreath, visit 10 Creative Front Door Christmas Wreath Alternatives for more inspiration.
Color combos
- Classic: red, gold, and green with one velvet bow
- Glam: champagne, gold, and pearl with a satin ribbon
- Candy: pink, red, and white with peppermint stripe ribbon
- Modern: matte black, white, and metallic silver with a crisp white bow
- Cozy cottage: burgundy, pine, and bronze with plaid ribbon
For more theme ideas across your whole home, explore Christmas Trees & Themes.
Hang it without damage
Ornament wreaths can be bulkier than evergreen wreaths, so hanging method matters.
- Over-the-door wreath hanger: Great for easy on and off. Choose a sturdy one that fits your door thickness.
- Adhesive hook: Works best on smooth surfaces and lighter wreaths. Follow package directions for weight limits and cure time.
- Ribbon over the top of the door: Close the door over a ribbon and secure the ribbon on the inside with a knot around a small object, or use a purpose-made over-door hook.
Door protection tip: Add a couple of felt pads or a strip of craft foam to any spot that might tap or rub your door. It helps prevent scratches and cuts down on rattling when the door closes.
For garlands and trim, this guide can help: How to Hang Front Door Garland Without Damaging Trim.
Troubleshooting
My wreath looks lopsided
Lay it flat and rotate it. Add a few ornaments to sparse areas, especially on the outer edge. A bow can also balance visual weight.
I can see the wire
Fill gaps with the smallest ornaments first, then add a few medium ornaments on top to create layers. Aim for ornament to ornament contact across the whole front.
Ornaments keep popping off
Make sure caps are glued in place. Press ornaments together while glue is still warm so the bond forms between surfaces, not just on one point. If a spot gets bumped a lot, add a chenille stem or small zip tie as backup.
The wreath feels heavy
Use fewer oversized ornaments and more medium ones. Shatterproof ornaments vary in weight by finish and size, so reduce extra picks and large bows if needed, and choose a sturdy hanging method.
Make it match
Once your wreath is sparkling, a few coordinated touches nearby make it feel like a complete scene.
- Add cozy layers outside with ideas from 12 High Impact Low Cost Front Porch Christmas Decorating Ideas.
- Carry the same ribbon color onto your staircase with Wrapping Staircase Banisters With Christmas Garland.
- Keep cords tidy if you add lights nearby using How to Hide Battery Packs and Cords in Christmas Decor.
FAQ
How many ornaments do I need?
Most hanger wreaths land in the 60 to 100 ornament range, but it depends heavily on ornament size and how tight you pack them. If you are using mostly 2 to 2.5 inch ornaments, you will need more. If you are using a lot of 3 to 4 inch ornaments, you will need fewer.
Can this go outdoors?
A covered porch is best. Shatterproof ornaments can handle bumps, but strong sun can fade finishes, and wet or freezing weather can weaken hot glue over time. If it will live outdoors, secure a few key ornaments with zip ties or chenille stems and bring the wreath inside during prolonged wet or freezing stretches.
Do I need hot glue?
Hot glue is the fastest way to lock ornaments into a sturdy, layered shape. If hot glue is not a good fit for your space, rely more on threading ornaments tightly onto the wire, then use chenille stems or small zip ties to secure extras.
What size will it be?
A hanger base around 14 to 18 inches often finishes around 18 to 24 inches once the ornaments add volume. If you build out the outer edge for a fuller look, it can finish slightly larger.