Let’s gather some sparkle and make your staircase feel like a twinkly woodland path. With the right prep and a few gentle fastening tricks, you can wrap or swoop Christmas garland along a banister securely without scuffing the handrail.
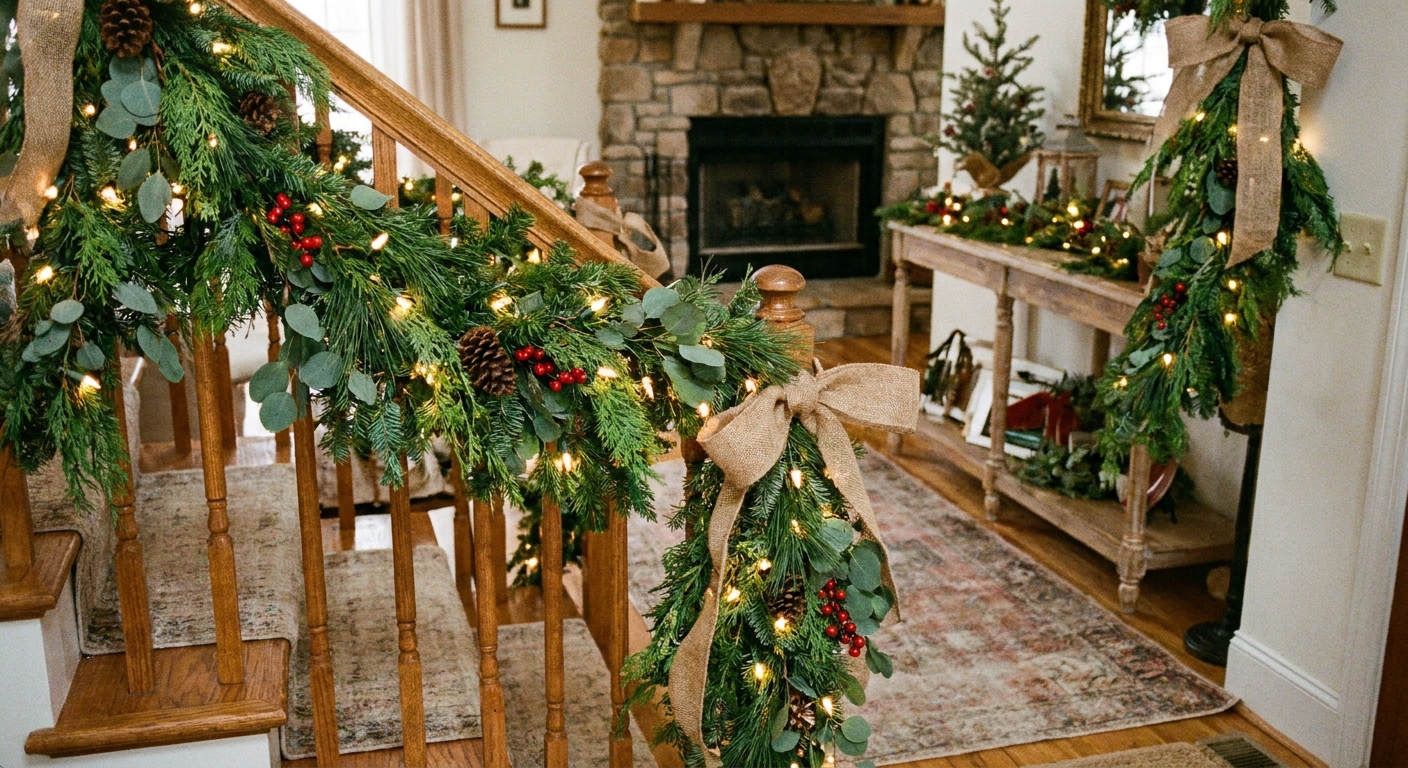
Before you start: choose your garland style
Staircases look best when the garland style matches the vibe of the rest of the home. The good news is that the technique is similar whether you go classic greenery, flocked, or ribbon-forward.
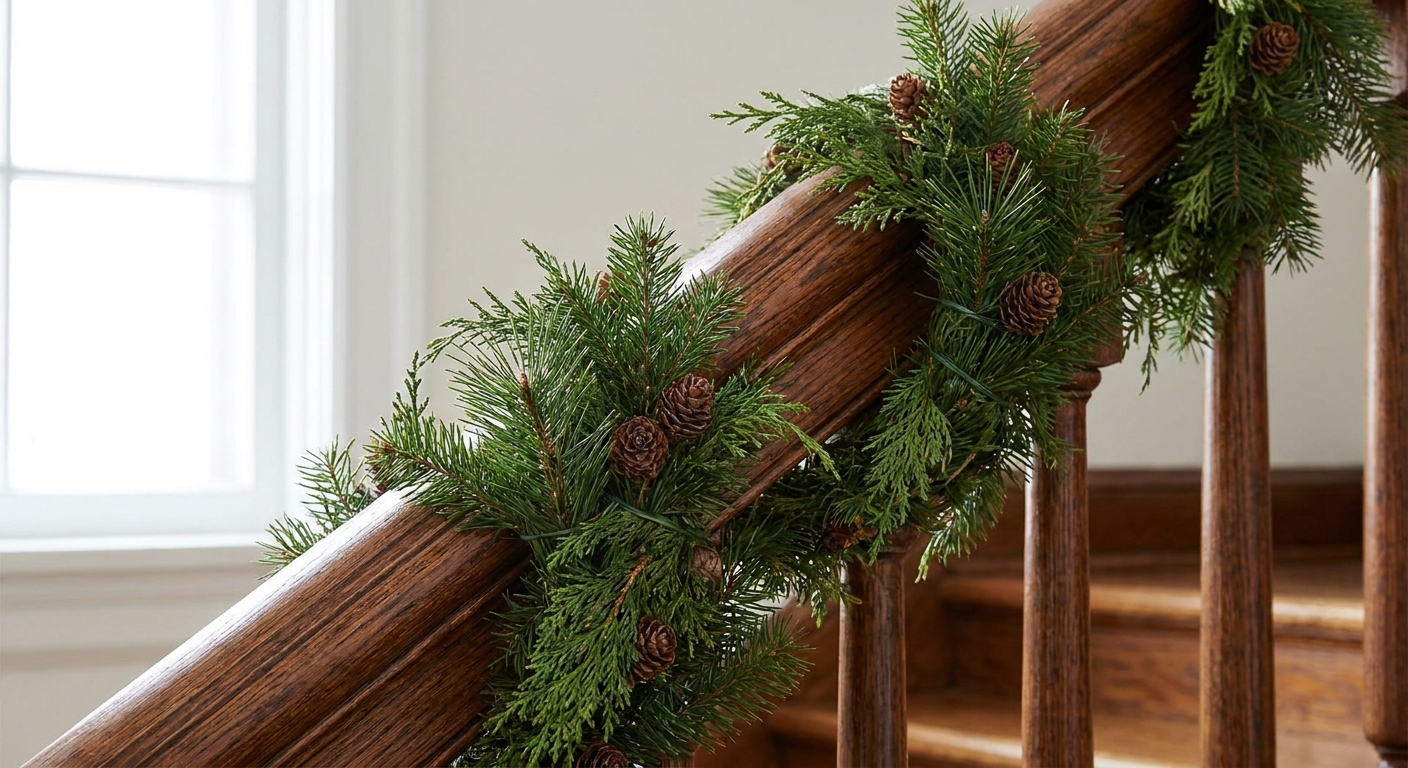
- Wrapped (candy cane style): garland spirals around the rail. This is snug, tidy, and great for narrow stairs.
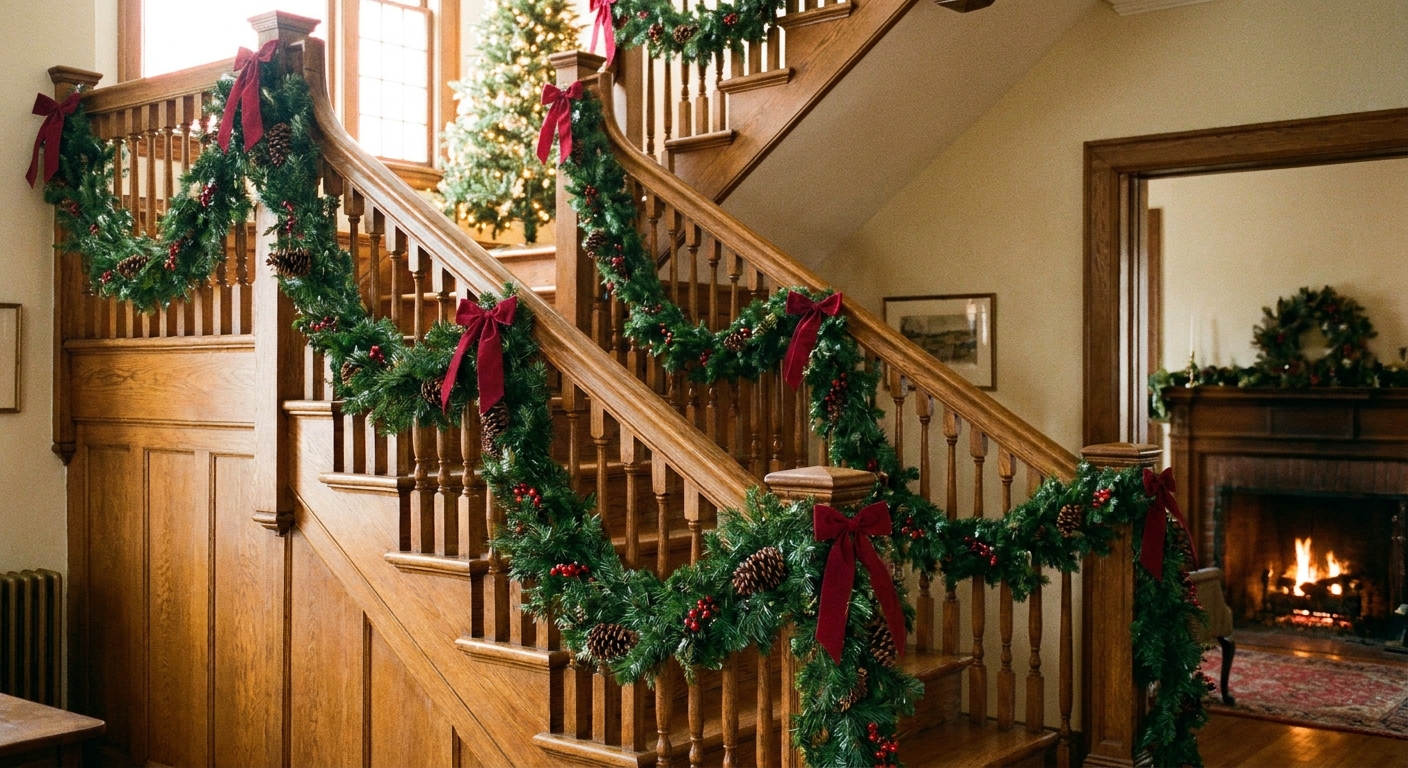
- Swooped (draped): garland dips between newel posts or balusters. This is the most “grand staircase” look.
- Hybrid: a light wrap along the top of the rail plus swoops on the outside. This is the fullest, most designer-looking option.
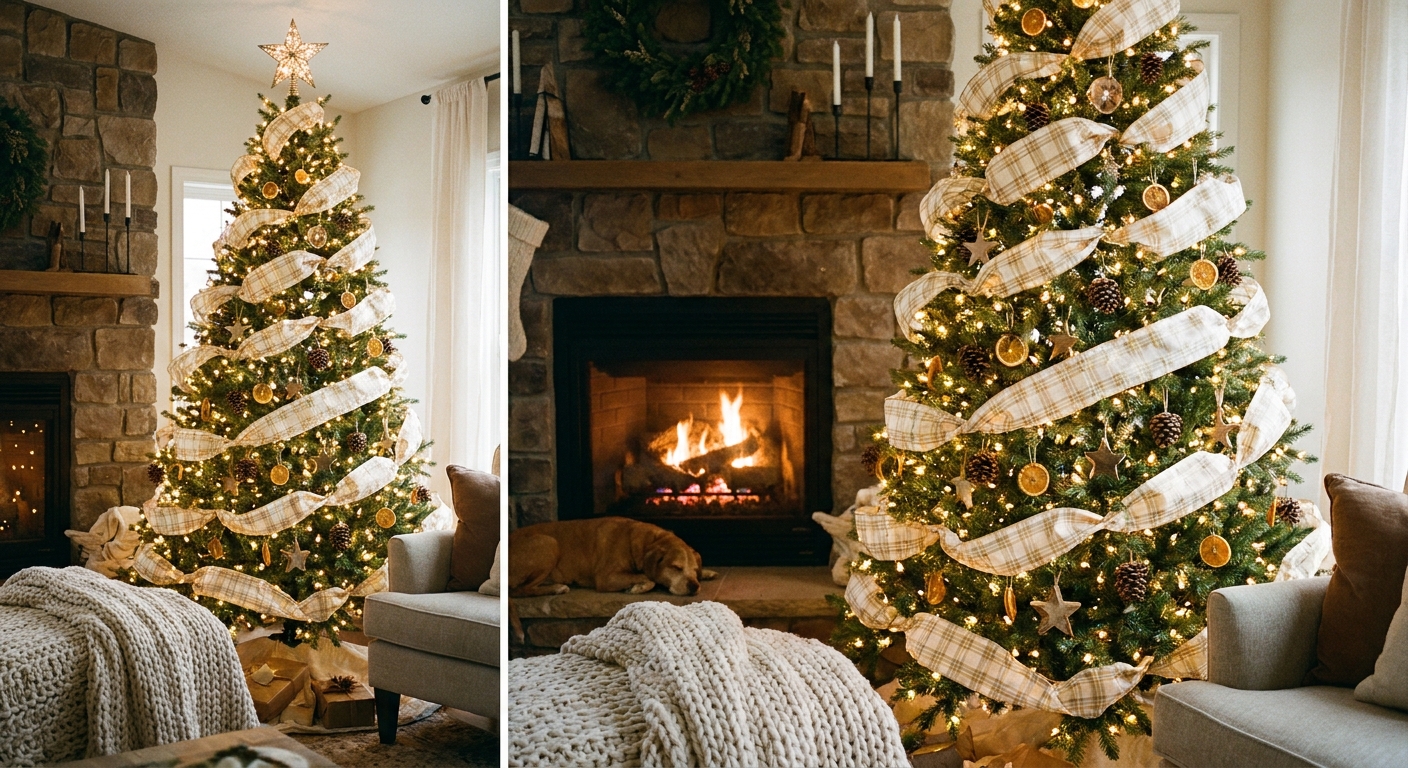
If you love the look of layered ribbon with greenery, you can borrow the same idea used for tree ribbon and apply it to garland in sections. The technique in Ribbon Cascades on a Christmas Tree translates beautifully to stair swags.
Tools and supplies that protect your handrail
The secret to “no scratches” is using soft barriers and removable fasteners where the garland touches finished wood.
Garland
- Artificial garland: holds shape, easy to fluff, easy to re-use.
- Real greenery: gorgeous scent, but needs moisture protection and careful placement to avoid sap and needle drop.
Fasteners (pick 2 to 3)
- Soft chenille stems (pipe cleaners): gentle, adjustable, and easy to hide.
- Velcro cable ties: soft, re-usable, and great for thicker rails.
- Jute twine or ribbon: pretty and grippy, but tie gently.
- Removable decorating hooks: best for painted newel posts or flat surfaces, not for glossy stained rails.
If you want the easiest, most staircase-friendly combo, start with velcro cable ties plus felt. It is secure, adjustable, and kind to finishes.
Rail protection
- Felt pads or felt tape: place under ties where they meet wood.
- Wide satin ribbon: acts like a “soft belt” between garland and rail.
- Moisture barrier (for real greenery): at contact points, a thin layer of felt plus a strip of cotton ribbon or cloth can help protect the finish. Avoid trapping moisture against wood, and remove real garland promptly if it gets damp.
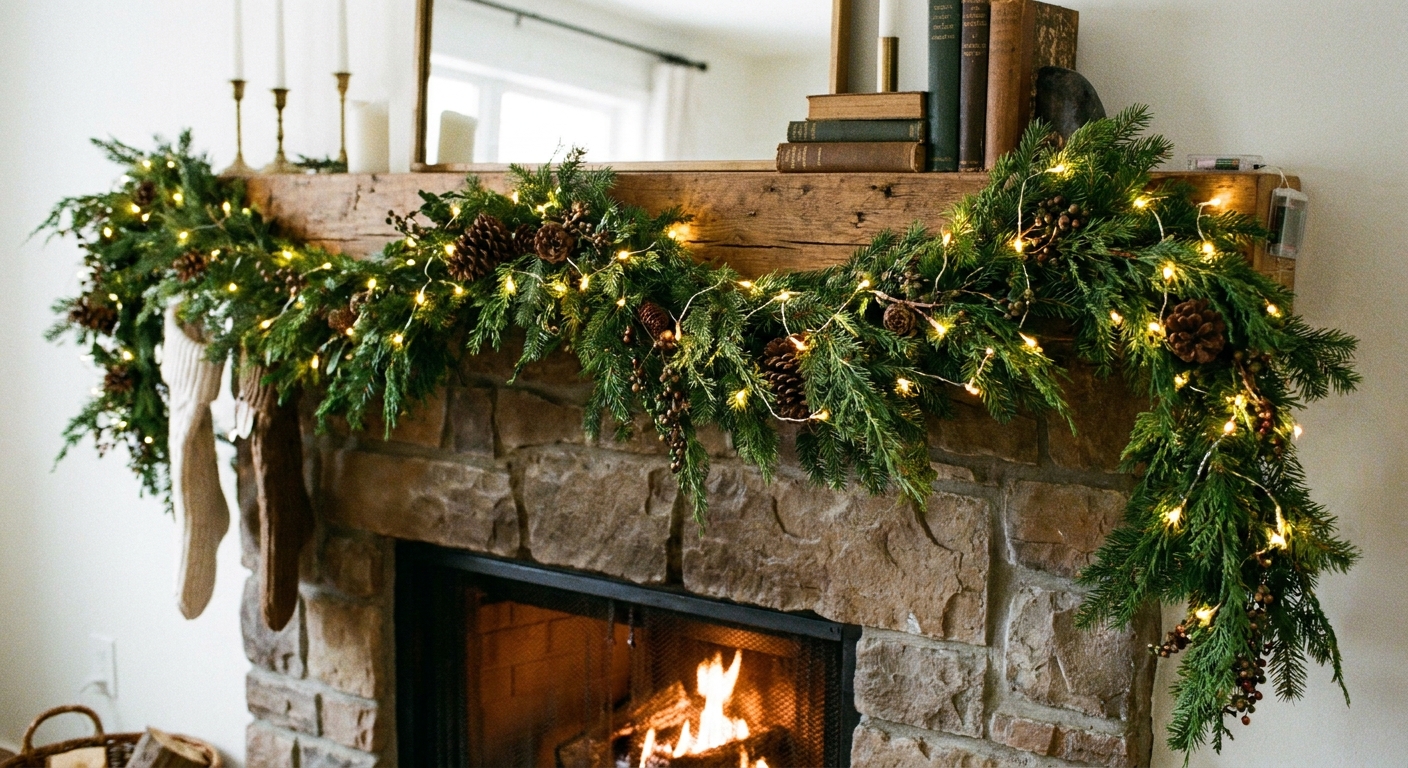
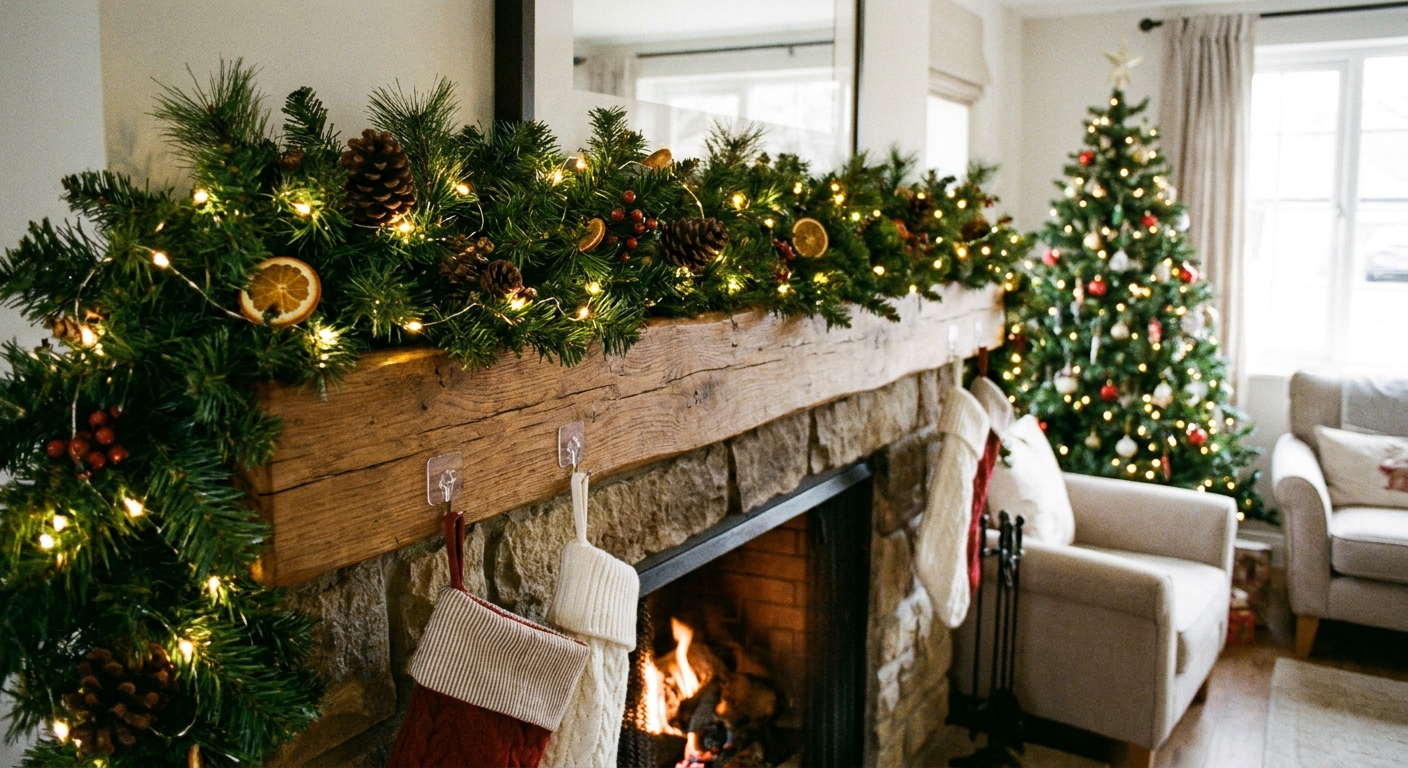
For extra-strong, no-nail hanging techniques (especially helpful if your staircase meets a mantel area), see How to Hang Heavy Garland on a Mantel Without Nails.
Prep work for a smooth, full look
1) Clean and dry the banister
Dust and furniture polish can make ties slip. A quick wipe with a slightly damp microfiber cloth, then a dry buff, helps your fasteners stay put.
2) Measure the run (quick method)
Use a flexible measuring tape, or run a piece of string from the starting newel to the ending newel, following the rail. Then measure the string.
- Wrapped style: plan about 1.5x the rail length.
- Swooped style: plan about 2x the rail length for deeper dips.
- Hybrid: plan about 2.5x the rail length if you want a luxuriously full look.
These are rules of thumb. Rail thickness, garland fluffiness, and how deep you like your swoops can nudge your total up or down.
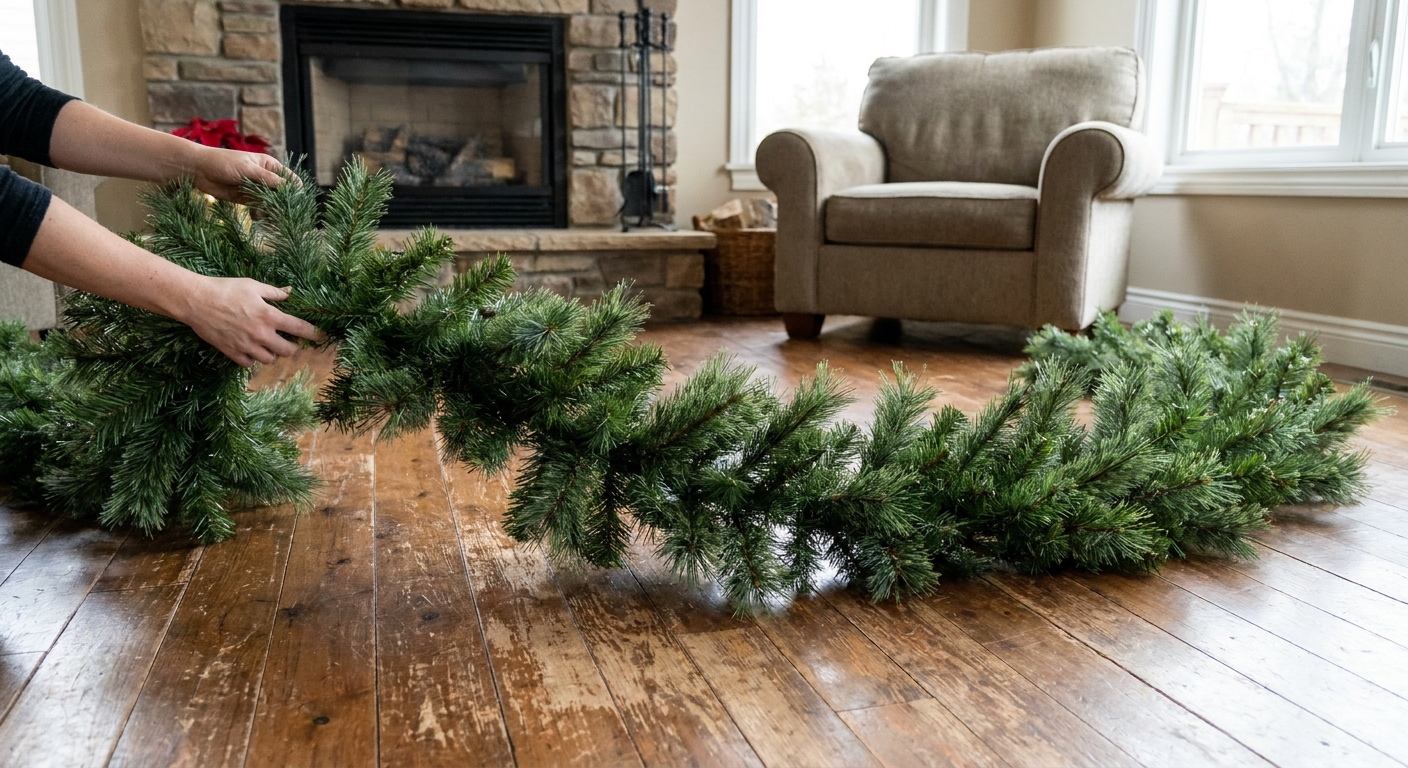
3) Pre-fluff your garland
Before it goes anywhere near your banister, fluff it on the floor. Pull tips outward and rotate stems so the fullness faces outward toward the room, not down toward the stairs.
How to wrap garland around a banister (spiral method)
This method is neat, secure, and excellent for busy staircases because it keeps greenery close to the rail.
Step-by-step
- Anchor at the starting newel: position the garland end under the rail near the post. Use a soft tie with a felt pad underneath the tie where it touches wood.
- Set your spiral spacing: aim for consistent “stripes.” A good starting point is a wrap every 6 to 10 inches, then adjust based on garland thickness.
- Wrap continuously and pinch: keep spiraling down the rail. After each full turn, pinch a main stem snug against the underside of the rail so it does not rotate.
- Tie every 12 to 18 inches: add ties as you go, not just at the ends. Regular tie points keep the spiral from slipping down over time.
- Finish at the bottom newel: tuck the end under and secure with two ties in an X shape.
Sprig’s no-scratch tip
If you are using anything with a wire twist, make sure the wire end is folded inward and covered by greenery. No poky ends allowed on polished wood.
If you are curious about me (and why I get so fussy about scratched wood), you can find me over on Sprig.
How to drape garland in swoops (swag method)
Swoops feel elegant and festive, especially when paired with bows or ornaments at each dip point.
Step-by-step
- Choose your dip points: most staircases look balanced with a dip at each newel, or every 3 to 5 balusters if there is only one newel at the top and bottom.
- Anchor the top: secure the garland at the top newel first. This is your load-bearing point.
- Set your first dip: drape the garland down and back up, then secure at the next anchor point. Stand back and check the curve.
- Repeat with matching dips: keep each swoop similar in depth. If one dip is deeper, the whole line can look uneven.
- Double up for fullness: if your garland looks a bit skinny, layer a second garland right on top, tying them together at anchor points.
Where to hide fasteners
- On the inside of the banister (the side facing the wall) whenever possible.
- Behind a bow, pinecone pick, or ornament cluster at each anchor point.
Wall-protection tip: if your garland rubs the wall on the way down, add a small felt pad at the contact point (hidden behind greenery) to prevent scuffs.
Adding lights without tangles or glare
Twinkle lights are where the magic lives, but on stairs they also need to be tidy and safe.
Pick the right lights
- Battery lights: easiest for staircases because you avoid cords crossing walkways. Choose a pack with a timer for cozy evenings.
- Plug-in lights: brightest and consistent, but plan your outlet path carefully.
How to install them
- Test first: turn lights on before attaching.
- Weave, do not wrap: weave the strand in and out of the garland so bulbs face outward. Tight wrapping can flatten greenery and create bright “lines.” Heat is mainly a concern with older incandescent strands, but weaving looks better for any light type.
- Secure the battery pack: hide it behind the top newel, tucked on a ledge, or behind a bow cluster. Make sure it is reachable for switching and battery changes.
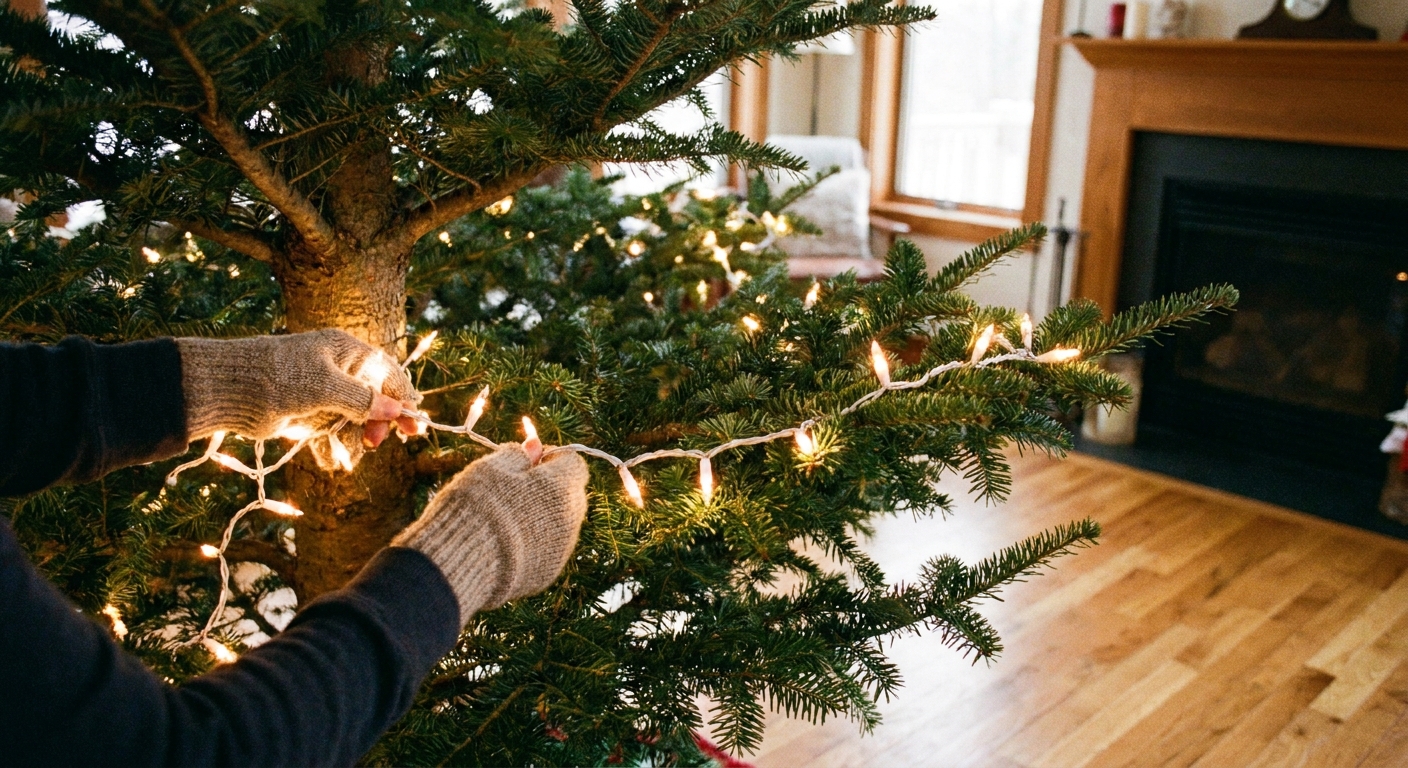
For a tidy, even-light look, the same principle that works on trees works here too. You can adapt the approach in The Trunk-to-Tip Method for Christmas Tree Lights by weaving lights deeper first, then bringing a few bulbs forward for sparkle.
Safety note
Keep lights and garland clear of stair treads and hand-grip zones. The goal is festive, not slippery.
How to secure garland without scratching the handrail
If your banister is stained, glossy, or newly finished, gentle contact points matter.
Fastener strategies that are kind to wood
- Felt-under-tie method: place a small felt pad between the tie and the rail, then tighten just enough to hold.
- Ribbon belt method: loop wide ribbon around the rail, then attach garland to the ribbon rather than tightening directly on wood.
- Velcro tie method: velcro cable ties grip well and are less likely to dig into a finish.
Be careful with adhesives
Removable hooks and adhesive strips can work beautifully on smooth, fully cured surfaces. If your paint or finish feels fresh, tacky, or recently refinished, skip adhesives or test in a hidden spot first to avoid peeling or hazing.
Avoid these scratch-makers
- Thin metal wire twisted tightly against finished wood
- Zip ties pulled very tight (they can bite into softer finishes)
- Staples, nails, or tacks directly into banisters
Corners, turns, and tricky staircase shapes
At the newel post
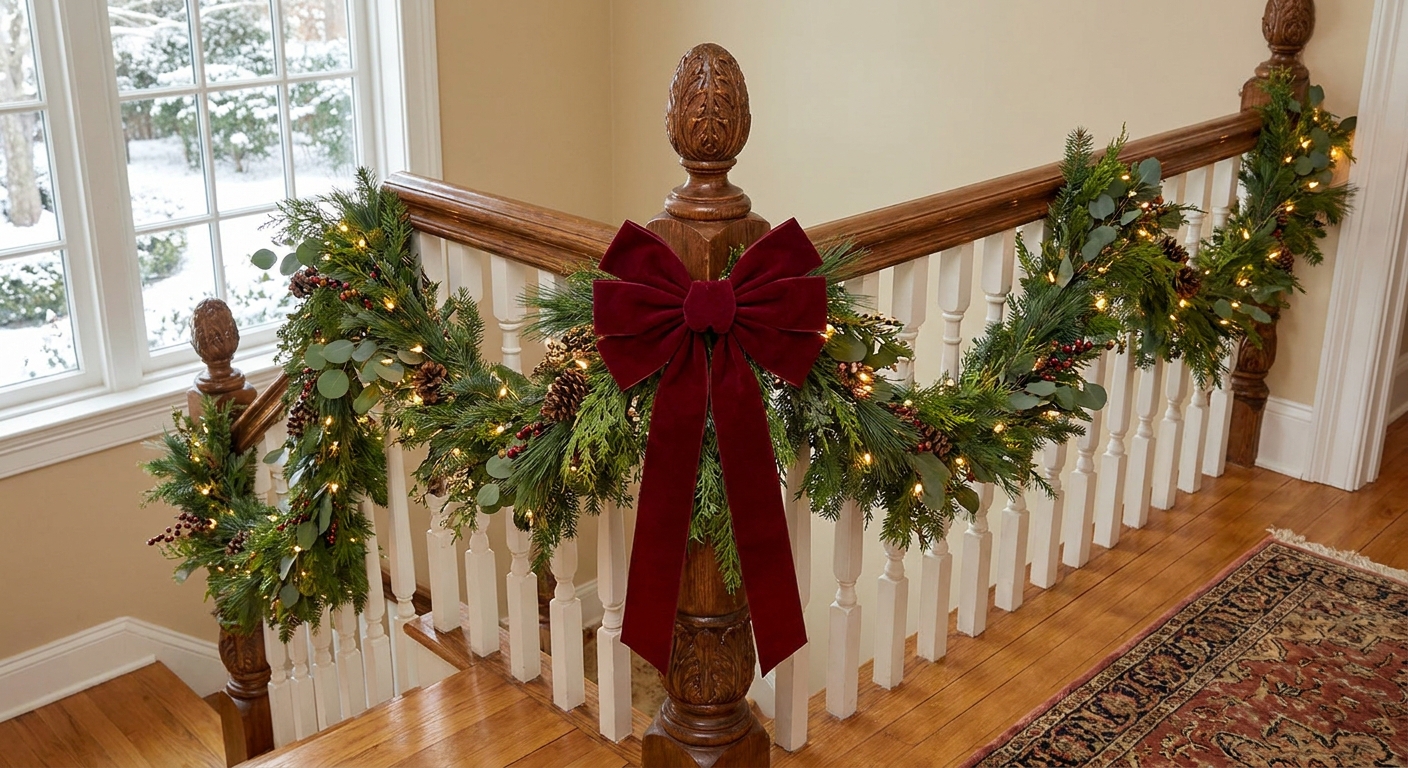
Newel posts are the perfect place to disguise mechanics. Build a small “feature moment” with a bow, ornament cluster, or extra greenery pick right where you need the strongest anchoring.
At the stair landing or 90-degree turn
Instead of forcing one garland to bend sharply, use two pieces and overlap them 8 to 12 inches at the corner. Tie them together inside the greenery so the seam disappears.
On wrought iron balusters
You can secure garland to iron with soft ties, but keep it from sliding by anchoring at the top rail first. Then add secondary ties on the iron only where needed.
Finishing touches that make it look expensive
- Fluff last: once everything is secured, fluff again. Pull greenery outward toward the room so it reads full from below.
- Repeat accents evenly: if you add bows or ornaments, repeat them at a steady rhythm, like every other swoop.
- Use one metal tone: all gold, all silver, or all mixed, but keep it intentional. Consistent finishes look polished.
- Hide cords and ties: tuck fasteners into the darkest interior of the garland.
If your holiday palette leans gilded and elegant, the ornament balance tips in All Gold Monochromatic Christmas Tree can inspire a staircase scheme that feels cohesive with the rest of the room.
Real greenery on stair rails: what to know
Real garland can be stunning indoors, but it needs a little care to keep your banister happy.
- Protect the rail: add a soft barrier at contact points, especially at newels and tight turns. Choose something breathable, and avoid trapping moisture against wood.
- Avoid heat sources: keep greenery away from nearby vents and radiators to reduce drying and needle drop.
- Mind moisture: if you mist real greenery, do it lightly and avoid soaking wood. If anything feels damp near the rail, remove the garland, dry the area, and reset with a dry barrier.
Quick troubleshooting
My garland keeps sliding down
- Add more tie points, especially near the top third of the staircase.
- Use a grippier fastener like velcro ties.
- Reduce heavy ornament clusters or move them to anchor points.
The garland looks thin from the bottom of the stairs
- Rotate the garland so the fullest side faces outward.
- Layer a second strand along the outer edge only.
- Add picks (pine, berry, eucalyptus) to build volume in sparse spots.
Lights look like a bright line instead of twinkle
- Weave deeper into the greenery.
- Turn bulbs outward and vary depth so some lights peek and some glow softly.
Staircase decorating safety checklist
- Handrail remains comfortable to grip where people naturally hold it.
- No cords cross walking paths or hang near feet.
- Garland is secured at regular intervals, not just at the ends.
- Ornaments are shatter-resistant if the stairs get lots of traffic.
- If you have kids or pets, keep the lower section simple: skip dangling ornaments near the bottom steps and make sure picks are tied in firmly.
- Nothing blocks light switches, doorways, or narrow landings.
For more cozy, home-friendly holiday decorating ideas, wander through Indoor Decor & Mantels on Garland Glow.
FAQ
How much garland do I need for a staircase?
Start with 1.5x the rail length for a wrapped look, 2x for swoops, and up to 2.5x for a full hybrid style. Garland thickness, rail thickness, and swoop depth all affect totals, so consider these a starting point. If your garland is thin, plan on layering.
What is the best way to attach garland to a banister?
Soft ties like chenille stems or velcro cable ties are staircase favorites because they are adjustable, easy to hide, and gentle on finishes. Add felt under the tie where it touches wood for extra protection.
Can I use command-style hooks on wood?
Removable hooks can work on smooth, painted surfaces, but glossy stained wood can be unpredictable. If you choose hooks, follow the product instructions carefully and test an inconspicuous spot first. Avoid adhesives on finishes that feel fresh or not fully cured.
Should I put lights on the garland before or after hanging?
Either works, but adding lights while the garland is on the floor can be calmer and faster. Once hung, do a quick final weave to adjust bulb direction and hide any visible wire.