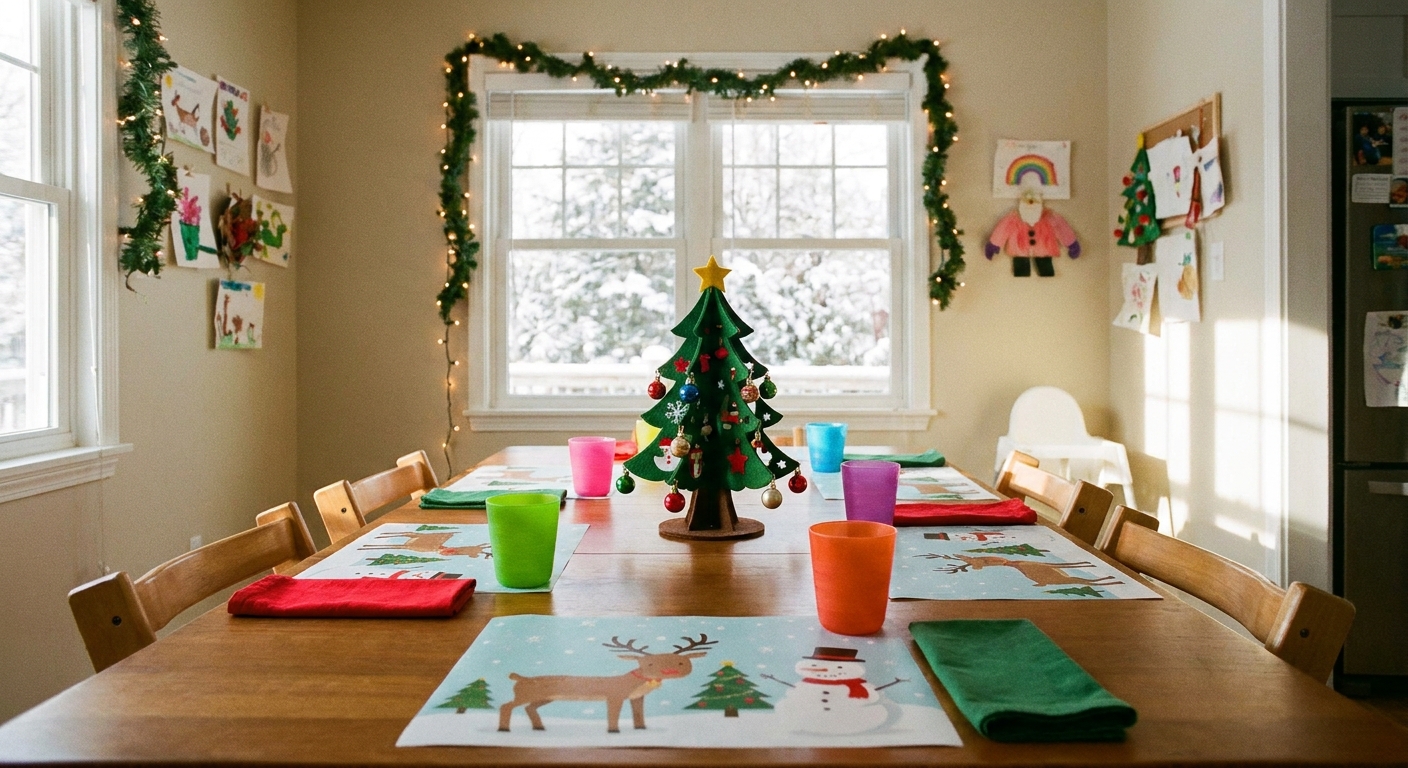
Let's gather some sparkle and make your home merry and bright! If you have access to winter evergreens, a Christmas table runner can be as simple as a careful walk outside and a little countertop prep. This guide walks you through clipping, cleaning, bug-checking, and arranging pine, cedar, and holly into a lush runner that looks like a magazine centerpiece, without the price tag.

Before you snip
Fresh greenery is a gift, but it needs a few guardrails so it stays a happy one.
- Get permission. Only clip from your own yard or a place where you are allowed to prune. Never take from parks or protected land.
- Avoid roadside plants. Skip anything near busy roads, treated medians, or areas that may be sprayed with herbicides or de-icers.
- Choose clean, healthy branches. Look for rich color, flexible tips, and needles that hold tight when you gently run fingers along the sprig.
- Clip lightly. Take a little from many places rather than a lot from one spot. A common rule of thumb is to avoid removing more than about 10 to 15 percent from any one plant.
- Mind pets and kids. Holly and berry branches are not edible. Keep them out of reach and treat them as strictly decorative.
If you love using fresh greens indoors, you might also enjoy a cozy, natural mantel moment in Naturally Scented Christmas Mantel With Fresh Greens and Spices.
What to forage
The prettiest runners have contrast. Think: fluffy plus drapey plus a little shine.
Evergreens for volume
- Pine: Soft, full needles add instant cozy texture. Great as a base layer.
- Cedar: Feathery and drapey, perfect for spilling over the table edges.
- Fir or spruce (if available): Stiffer, more structured sprigs that help a runner keep its shape.
Accents (use sparingly)
- Holly: Glossy leaves and classic holiday color. Use short snips as highlights.
- Ivy or other trailing greens: Adds movement, especially for long tables.
- Pinecones: Free, sturdy, and they help anchor the runner visually.
What to leave outside
- Poison ivy or lookalikes (when in doubt, leave it out).
- Moldy or dusty branches that have been sitting under deep leaf litter.
- Branches with heavy sap ooze if you are placing them on fine linens or porous tabletops.

Tools and supplies
- Hand pruners or sturdy scissors
- Gardening gloves (especially for holly)
- A clean sink or tub, plus a basin or large bowl
- Mild dish soap
- White vinegar (optional, for a quick rinse boost)
- Paper towels or clean dish towels
- Twine, floral wire, or reusable zip ties (optional)
- A few small jars or water tubes (optional, for extra-fresh tips)
- A table protector: kraft paper, a narrow table runner, or a strip of parchment under the greenery (helpful for sap)
Planning candles too? Keep greenery away from open flame. For safer glow ideas, the candle and light layering tips in Layer a Mantel With Flameless Candles and Fairy Lights translate beautifully to the center of a table.
Step 1: Clip smart
Smart cutting keeps your greenery fresher and makes arranging easier.
- Cut in the cool part of the day when possible, so branches are less stressed.
- Choose younger, flexible tips for drape, and a few sturdier pieces for structure.
- Make clean cuts instead of tearing. Ragged ends dry out faster.
- Sort as you go into three piles: fluffy base greens (pine), drapey greens (cedar), and accents (holly, cones, berries).
Step 2: Clean gently
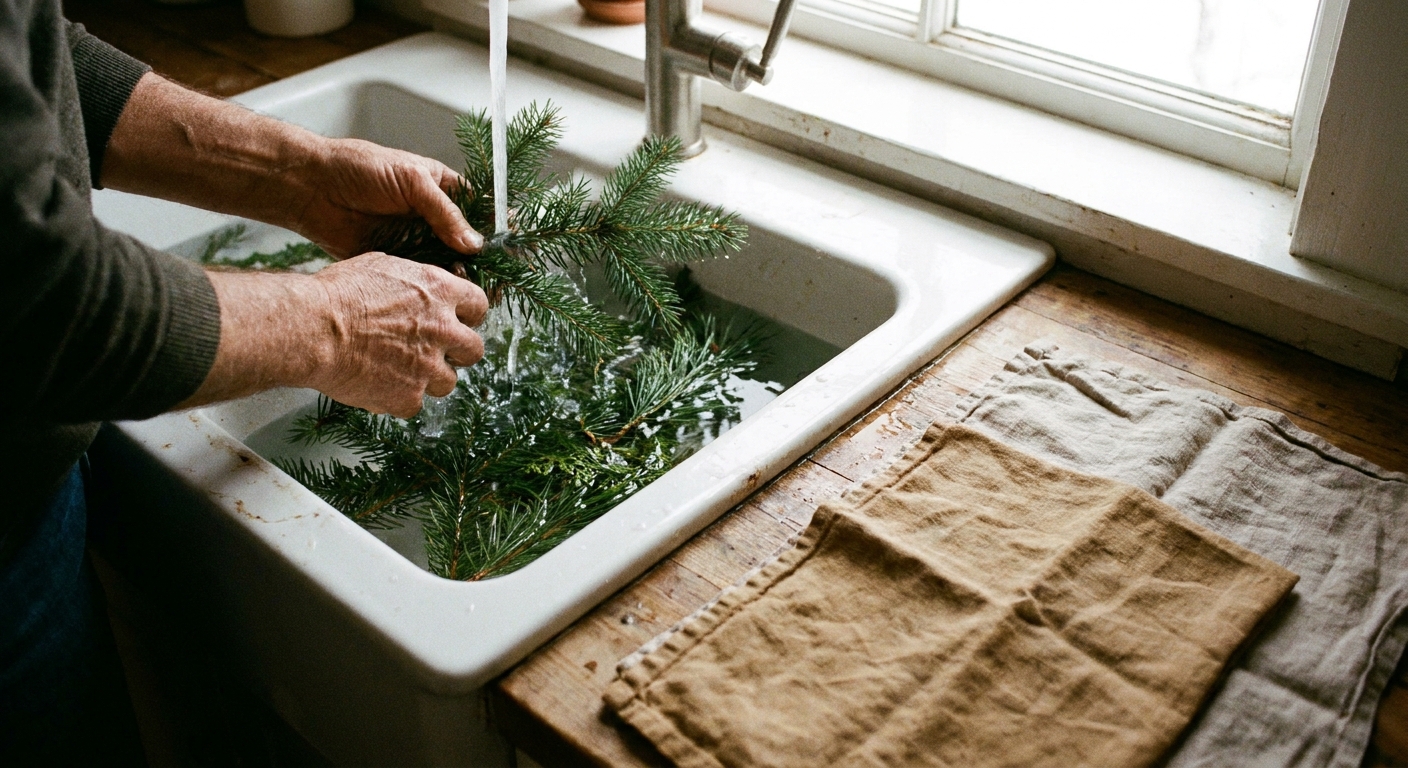
The goal is to remove dust, pollen, and hitchhikers gently. Evergreens do not need a long soak.
Quick wash method
- Fill a sink or tub with cool water and add a tiny drop of mild dish soap.
- Swish a handful of greens for 10 to 20 seconds. Do not scrub needles.
- Rinse in cool, clean water.
- Shake off excess and lay sprigs on towels in a single layer to dry.
Optional vinegar rinse
If you want an extra refresh, add 1 to 2 tablespoons of white vinegar per quart of water (or a few tablespoons in a full sink). Keep it brief, then rinse again with plain water and dry well.
Important: Avoid hot water. Hot water can shock foliage and speed drying, which may lead to faster needle drop.
Step 3: Bug check
Evergreens are outdoor treasures, so a quick bug check is a kindness to your table and your guests.
Simple inspection routine
- Shake each sprig outside over a light-colored surface or porch step.
- Check stems and undersides of holly leaves where tiny insects can hide.
- Trim away any webbing or suspicious clusters.
Cool porch pause
After washing and drying, place the greens in a paper bag or breathable bin and keep them in a cool garage, shed, or porch for a few hours. This can slow down any remaining hitchhikers and make them easier to spot. Give everything one last shake and look-over before it comes inside.
What not to do
- Do not spray pesticides indoors on items meant to sit where people eat.
- Do not seal damp greens in plastic for long stretches. Trapped moisture invites mold.
Step 4: Keep it perky
Cut greenery lasts longer when it can drink a little.
- Re-cut the ends of your best, freshest sprigs right before arranging.
- Mist lightly if your home air is very dry, but keep moisture away from candles.
- Use water helpers if you can. Tuck a few stem ends into tiny jars hidden behind cones or into florist water tubes. This is especially helpful for cedar and holly highlights.
Even without water, a runner can look lovely for a gathering. For multi-day freshness, adding a few drinking stems makes a big difference.
Build your runner
Method A: Loose and natural
- Protect your table with a narrow cloth runner or kraft paper strip.
- Lay a base of pine sprigs down the center, overlapping like shingles so the stems hide.
- Add cedar in longer pieces, letting it spill over the edges for that lush look.
- Dot in accents like holly, pinecones, or berries in small clusters.
- Finish with candle spacing so flames or heat never touch greenery. Flameless candles are the coziest worry-free option.
Method B: Tied garland runner
- Create mini bundles of 3 to 5 sprigs (pine plus cedar).
- Tie each bundle with twine or floral wire about 2 inches from the cut ends.
- Overlap bundles in one direction so the ties stay hidden.
- Secure lightly at a few points with wire if the runner needs to travel or you have curious pets.
Method C: Centerpiece islands
If your table is narrow, skip a full-length runner and create 3 to 5 low clusters instead.
- Make small mounds of pine and cedar, each about the size of a dinner plate.
- Place them evenly down the center.
- Add one cone or a few holly leaves per mound for color.
- Weave in lights only if they are cool-touch and battery powered, with the battery pack tucked behind a mound.

Fit it to your table
- Keep the runner to the center third. As a general guide, aim for a 6 to 10 inch wide runner on most tables, so place settings stay clear.
- Leave breathing room for plates. I like at least 4 to 6 inches between the greenery edge and where plates and glasses land.
- Go low for conversation. A flatter runner feels fuller and keeps sightlines open.
Make it look full
- Go wider with cedar. Let it drape outward to visually double the runner size.
- Hide gaps with cones. Pinecones are nature’s little paperweights and gap fillers.
- Repeat accents. Instead of scattering berries everywhere, place them in small repeating clusters for a designer rhythm.
- Mix lengths. Even with one type of green, combining long pieces with short snips adds instant dimension.
Keep it fresh
- Keep heat away. Place the runner away from heat vents and fireplace drafts.
- Mist lightly before guests arrive if the greens look dry, then let surfaces dry before lighting candles.
- Refresh the tips. If cedar looks tired, swap the outermost pieces with a few backup sprigs stored cool.
- Chill it overnight. If you want to reuse it for several days, move the runner to a cool porch or garage overnight if weather permits.
Safety notes
- Holly can be irritating or toxic if eaten. Many holiday holly varieties (Ilex species) can cause stomach upset for pets and people if ingested. If pets or toddlers are likely to grab, skip berries and use pinecones instead.
- Holly can be poky. Wear gloves and consider long sleeves if you have sensitive skin.
- Open flame and dry greens do not mix. Use glass hurricane holders, keep flames well above greenery, or choose flameless candles.
- Wash hands after handling holly and avoid rubbing eyes.
For more holiday safety thinking outdoors and in, visit Secure Outdoor Christmas Decor for Wind and Winter Weather for the same steady, practical mindset.
Quick runner cheat sheet
- Base: Pine sprigs for a 6 to 10 inch wide center strip on a 6 to 8 foot table (the exact count depends on sprig size).
- Drape: Cedar pieces longer than your forearm if possible, enough to soften the edges and spill a little.
- Accents: A handful of pinecones, plus a few small holly snips (or berries, if safe for your home).
- Glow: 3 to 7 candles in holders or flameless pillars, spaced evenly.
Adjust up or down based on your table length and how fluffy your clippings are. More tablescape magic is always waiting in Tablescapes & Entertaining.
Cleanup and aftercare
- Needle sweep: Let the runner dry out a bit, then gently lift it in sections and sweep or vacuum needles right away.
- Sap help: For hard surfaces, a little rubbing alcohol on a cloth can help lift sap. Test in a small spot first. For fabric, avoid heat, dab gently, and spot-test any cleaner.
- Compost when you can: Plain greenery and cones can often be composted or yard-waste bagged, depending on your local rules. Remove wire, zip ties, and anything not plant-based first.
Runner FAQs
How far ahead can you make a fresh runner?
One day ahead is a sweet spot for peak fluff. If you need to prep earlier, wash and dry greens, then store them cool in a breathable container. Assemble closer to dinner, or add a few water tubes to extend freshness.
Will sap stain my tablecloth?
It can, especially from pine stems. Use a barrier under the greenery, keep cut ends tucked inward, and avoid placing wet greens directly onto fabric.
Can you use lights in a fresh runner?
Yes, if they are cool-touch LED and battery powered. Keep the battery pack hidden behind cones or greenery, and avoid mixing moisture and electrical connections. If you need help hiding cords and packs, see Hide Battery Packs and Cords in Christmas Decor.
What if I only have one type of evergreen?
Use it in two textures by mixing long pieces with shorter snips, then bring in contrast with pinecones, ribbon, or candles. Repetition and layering will do the heavy lifting.