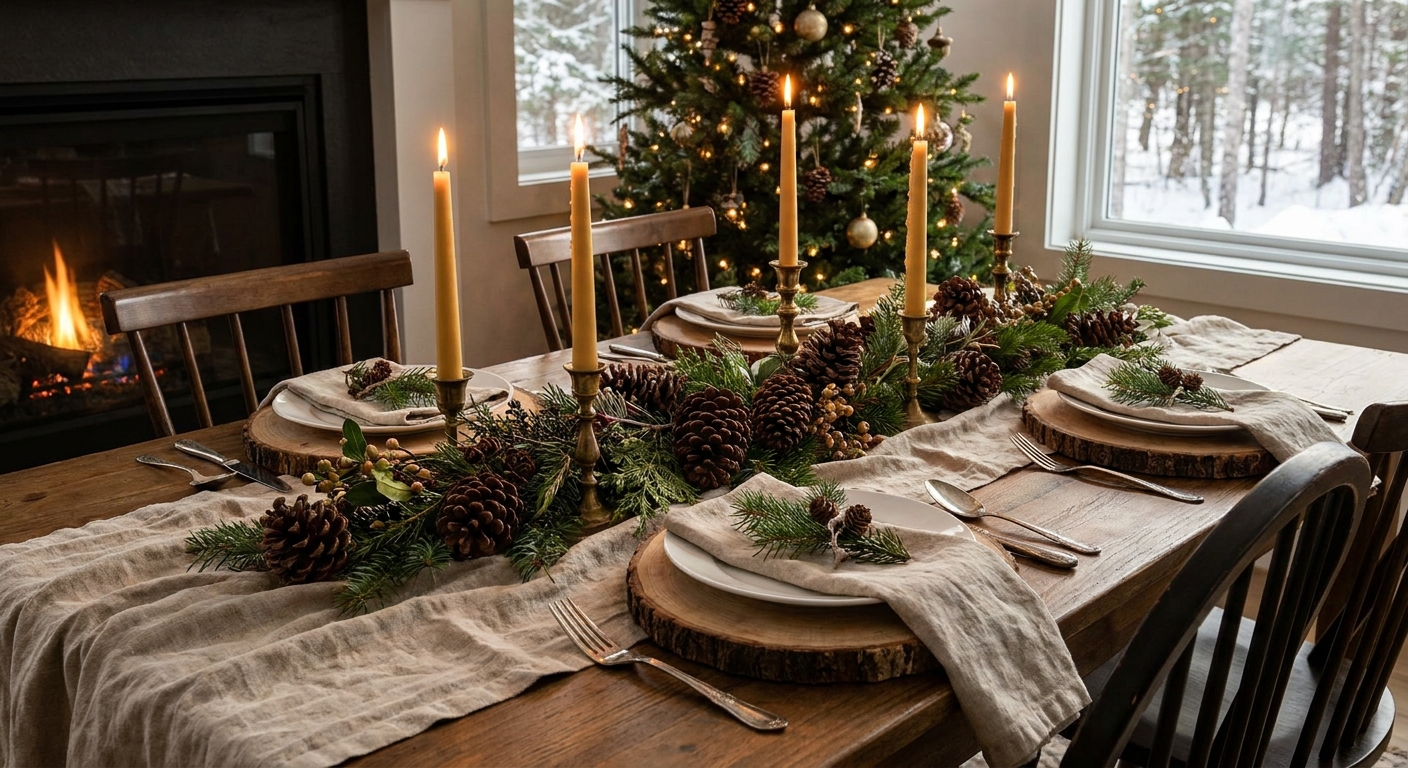
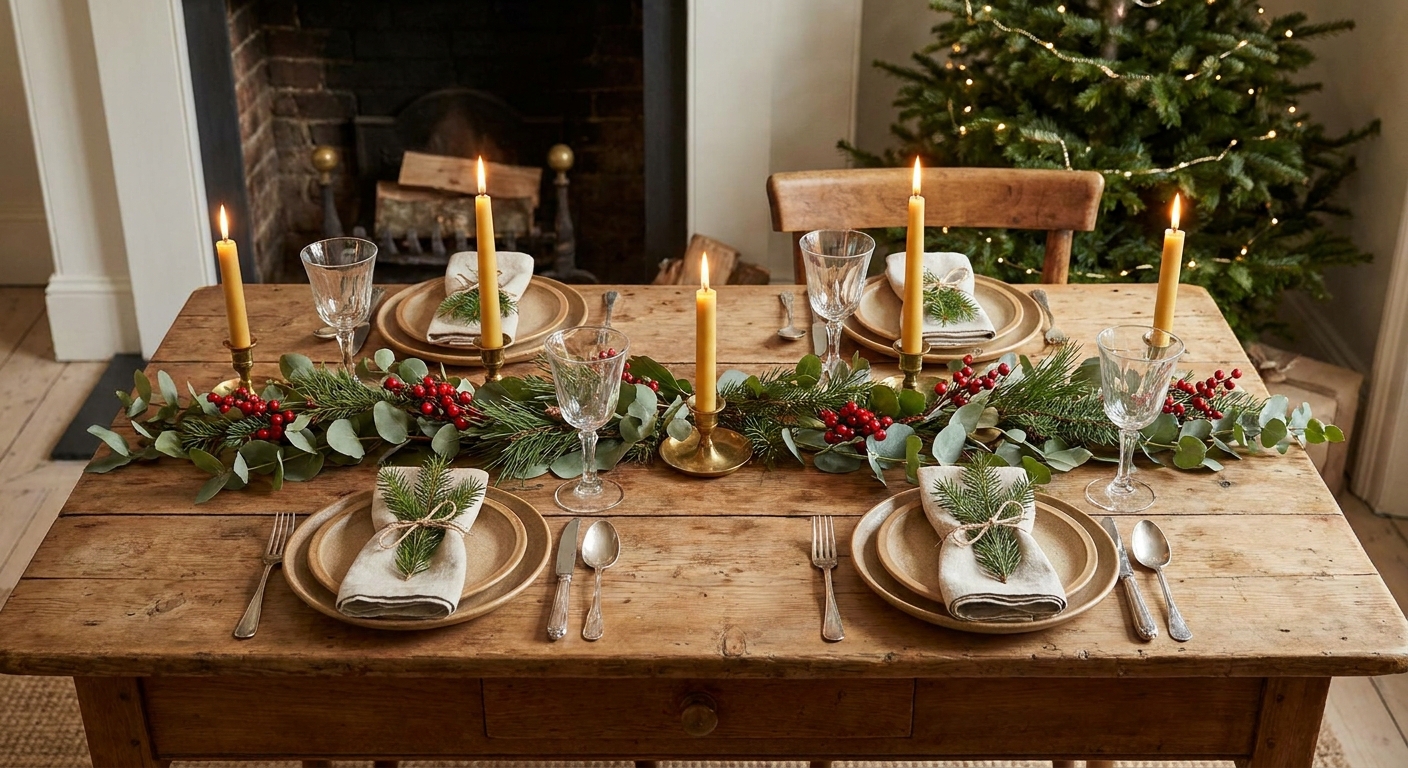
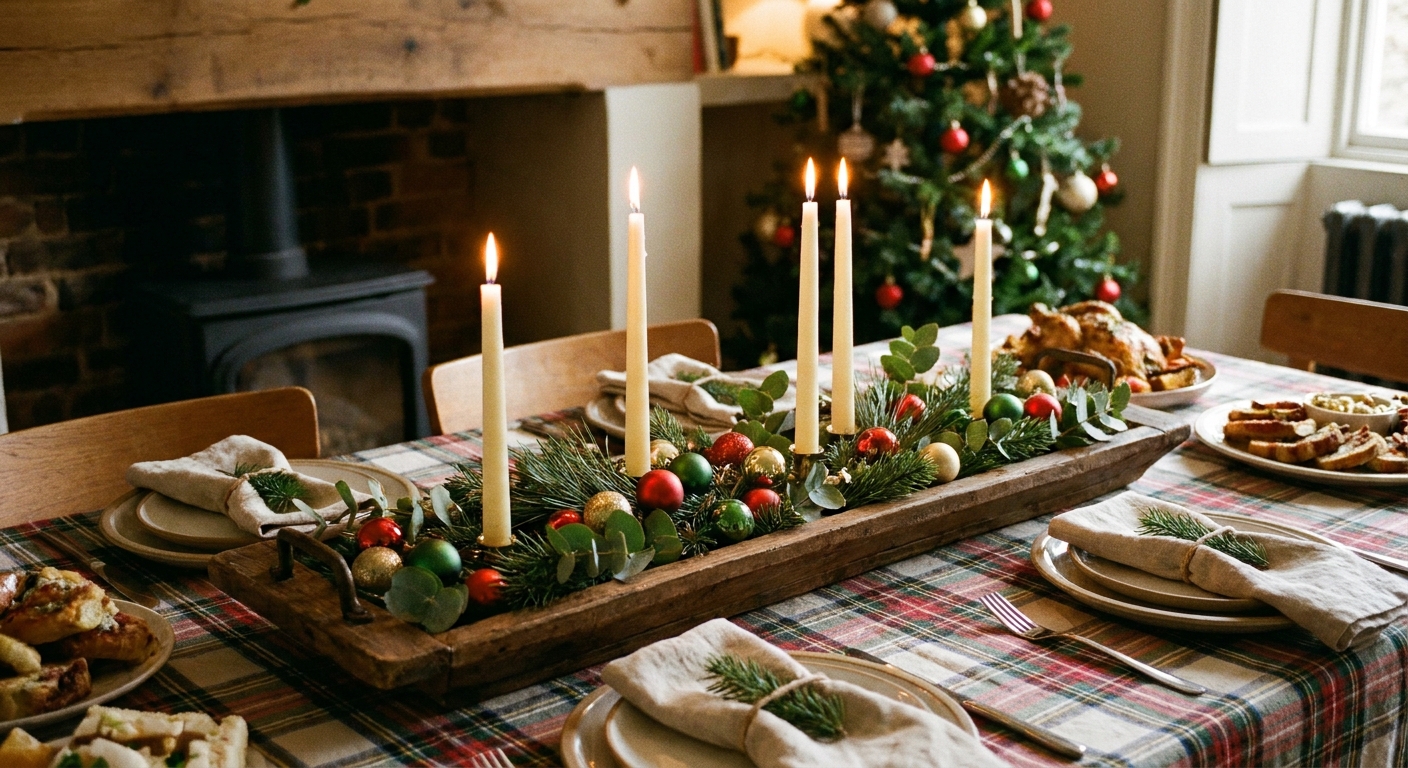
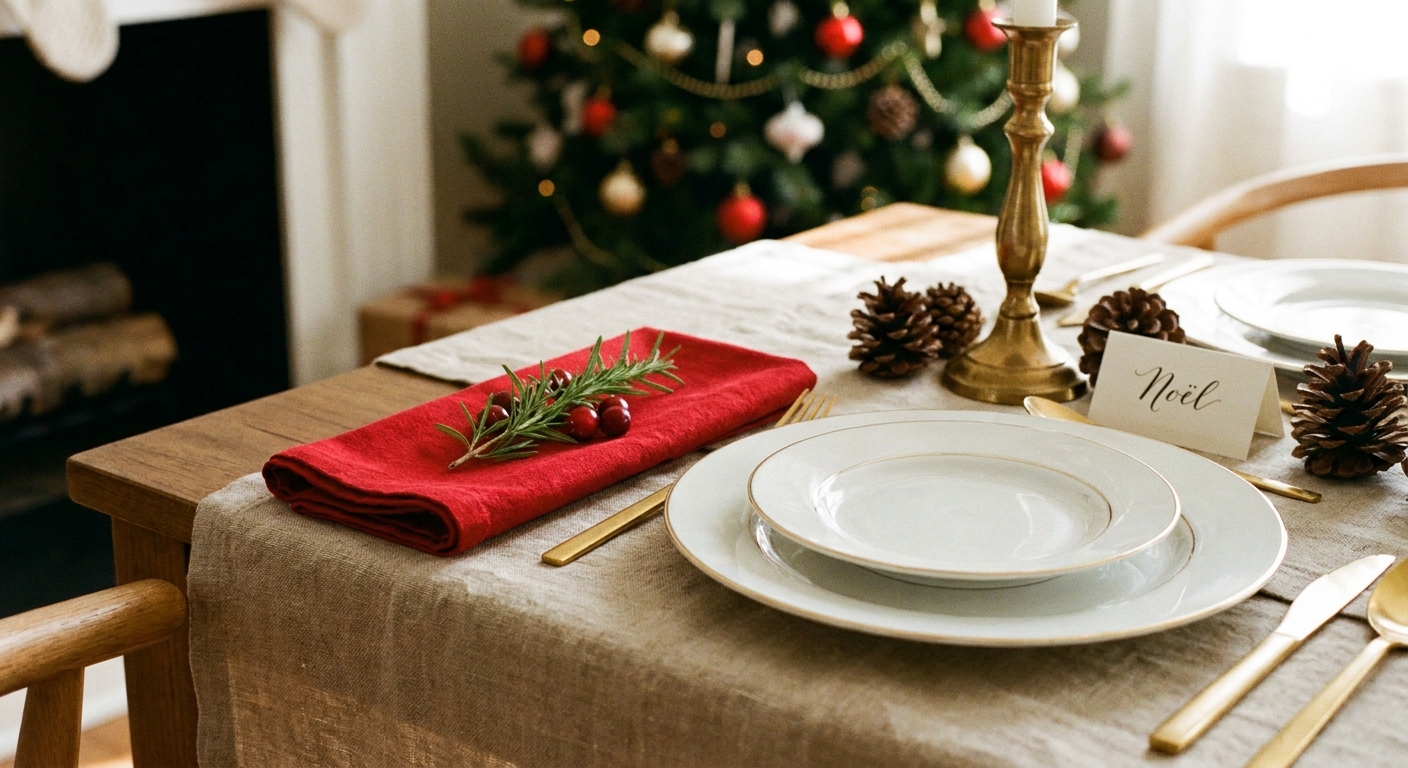
Let’s gather some sparkle and make your holiday dinner party feel merry and bright. A tiny place card is a small detail, but it does big work: it welcomes guests, nudges the table into your theme, and makes everyone feel thoughtfully tucked into their seat.
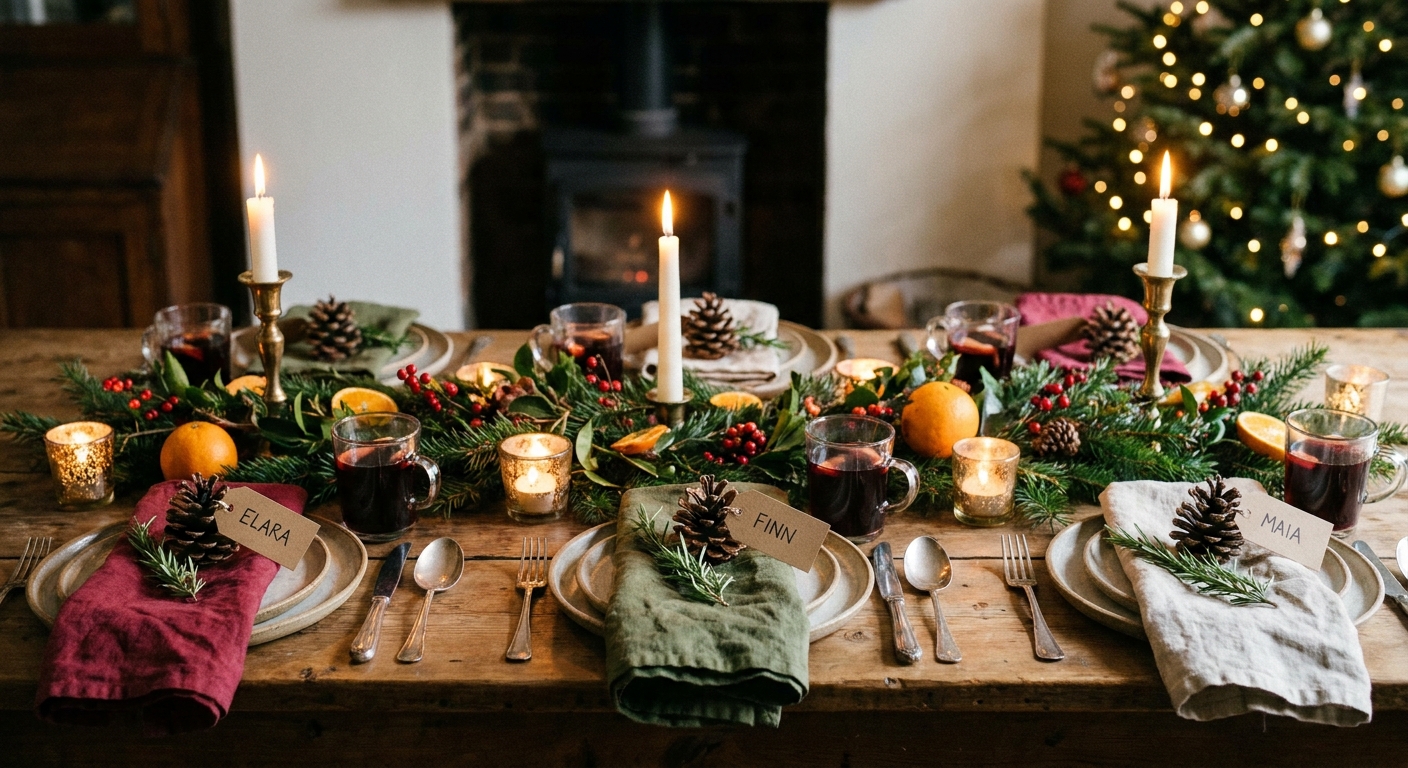
Below are 10 creative DIY Christmas place cards with step-by-step instructions. Most can be made assembly-line style in about an hour for a small group once supplies are gathered (and yes, handwriting and drying time can add a few extra minutes).
Before you start: a quick supply scoop
Mix and match these basics to build nearly every idea in this list.
- Paper tags: kraft tags, white cardstock, or torn-edge paper
- Pens: fine-tip permanent marker, paint pen, or gel pen
- Adhesives: double-sided tape, glue dots, hot glue
- Ribbon and twine: velvet ribbon, baker’s twine, jute
- Greenery: rosemary, cedar, eucalyptus (real or faux)
- Natural bits: pinecones, cinnamon sticks, dried orange slices
- Ornaments: shatterproof mini baubles or regular baubles
Sprig’s little safety nibble: If kids or pets will be near the table, skip loose faux berries, mini ornaments, and tiny detachable pieces that could be a choking hazard. Choose larger accents and keep hot glue work well away from curious paws.
Fresh greenery note: If rosemary or evergreen sprigs might touch food, give them a quick rinse, then pat very dry. And if you are using pine or cedar, watch for sticky sap. I like to keep sprigs on top of tags or ribbon instead of directly on delicate linen.
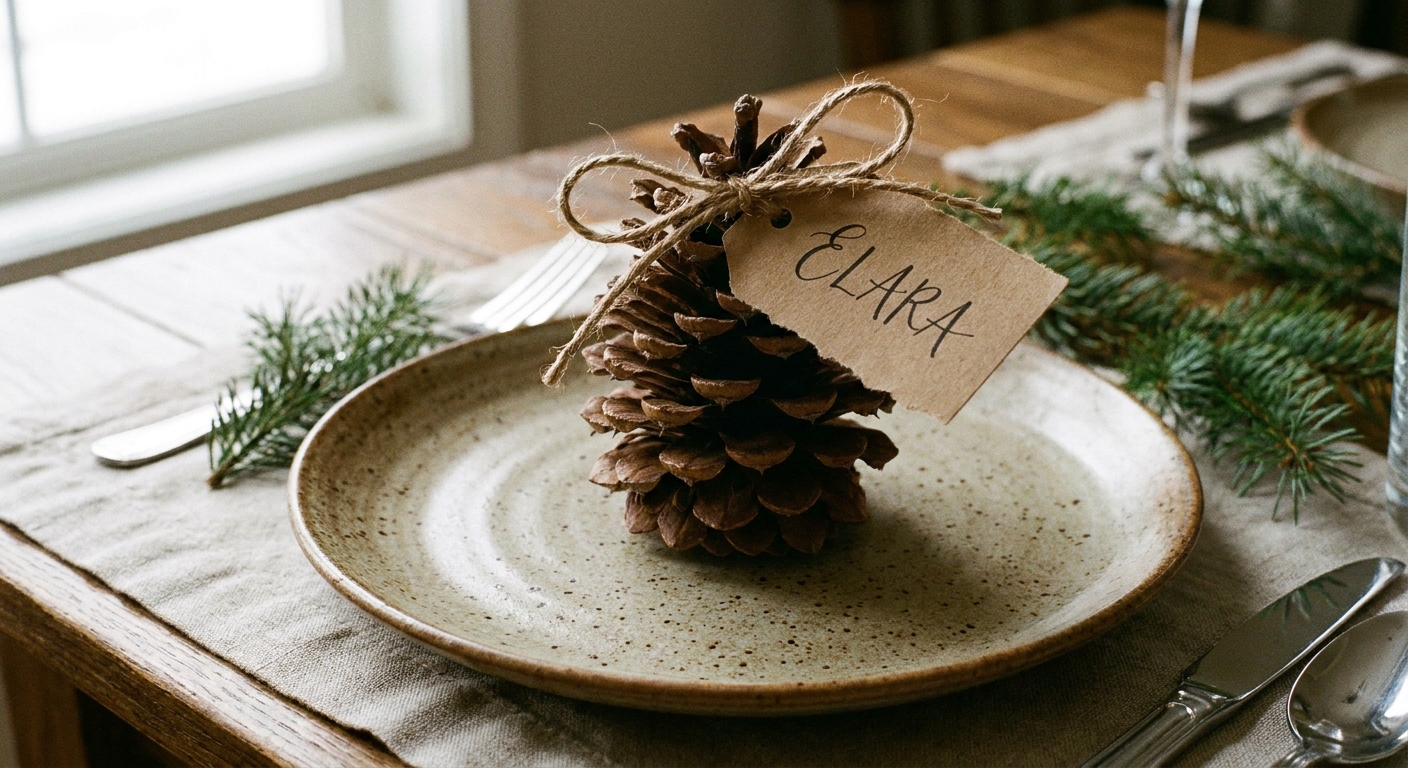
1) Pinecone and kraft tag place cards
Rustic, charming, and wonderfully forgiving. Pinecones naturally “hold” a tag without needing much glue.
What you need
- 1 pinecone per guest
- Kraft tags or small cardstock rectangles
- Twine or thin ribbon
- Fine-tip marker
Steps
- Write each guest’s name on a tag.
- If using rectangular cardstock, punch a hole near the top.
- Tie twine through the hole, or wrap twine around the tag as a simple loop.
- Tuck the tag into the pinecone scales near the top, angled slightly forward so the name reads easily.
Extra sparkle: Brush a tiny bit of craft glue on the pinecone tips and dust with glitter, then let dry fully before placing on linens.
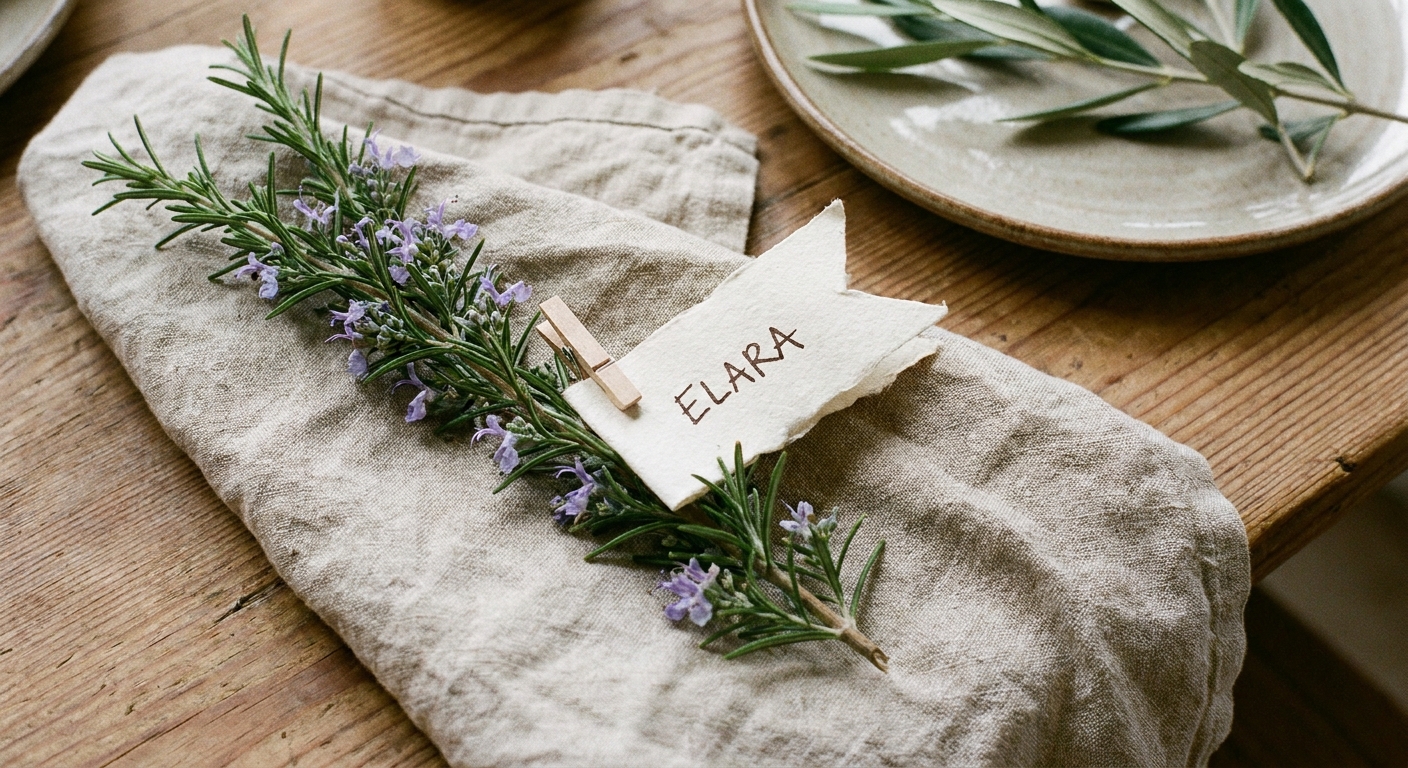
2) Rosemary sprig and folded name flag
This one looks like it came from a holiday bistro: crisp, fragrant, and neat.
What you need
- Fresh rosemary sprigs (4 to 6 inches long)
- White paper or cardstock
- Double-sided tape or glue stick
Steps
- Cut paper strips about 1 inch by 4 inches.
- Write the name centered on the strip.
- Fold the strip around the rosemary stem like a tiny flag.
- Secure the back with a small piece of double-sided tape.
- Lay the rosemary across the plate, napkin, or menu card.
Make-ahead tip: Write and cut the flags in advance. Add the rosemary the day of dinner so it stays perky.
3) Bauble ornament name tags (doubles as a favor)
A place card guests can take home is always a festive win. Mini ornaments are especially sweet for smaller tables.

What you need
- 1 ornament per guest (mini or standard)
- Ribbon
- Small tags
- Pen or paint pen
Steps
- Tie a ribbon loop to the ornament’s top.
- Write the guest’s name on a tag.
- Thread the tag onto the ribbon or tie it on with a small bow.
- Place the ornament on top of the napkin or at the top right of the plate.
Theme idea: Use one ornament color for adults and another for kids, or match your tree theme. For more theme inspiration, peek at Christmas Trees & Themes.
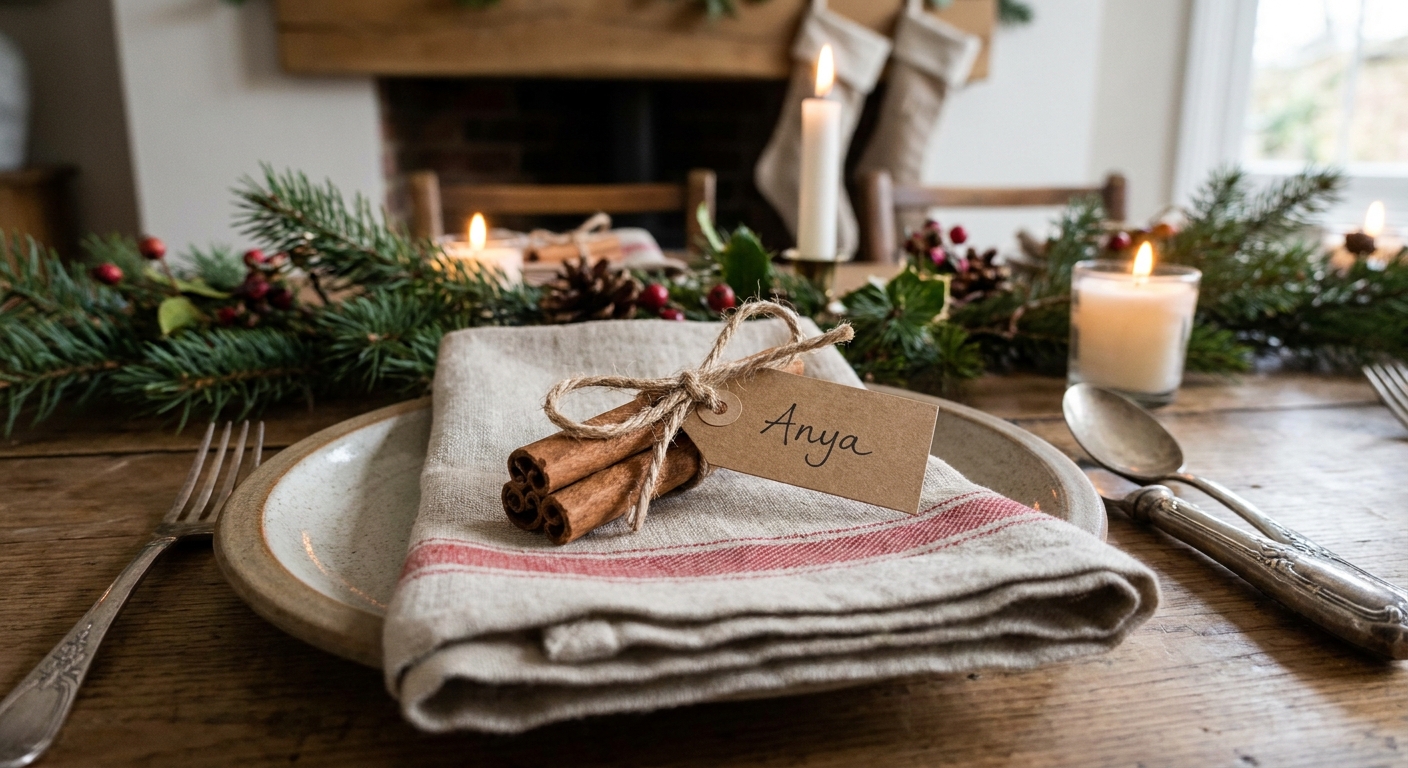
4) Cinnamon stick bundle with name tag
Cozy scent, instant structure, and it looks extra lovely with warm neutrals and gold flatware.
What you need
- 2 cinnamon sticks per guest
- Twine or ribbon
- Kraft tags
- Optional: small rosemary sprig
Steps
- Stack two cinnamon sticks.
- Add a small rosemary sprig on top (optional).
- Tie tightly with twine.
- Attach a name tag by threading it onto the twine before tying the final knot, or tuck it under the bow.
Table pairing: This goes beautifully with a simple centerpiece. Try something from 15 Budget-Friendly Christmas Centerpieces Under $20.
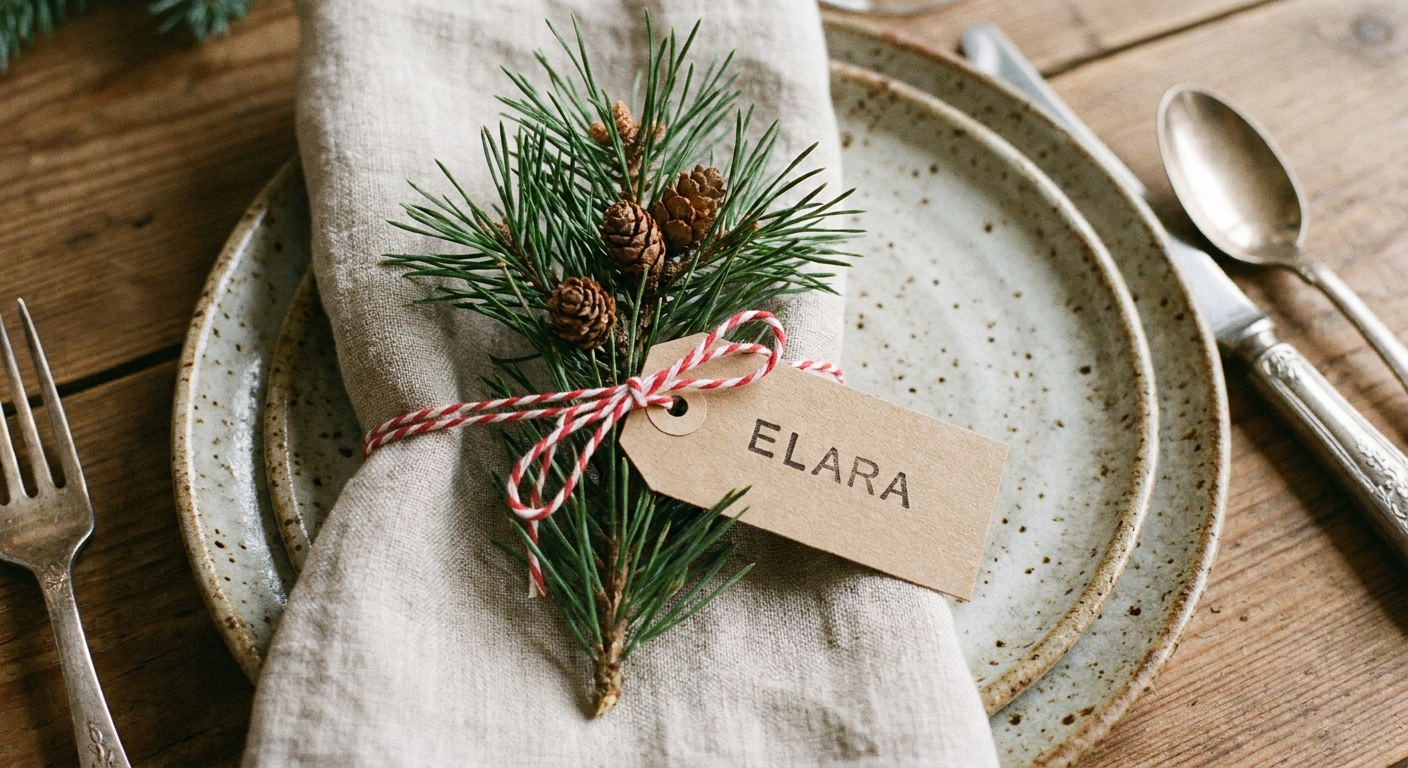
5) Pine sprig and paper tag “present topper” place card
This place card looks like a tiny wrapped gift without actually wrapping anything.
What you need
- Small evergreen sprigs (cedar, pine, or faux)
- Paper tags
- Baker’s twine
Steps
- Write names on tags.
- Lay a sprig diagonally across the tag.
- Wrap baker’s twine around both twice and tie in a bow.
- Set on top of each napkin like a present topper.
Color trick: Choose twine that matches one accent on your table (napkins, candles, ornaments) to make everything feel intentional.
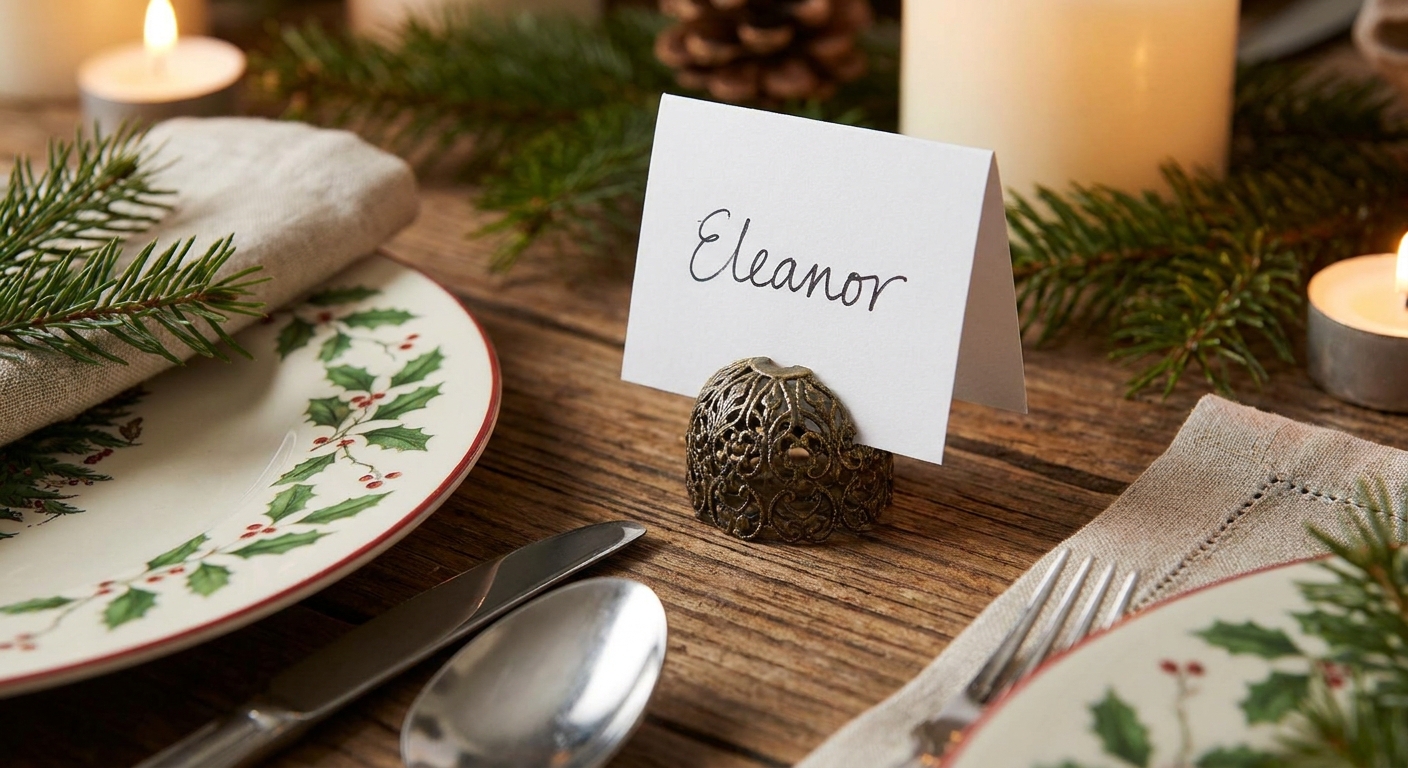
6) Ornament cap place card (no full ornament needed)
Got extra ornament caps and hangers hiding in a decorating bin? They make adorable little holders for folded name cards.
What you need
- Ornament caps (the metal tops from ornaments)
- Cardstock
- Scissors
- Optional: metallic paint pen
- Optional: glue dots
Steps
- Cut small cardstock rectangles (about 2 inches by 3.5 inches).
- Fold in half to create a tent card.
- Write the name on the front.
- Set the folded edge into the ornament cap so it stands upright.
If it tips: Ornament caps vary. If yours is wobbly, pinch the cap slightly to tighten the opening, or use a tiny glue dot inside the cap to grip the card.
Bonus: If the caps are mismatched, unify them with a quick coat of spray paint. Let them dry fully away from table linens.
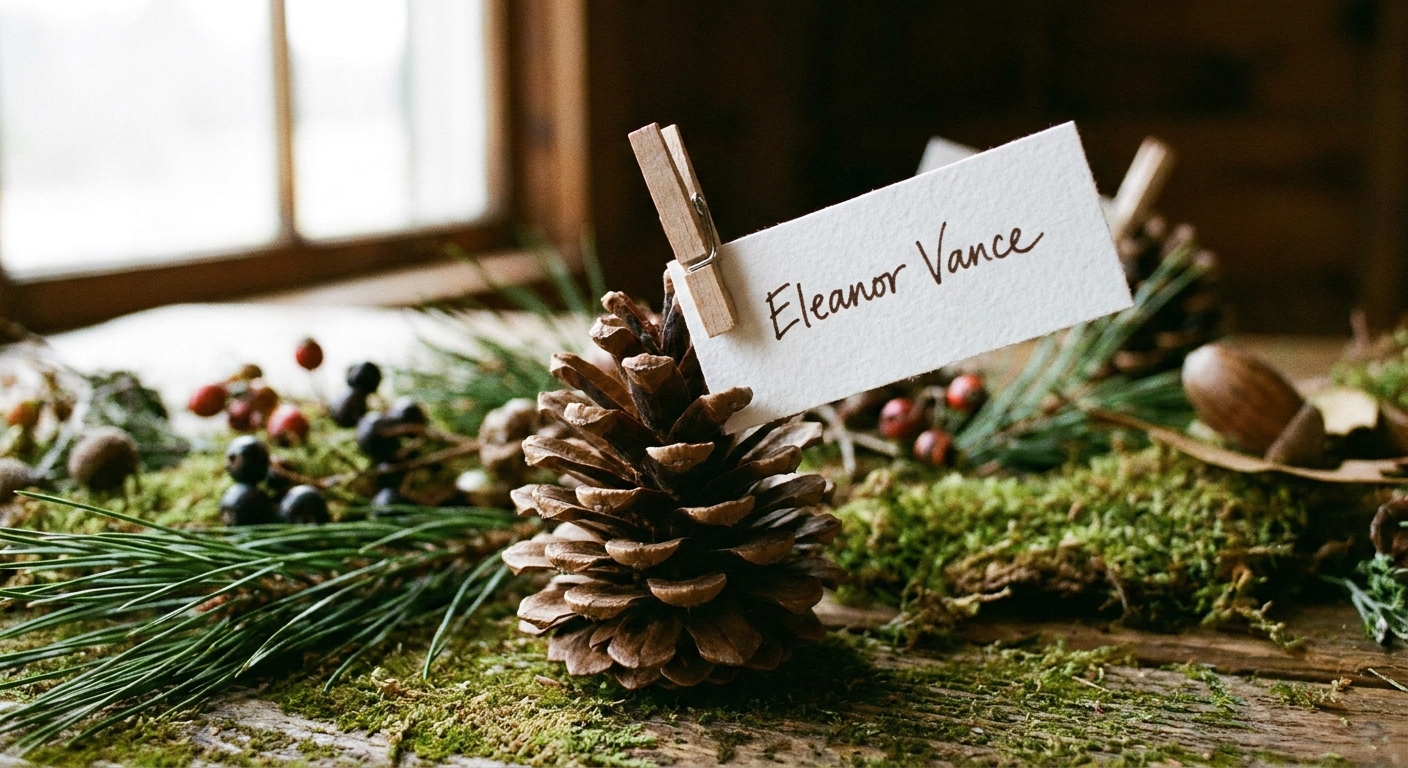
7) Pinecone “menu clip” place card with mini clothespin
This one is perfect if the table includes place cards plus a tiny menu or a note. The clothespin does the holding, the pinecone does the styling.
What you need
- Pinecones
- Mini wooden clothespins
- Hot glue or strong glue dots
- Small cards or tags
Steps
- Glue a mini clothespin to the top of each pinecone. Aim for a stable spot between scales and hold it in place for 10 to 15 seconds so it grabs.
- Write names on small cards.
- Clip a card into each clothespin.
Make it elegant: Use black cardstock with a gold paint pen, or creamy cardstock with deep berry ink.
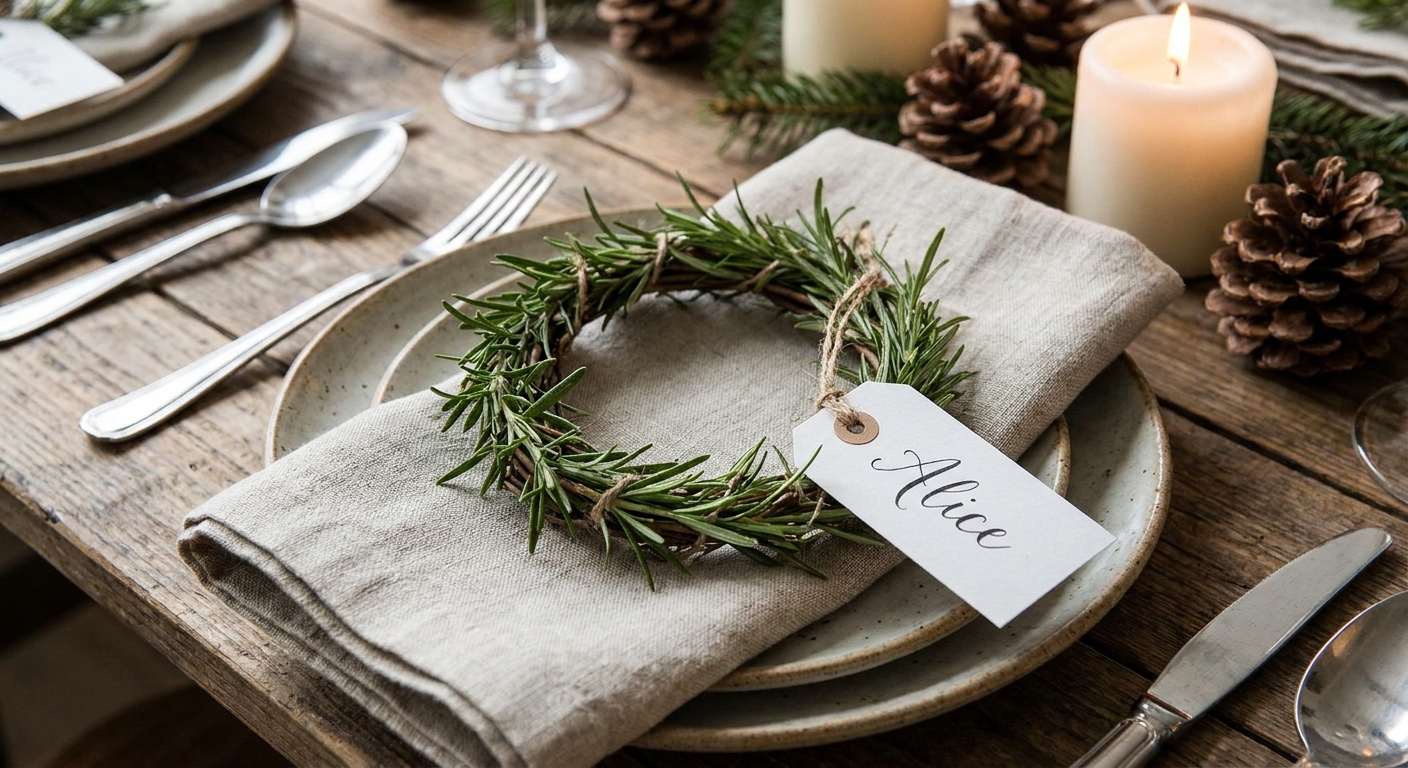
8) Rosemary wreath ring place card
Tiny rosemary wreaths feel extra special and they sit beautifully on top of a napkin. They are especially lovely for smaller dinner parties.
What you need
- Flexible floral wire
- Rosemary sprigs
- Small tags
- Ribbon or twine
Steps
- Cut a piece of floral wire about 6 to 7 inches long and form a ring.
- Wrap rosemary around the ring, securing it with the wire as you go.
- Tie on a name tag with ribbon or twine.
- Set the wreath on the napkin, or around a rolled napkin if it fits comfortably.
Freshness note: Make these the day of or the evening before. Store loosely in a container in the fridge, away from foods with strong odors.
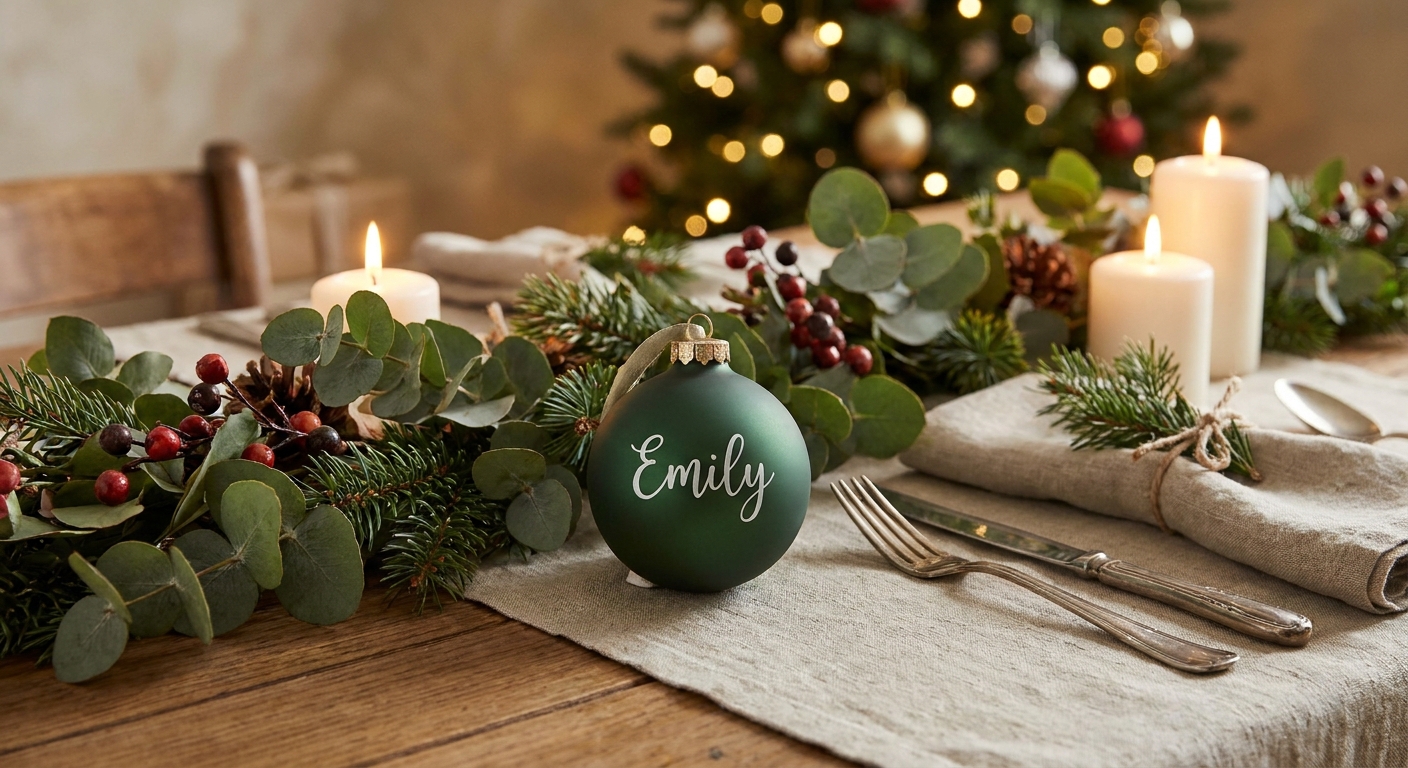
9) Bauble ornament “calligraphy” place card (no tag)
If tags feel too busy, write directly on the ornament for a clean, modern look.
What you need
- Matte or satin ornaments (paint pens show up best)
- Oil-based paint pen or permanent marker
- Rubbing alcohol and cotton swab (for quick fixes)
Steps
- Wipe the ornament surface clean and dry.
- Write the name in smooth strokes. Let the pen do the work, no pressing hard.
- Let dry completely before placing on fabric.
- If needed, dip a cotton swab in rubbing alcohol to clean up a wobbly line and try again.
Quick caution: Rubbing alcohol can dull or lift some ornament finishes, and it will not erase every paint pen. Test on the bottom first.
Style tip: Keep names short on smaller baubles. For long names, use initials plus a tiny tag tied at the top.
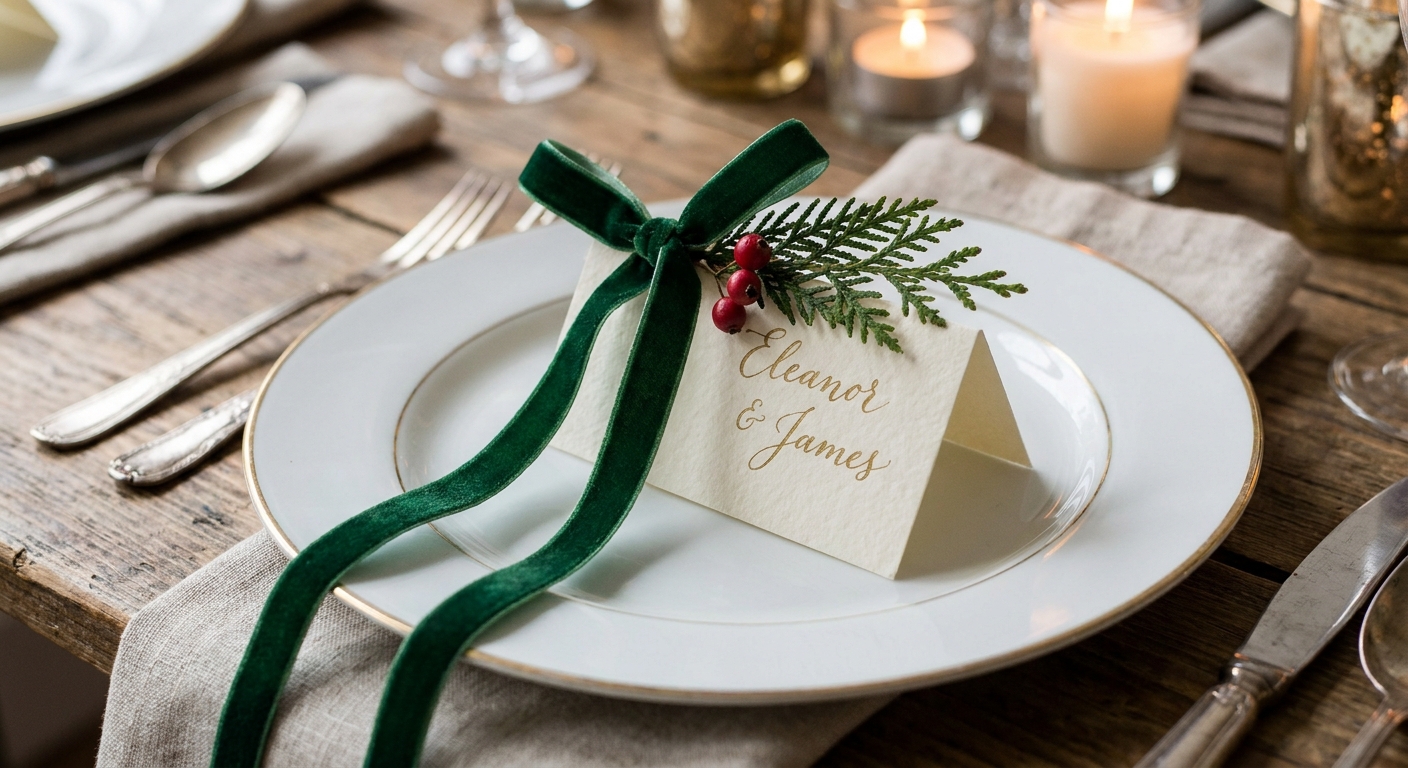
10) Simple paper tag with ribbon cascade
This is the easiest way to make basic tags feel dressed up, especially if your table is light on decor and you want one extra “wow” detail.
What you need
- Cardstock (for folded tent cards) or gift tags
- Velvet ribbon or satin ribbon
- Scissors
- Optional: tiny rosemary or cedar sprig
Steps
- Cut ribbon into 10 to 14 inch lengths. For charger plates, go longer so the tails can drape nicely.
- Tie the ribbon around the folded card, or thread it through a tag hole and knot it.
- Slip a small sprig under the ribbon if desired.
- Place on each setting with the ribbon tails draping softly over the plate edge.
Coordination sparkle: Ribbon details pair beautifully with holiday napkin styling. If napkins need a little festive flair, visit 5 Elegant Christmas Napkin Folds.
Quick styling tips for a cohesive look
- Pick one “hero” material: pinecones, rosemary, or ornaments. Use it in every place card for a unified table.
- Repeat one metal: gold ink, silver ribbon, or copper wire. A single metallic thread makes everything feel polished.
- Mind the plate scale: Large charger plates look best with larger place cards. Small plates love mini tags and petite sprigs.
- Keep names readable: High contrast wins, especially in candlelight.
- Handwriting helper: Lightly sketch a baseline in pencil (or fold a tiny crease) so your names sit at the same height. Mixing print for last names and cursive for first names can also look tidy and intentional.
Budget and batch tips
- Cheapest per setting: paper tags with ribbon, rosemary flags, and cinnamon bundles tend to use the fewest specialty items.
- Fastest for a crowd: pinecone tags and ornament name tags go quickly once you set up an assembly line.
- Best for 4 to 6 guests: rosemary wreath rings feel extra special, but they take a little more hands-on time.
FAQ
How far in advance can place cards be made?
Paper tags, folded cards, and ornament writing can be made a week or two ahead and stored flat in a box. Anything with fresh rosemary or evergreen sprigs looks best made the day of, or the evening before.
What if the table is outdoors or breezy?
Choose heavier holders like pinecones or ornaments, and avoid lightweight tent cards by themselves. A tiny glue dot can secure a tag to a pinecone, and a ribbon tie helps keep sprigs from shifting.
How can place cards match a centerpiece without feeling too matchy?
Repeat just one element from the centerpiece, like rosemary, a berry color, or a gold accent. Let everything else stay simple. If the centerpiece is big and lush, keep place cards petite and clean.
More cozy table ideas
For more holiday hosting magic, explore Tablescapes & Entertaining. It is full of warm, welcoming details that make a Christmas table feel like a little winter wonderland.