Let’s gather some sparkle and make your mailbox merry and bright. A Christmas mailbox swag is one of those small outdoor touches that makes the whole street feel warmer. The secret is simple: build a lightweight, weather-friendly bundle, then attach it with zip ties and outdoor wire so it stays put through chilly gusts.
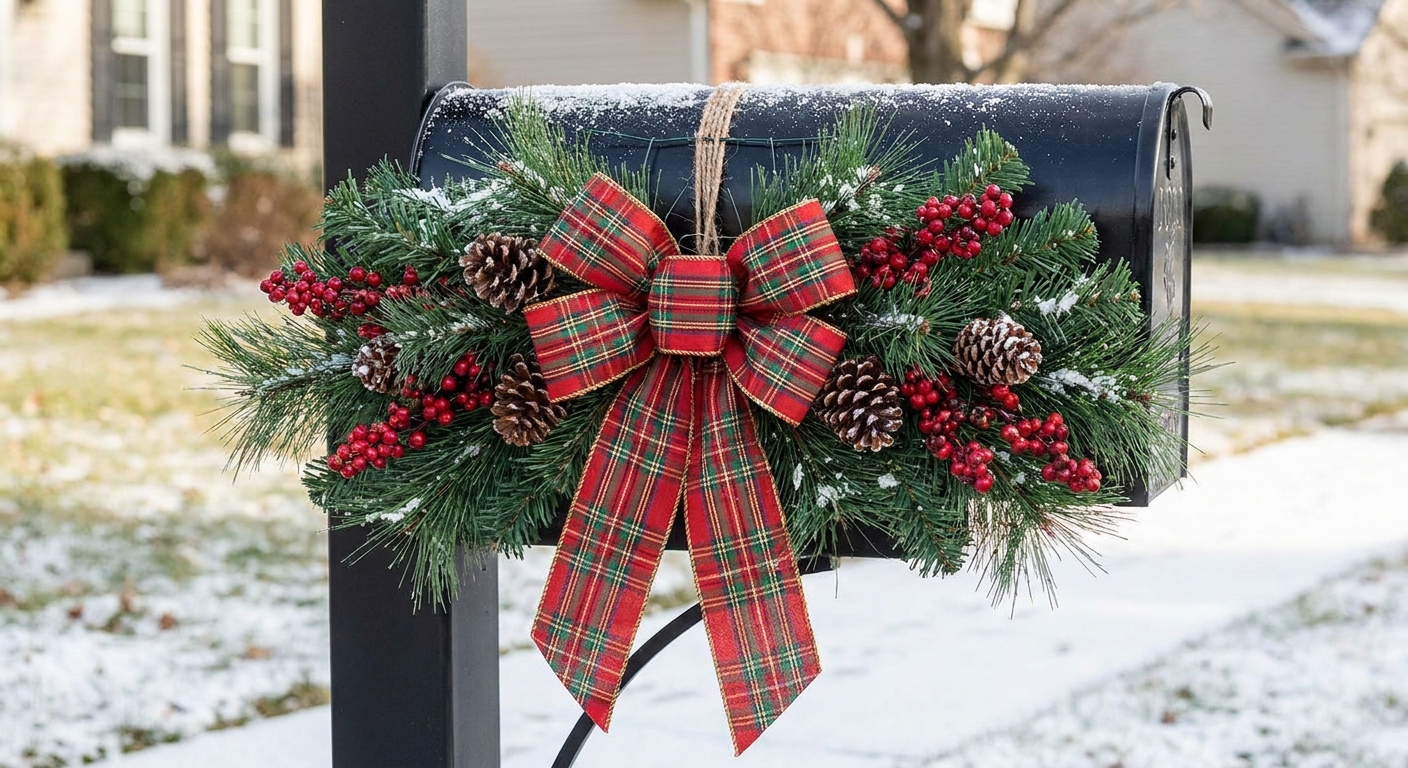
What makes a great mailbox swag
A mailbox arrangement has a special job. It needs to look full and cheerful from the curb, but it also needs to:
- Stay slim so the mailbox door opens freely.
- Shed water so it does not become heavy or droopy.
- Hold tight without scratching paint or blocking the flag.
- Survive wind with secure ties and a sturdy base.
For the longest-lasting results, faux greenery and faux berries are perfect here. They keep their shape, they do not freeze into a sad lump, and they are easy to wire together. Fresh greens can look gorgeous too, but they can brown, drop needles, and get heavier when wet or icy.
Quick courtesy check
Before you start, do a quick curbside sanity check. Your swag should not block the address (if your numbers are on the box or post), it should not interfere with the flag, and the door should open fully so your mail carrier can access the box easily.
Supplies (weather-resistant and mailbox-safe)
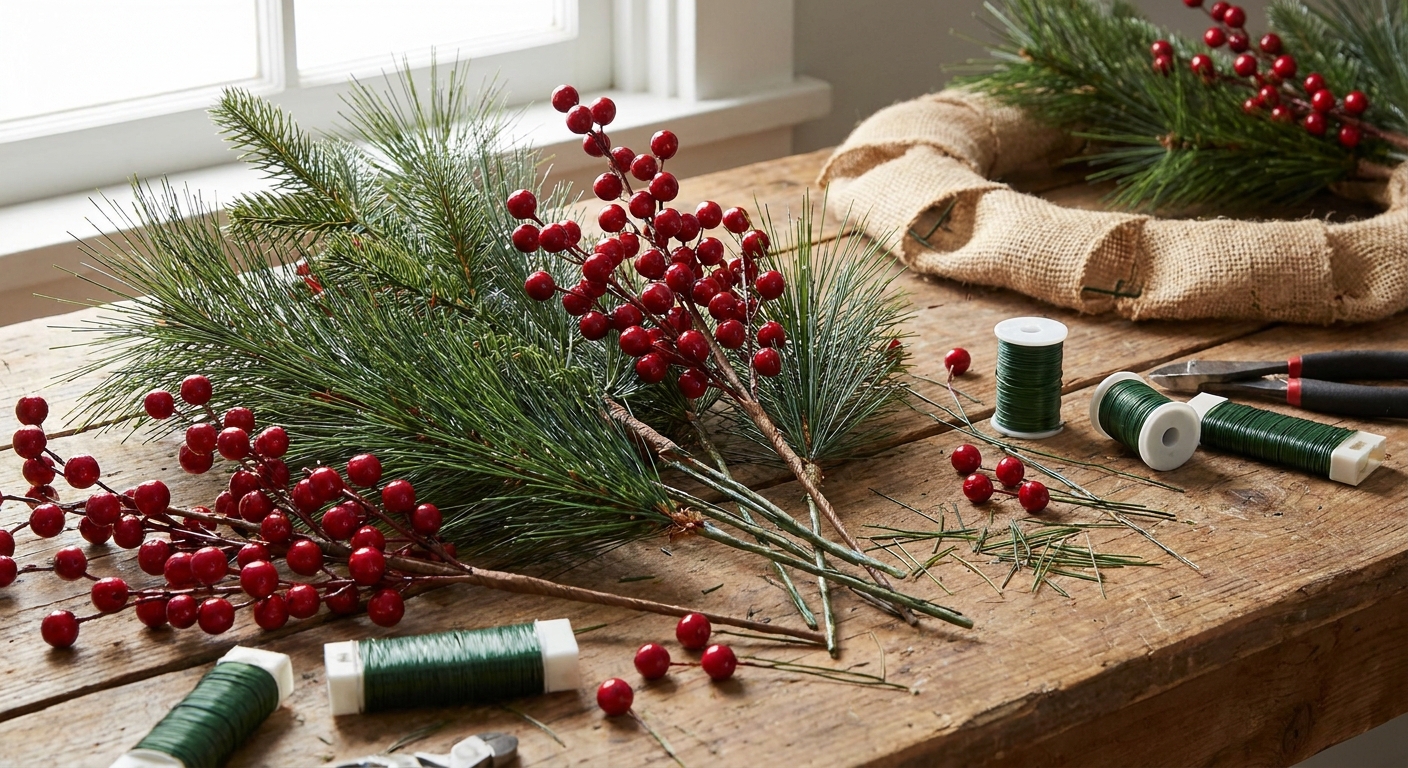
- Faux greenery picks (pine, cedar, eucalyptus, or mixed) in 6 to 12 inch stems
- Faux berry or pinecone picks for color and texture
- One bow (wired ribbon is best for outdoor shaping)
- Outdoor floral wire or vinyl-coated wire (green or brown blends in nicely)
- Zip ties (UV-resistant if possible)
- Wire cutters (or strong scissors for zip ties)
- Work gloves (wire ends can be pokey)
- Optional base: a short section of wire wreath frame or a thick faux garland stem to act as a “spine”
- Optional protection: a little strip of felt or foam where wire touches the mailbox
Good-to-know: Avoid anything that soaks up water or adds a lot of weight, like wet floral foam, thick grapevine bundles, or heavy décor pieces. Weight is what makes mailbox swags sag and twist.
Design your swag
Pick a simple silhouette
Choose one of these easy shapes so your swag looks intentional from the road:
- Classic teardrop: fuller at the top, tapering down.
- Side sweep: a gentle diagonal that leans left or right.
- Mini drape: a short, shallow curve across the front.
Choose a color recipe
Mailbox swags look best with a tight color palette that reads clearly outdoors:
- Traditional: deep red berries + pine + gold accents
- Woodland: pinecones + soft brown ribbon + a hint of cream
- Frosted: flocked greenery + silver picks + icy blue ribbon
- Gingerbread cozy: warm plaid ribbon + cinnamon-toned ornaments (shatterproof)
Sprig’s little decorating rule: Outdoors, bigger details read better. Pick fewer, bolder accents instead of lots of tiny ones.
Build the swag base
Before adding bows and berries, create a sturdy core so the whole bundle behaves like one piece.
Step 1: Make a spine
Your “spine” is simply a firm, narrow backbone that keeps everything aligned. Use a 6 to 10 inch section of wire wreath frame, or a thick faux garland stem cut to size.
Step 2: Layer greenery in one direction
- Place the first greenery pick on the spine so the tips point downward (or toward the direction of your sweep).
- Add the next pick slightly above it, overlapping by 2 to 3 inches.
- Continue overlapping until you have your desired length and fullness.
Step 3: Wire it into a single bundle
- Cut a 10 to 14 inch piece of outdoor wire.
- Wrap tightly around the spine and stems at the top cluster first.
- Add 1 to 2 more wire wraps down the bundle where it feels wobbly.
- Twist the wire ends together on the back side and tuck ends in so nothing scratches.
Tip: You can build with only zip ties, but wire usually creates a slimmer, cleaner bundle that is easier to attach neatly.
Add focal pieces
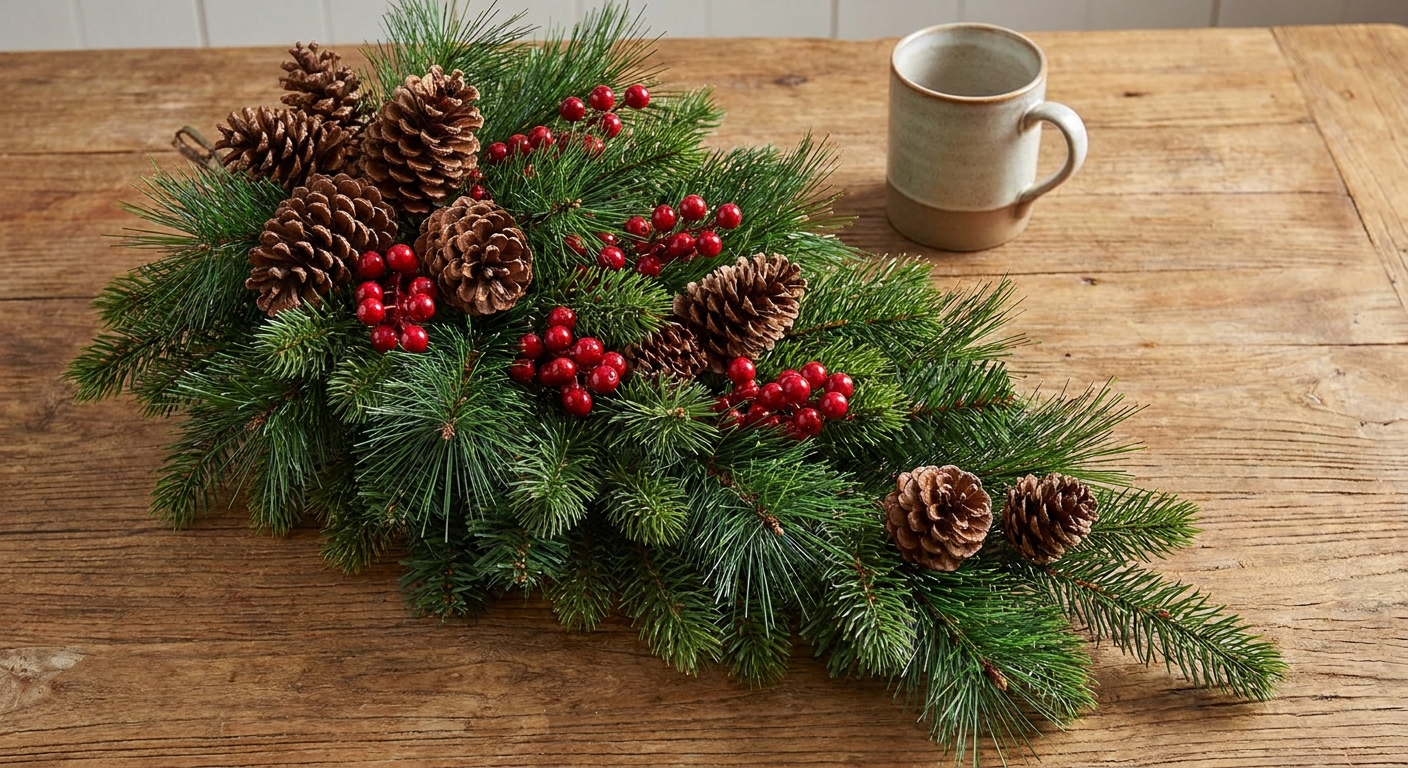
Now the fun part. Add larger accents near the top and midsection, and keep the bottom lighter so it tapers naturally.
- Berries: cluster them in groups of 3 to 5 stems so the color reads from the curb.
- Pinecones: tuck 1 to 3 cones where stems meet to hide mechanics.
- Ornaments (optional): use shatterproof ornaments and wire them on, do not rely on a hook.
Attach each accent by wrapping its stem to the spine or main bundle with wire. Give a gentle tug after each addition. If it moves, add one more wire wrap.
Make a bow that lasts
A bow is the mailbox swag’s happy little wink to everyone passing by. For best results, use wired ribbon so it can be reshaped after wind, snow, or a curious squirrel.
Simple fluffy bow
- Create 3 loops on each side (about 5 to 7 inches wide for a standard mailbox).
- Twist the ribbon between loops so the pretty side stays facing out.
- Pinch the center tightly and secure with floral wire.
- Add two tails and cut the ends into a neat V shape.
Outdoor ribbon tip: If your ribbon feels too soft, add a second wire wrap through the center and twist firmly. A tight center is what keeps loops perky.
Attach the swag to your mailbox
There are a few ways to attach a swag, but the most reliable setup is usually a combo of zip ties for strength and wire for precision.
Placement check
- Hold the swag where you want it, usually centered on the front or slightly to one side.
- Confirm the mailbox door opens fully without scraping greenery.
- Keep the swag clear of the flag hinge, any locks, and address numbers.
Method A: Zip ties around the mailbox body
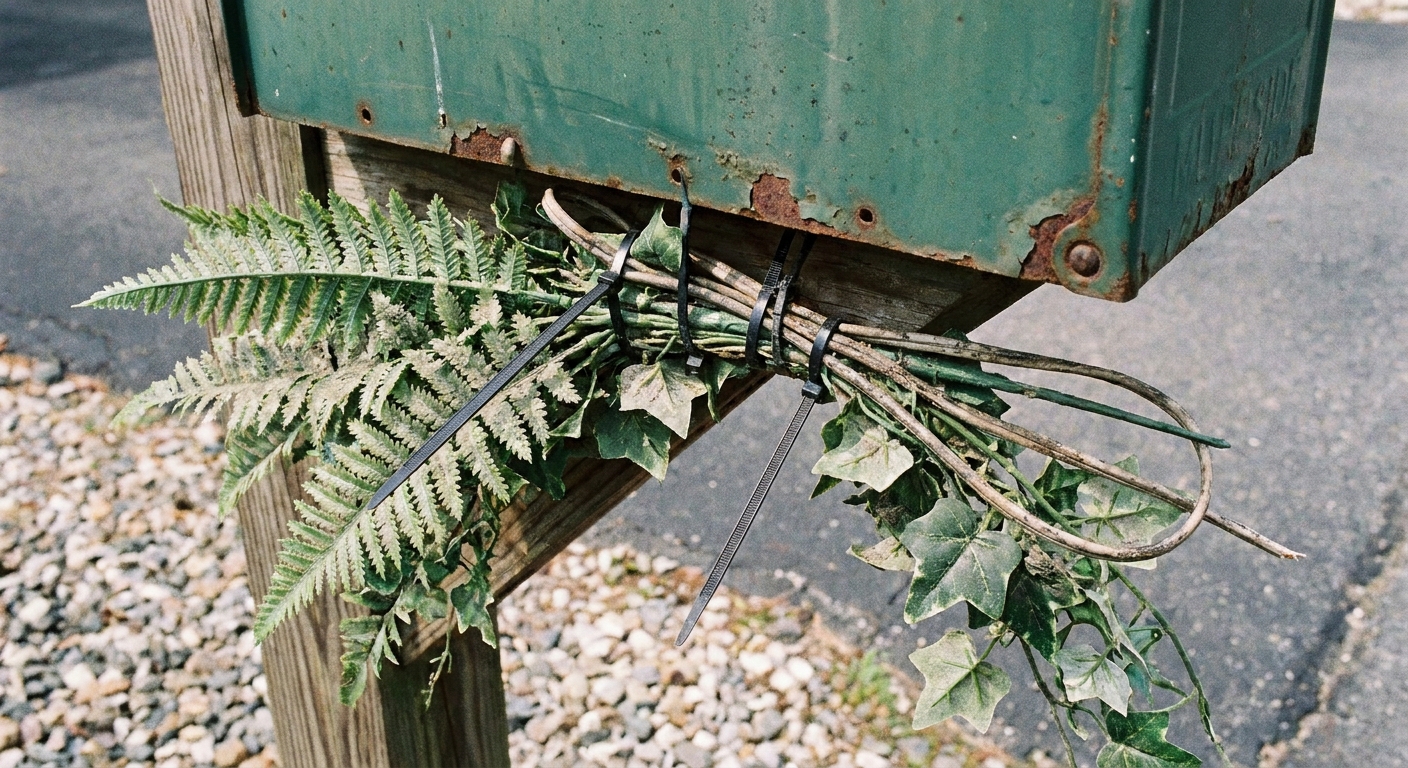
This is often very secure, but it depends on your mailbox style. The goal is to loop ties around a stable part of the mailbox body or bracket, not to pinch the door or trap the hinge.
- Slide a zip tie behind the swag’s top bundle.
- Route the zip tie around a stable point such as the underside lip, a mounting bracket, or a side support area (where your mailbox has one).
- Tighten until snug, but do not crush the swag.
- Add a second zip tie lower down to stop twisting in wind.
- Clip excess zip tie tails close and rotate the clip ends toward the back or underside to hide them.
Caution: After tightening, open and close the mailbox door a few times. If anything rubs, pinches, or catches, reposition the ties immediately so mail access stays easy and smooth.
Method B: Outdoor wire wrap
This is best for fine-tuning placement and keeping things slim.
- Cut two pieces of outdoor wire (12 to 16 inches each).
- Wrap wire around the swag bundle, then around the mailbox support or underside lip.
- Twist to tighten, then tuck sharp ends back into the greenery.
Paint protection: If wire touches painted metal, slip a tiny piece of felt or foam between wire and mailbox before tightening.
Weatherproofing tricks
- Choose weather-resistant accents: Faux picks vary, so look for ones labeled for outdoor or weather-resistant use.
- Angle the top slightly outward: This helps water run off instead of pooling in the bundle.
- Use two attachment points: One tie is strong, two ties stop spinning.
- Avoid water-loving materials: Fresh greens, moss, and absorbent stems can get heavy when wet or icy.
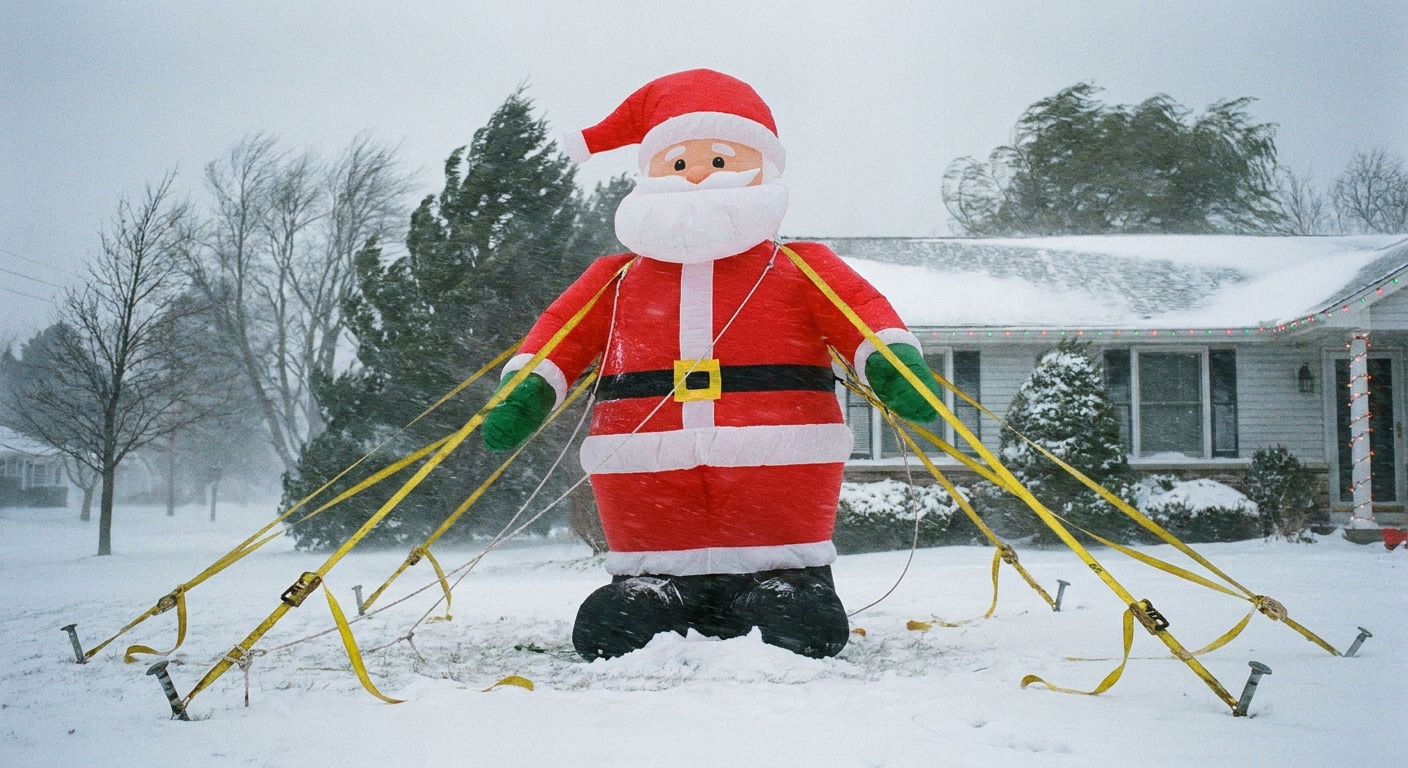
If wind is a big holiday guest in your area, you might also like these tips for outdoor stability: Secure Outdoor Christmas Decor for Wind and Winter Weather.
Style ideas by mailbox type
Standard curbside mailbox
- Go for a teardrop swag that ends above the bottom edge.
- Use a 6 to 8 inch bow so it reads from the street.
Wall-mounted mailbox
- Try a side sweep so it does not block the opening.
- Keep accents flatter, like berries and small pinecones.
Cluster mailbox units
- Choose a slim, tidy swag so neighboring boxes still open easily.
- Use one bold ribbon and fewer picks for a clean look.
Quick troubleshooting
The swag spins sideways
Add a second zip tie lower down, or add wire around the bottom half to anchor it.
The mailbox door catches
Trim the longest tips near the hinge area, or shift the swag slightly off-center. Then test open and close again.
The bow droops after a storm
Fluff loops back into shape and add one extra wire wrap through the bow center and into the swag’s spine.
The whole thing sags
It is usually weight. Remove heavy ornaments, reduce pinecone count, or rebuild with fewer picks and a tighter wire spine.
Remove and store it
When the season wraps up, snip zip ties carefully so you do not scratch the paint. Store the swag flat in a shallow bin (or hang it from a hook) so the bow does not get crushed. Next year, you will only need a quick fluff and you are back in business.
Make it match your porch
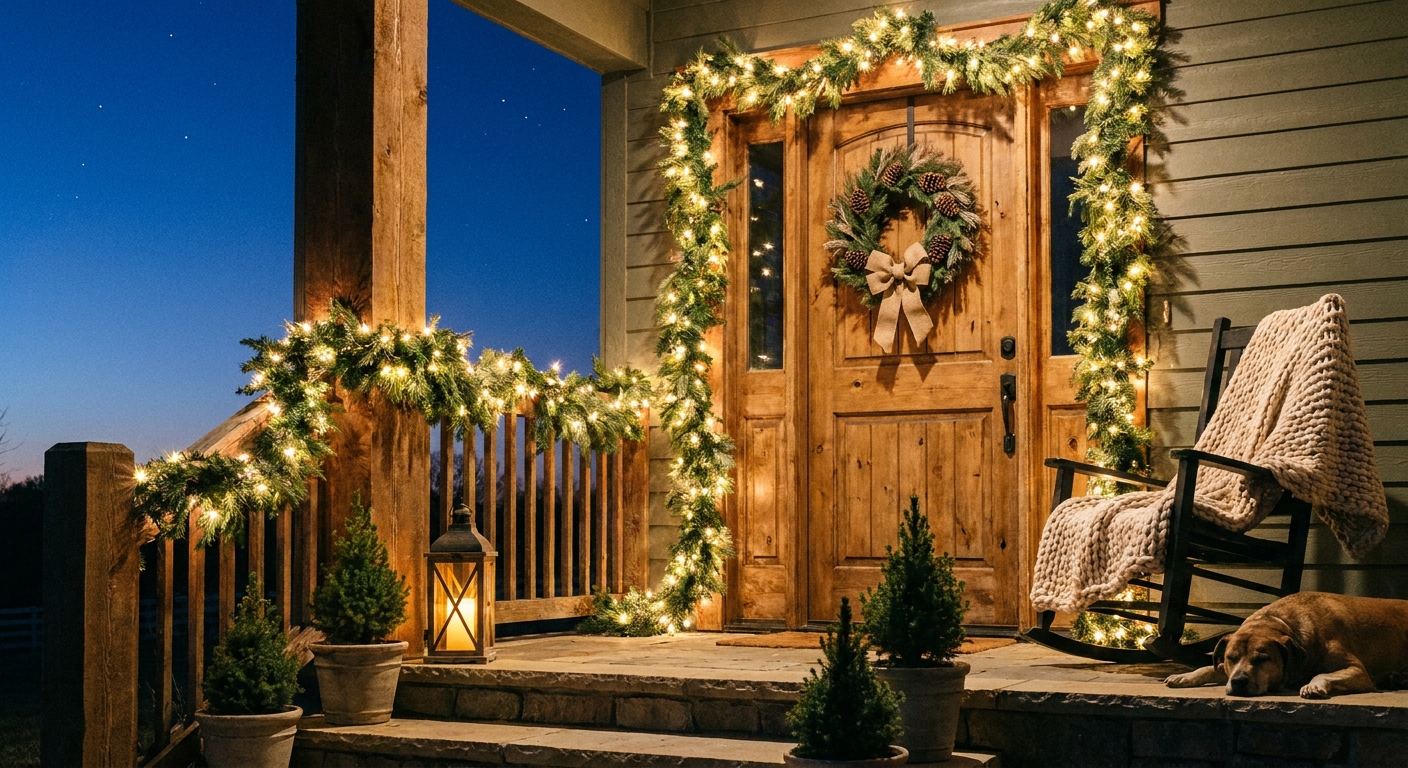
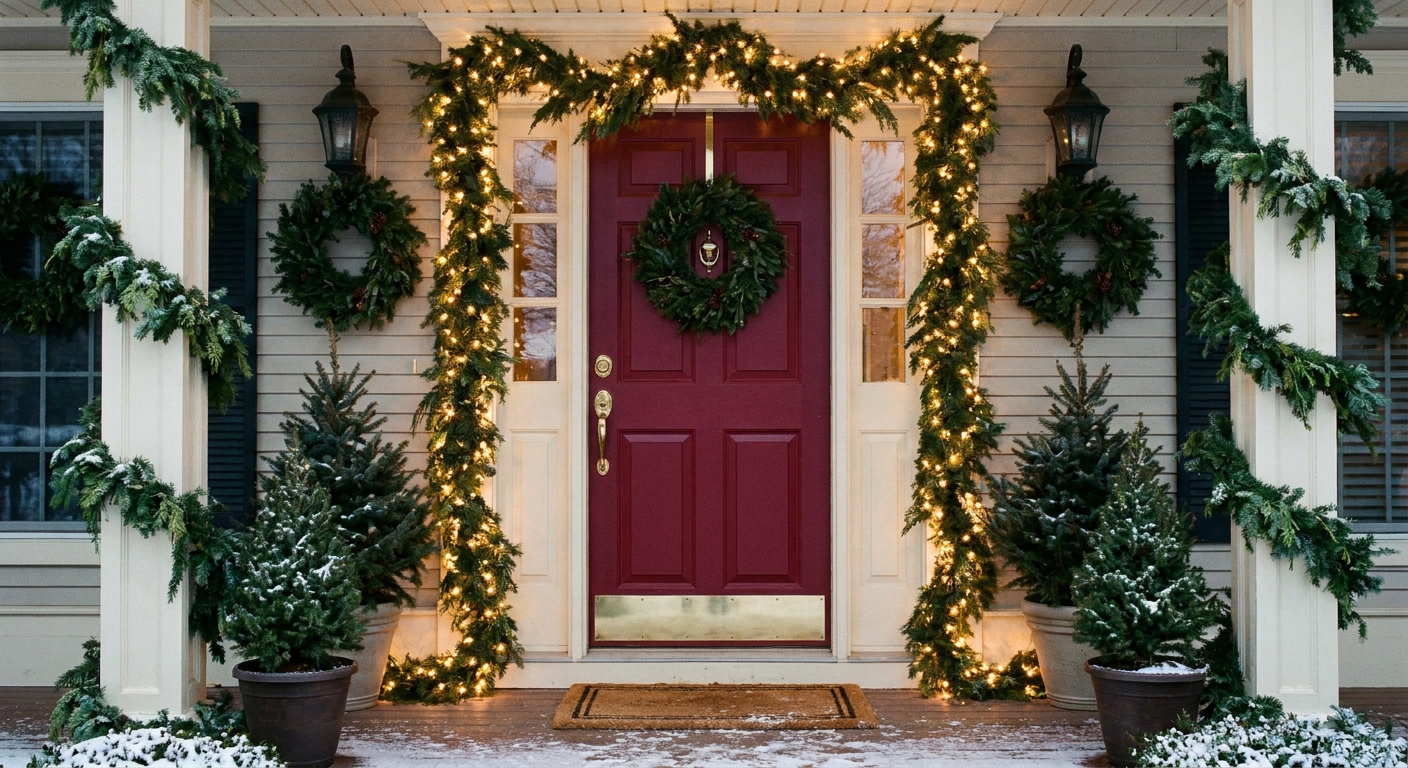
If your porch is dressed up for the season, a matching mailbox swag makes everything feel intentional. Keep ribbon colors consistent across your outdoor moments.
- Pair your mailbox swag with a welcoming entry setup from 12 High-Impact, Low-Cost Front Porch Christmas Decorating Ideas.
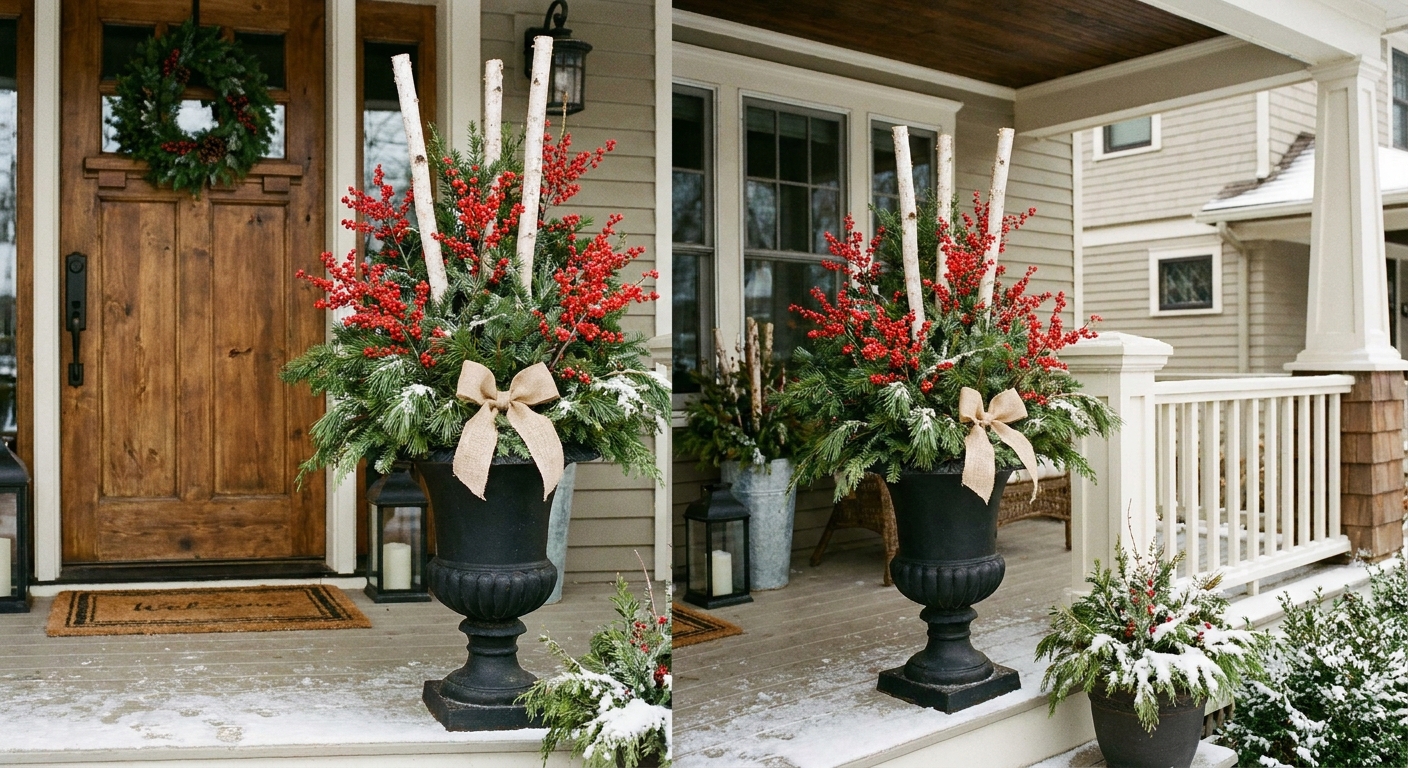
- Add cozy greens nearby with Lush Christmas Porch Planters with Winter Greens.
Now give that swag one last fluff, tuck those wire ends away, and enjoy the curbside sparkle. Holiday magic can absolutely start at the mailbox.