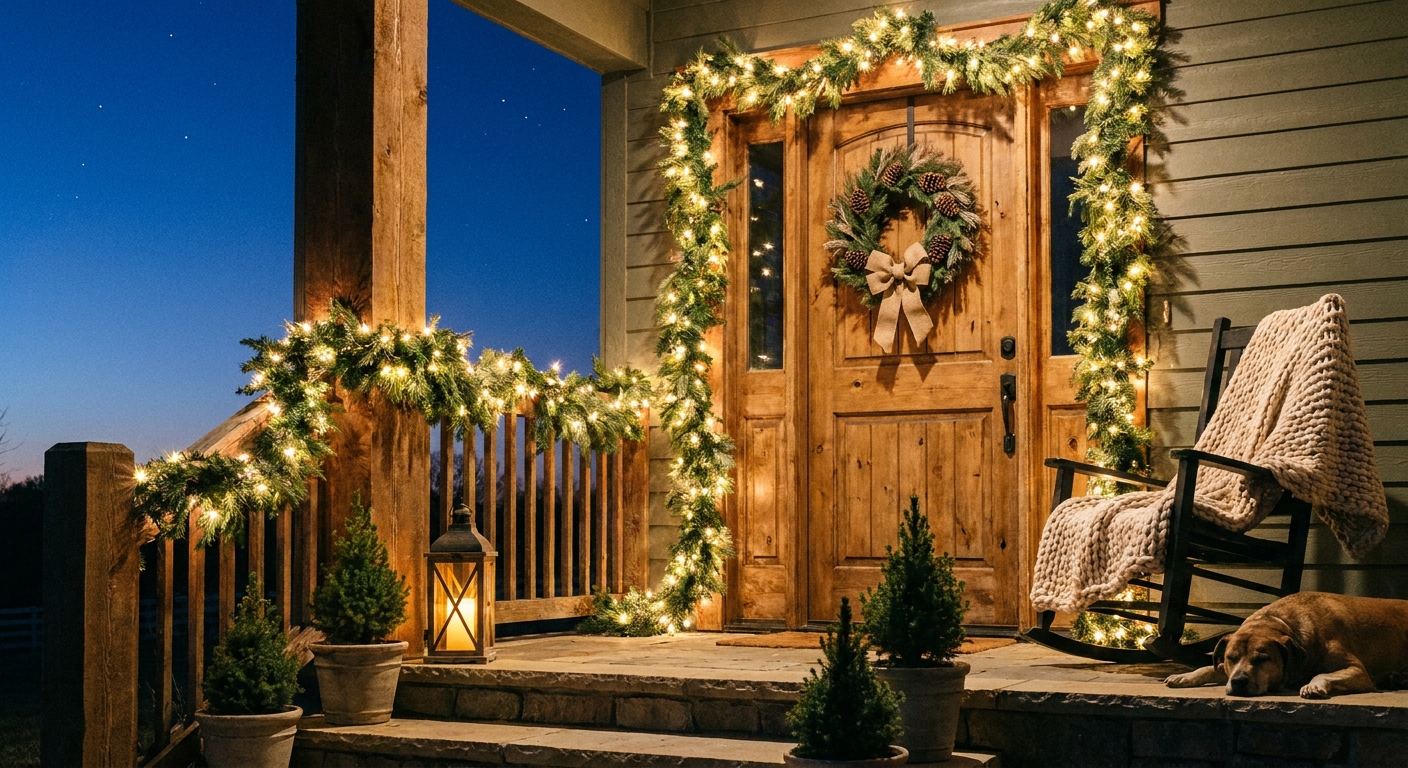
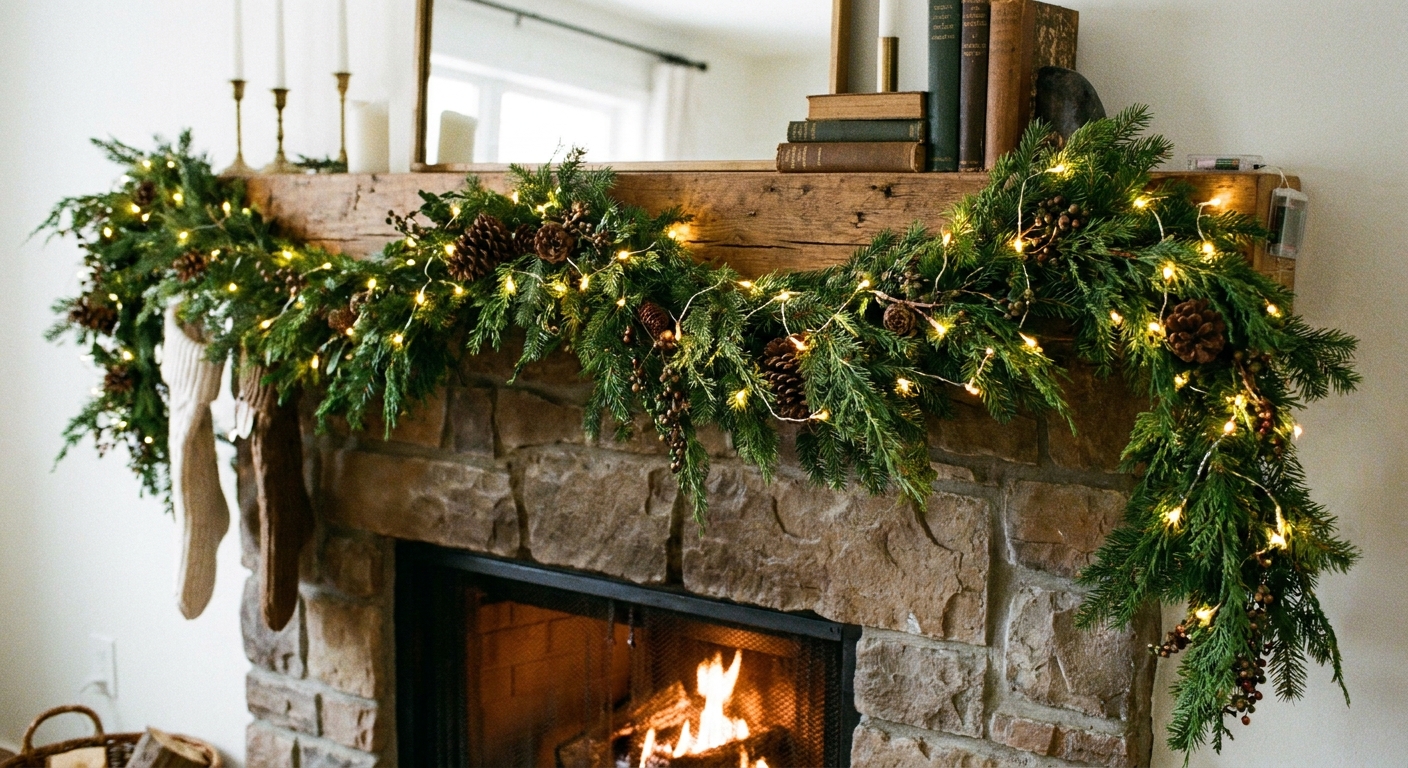
Let's gather some sparkle and make your porch merry and bright. A lush winter planter is one of those front-door touches that looks fancy, but it is really just a smart stack of greens, height, and a few twinkly accents.
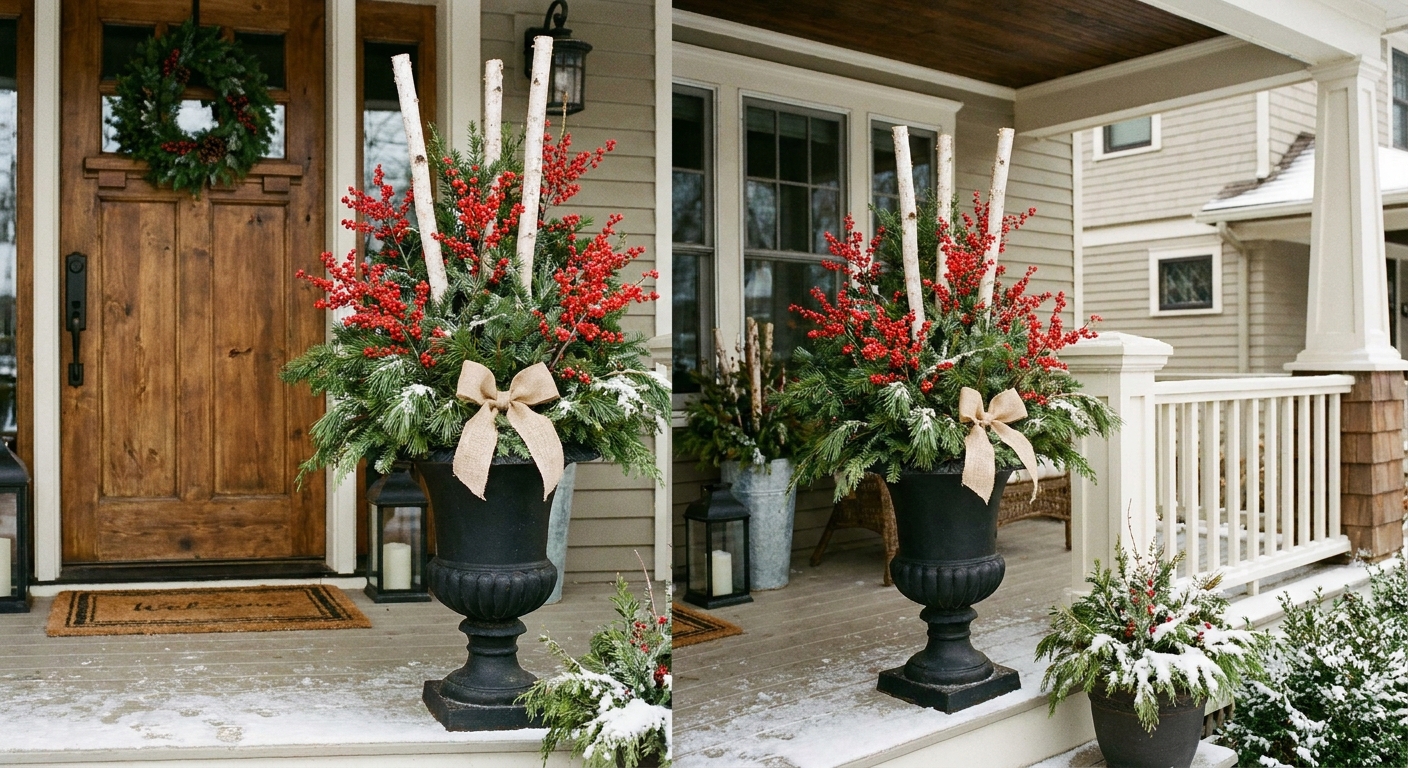
What makes a porch planter look full
A professional-looking winter urn usually has three layers working together:
- Height: birch poles, dogwood branches, or tall faux picks create a strong center.
- Volume: a thick skirt of evergreen boughs hides foam, soil, and the planter rim.
- Detail: berries, pinecones, ribbon, or lights add color and a focal point.
Once you think in layers, you can mix fresh and faux without anyone noticing.
Supplies (fresh, faux, or a mix)
Planter basics
- Porch urn or planter
- Weight inside the planter: packed sand or gravel (especially for windy porches)
- Optional insert pot (a nursery pot that sits inside your decorative urn for easy setup)
Anchoring options
- Fresh method: packed soil or sand you can push stems into (sand and gravel pack tight and add weight)
- Faux friendly method: rigid foam insulation cut to fit (more durable in wet weather than many dry floral foams)
- If you use dry floral foam bricks, keep them for covered areas and expect they may crumble or shift with repeated freeze and thaw
- Small stones or extra foam scraps to wedge everything tight
Greenery and accents
- Evergreen boughs: pine, cedar, fir, spruce (fresh) or realistic faux pine sprays
- Birch poles (or any straight branches)
- Berry sprays (red is classic, but champagne or white berries look snowy)
- Optional: pinecones, ornaments, magnolia leaves, eucalyptus, ribbon bow
- Optional lights: outdoor-rated battery micro lights or outdoor-rated plug-in lights
Quick drainage note: If you are using fresh greens, choose an insert pot or a container with drainage so water can escape. If your decorative urn has no drainage, an insert pot is the easiest way to keep the base from turning into a soggy mess. For lights, keep battery packs and plug connections lifted up and tucked under greenery, never sitting in the bottom where water can collect.
If you are planning more outdoor sparkle, peek at Outdoor & Porch Decor for coordinating porch ideas.
Step-by-step: build a lush porch planter
Step 1: Set the height first
Start with birch poles or tall branches because they determine the whole shape.
- Aim for a total height that is about 1.5 to 2 times the height of your planter.
- Use odd numbers for poles (3 or 5) for a natural look.
- Cluster the poles tightly in the center, or offset slightly for a more relaxed, airy style.
Stability tip: Push poles deep into soil or foam. Then wedge with stones or foam scraps so nothing wiggles.
Step 2: Create a strong evergreen base
Now build the fullness. This is where the lush magic happens.
- Insert your longest boughs first, angling them outward to form a skirt.
- Work in a full circle, spacing boughs close enough that you cannot see your mechanics.
- Add a second ring of boughs slightly higher and more upright to thicken the center.
Visual cue: Aim for a soft dome shape, not a narrow funnel. You want the planter to look generous from the front, not pinched at the top.
Scale tip: For that full, finished look, let the skirt extend to the rim or slightly overhang by a couple inches.
Quick fullness formula: more stems, tighter spacing, and varied angles.
Step 3: Add a second green texture (optional but gorgeous)
Mixing greens is the secret to that designer depth.
- Cedar: drapes softly and makes everything feel abundant.
- Spruce: adds strong needle texture and structure.
- Magnolia: gives a rich, classic look with warm brown undersides.
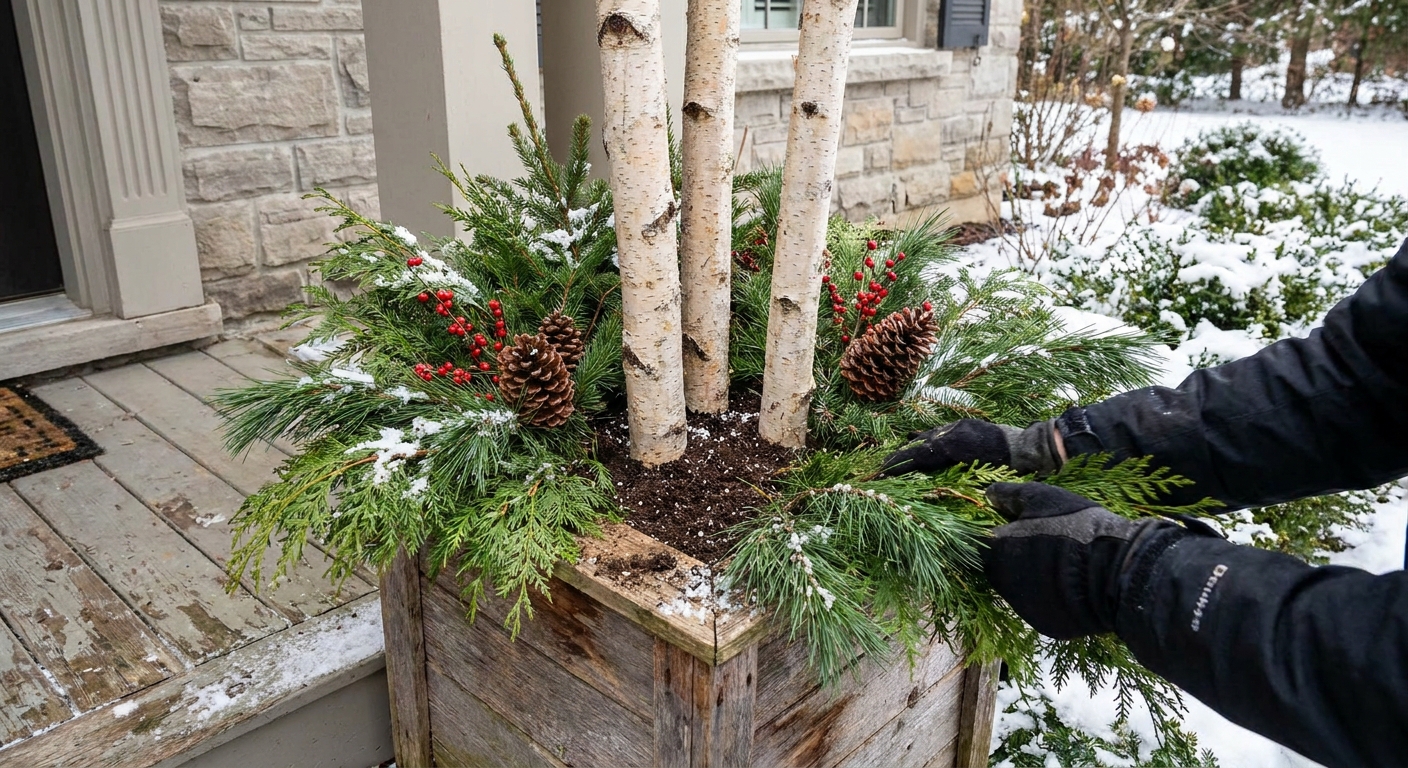
Step 4: Place berry sprays like punctuation
Berry stems should lead the eye, not overwhelm the greens.
- Use berries in clusters of 2 to 5 stems rather than spreading single picks everywhere.
- Tuck the bottoms deep so only the berry portion shows.
- Repeat berries on at least two sides so the planter looks finished from different angles, or three sides if it is visible from the street and the walkway.
Color balance trick: Put a little berry color near the top and a little near the base so the whole arrangement feels intentional.
Step 5: Add finishing touches (pinecones, ribbon, ornaments)
- Pinecones: wire them to a pick or skewer, then tuck in so they sit snugly.
- Ornaments: use shatterproof ornaments outdoors. Nestle them deeper than you would on a tree so wind will not swing them.
- Ribbon: choose wired ribbon for crisp loops, or tie a simple bow and secure it to a sturdy branch with floral wire.
Glitter note: If you love glittery stems, look for options that do not shed. Outdoor wind and rain can turn shedding glitter into a mess fast.
If you love a ribbon moment, the techniques in Ribbon Cascades on a Christmas Tree translate beautifully to porch planters too.
Step 6: Optional lights without the tangle
For twinkle that stays neat:
- Wrap lights around your center poles first, then weave outward into greens.
- Hide battery packs low and deep behind greenery, or secure them to the inside wall of the planter.
- Choose a timer function if possible so your porch glows reliably each evening.
For extra cord-hiding tips that work indoors and out, visit Hide Battery Packs and Cords in Christmas Decor.
Fresh greens vs faux: choosing what works
Fresh greens are perfect if you want natural scent and texture
- Place planters in a shady, sheltered spot when possible to slow drying. Wind and sun dry greens faster than anything.
- If you mist, do it only above freezing. In freezing weather, skip misting so you do not create ice.
- Expect the best look for several weeks, depending on temperature swings and sun exposure.
Faux greens are perfect for long seasons and repeat use
- Use a mix of realistic pine plus a few special stems (berries, eucalyptus, magnolia) for a high-end look.
- Anchor faux securely with rigid foam and wiring so winter wind cannot loosen picks.
- Store stems flat or upright in a bin so they do not get crushed.
Design recipes (copy these exactly)
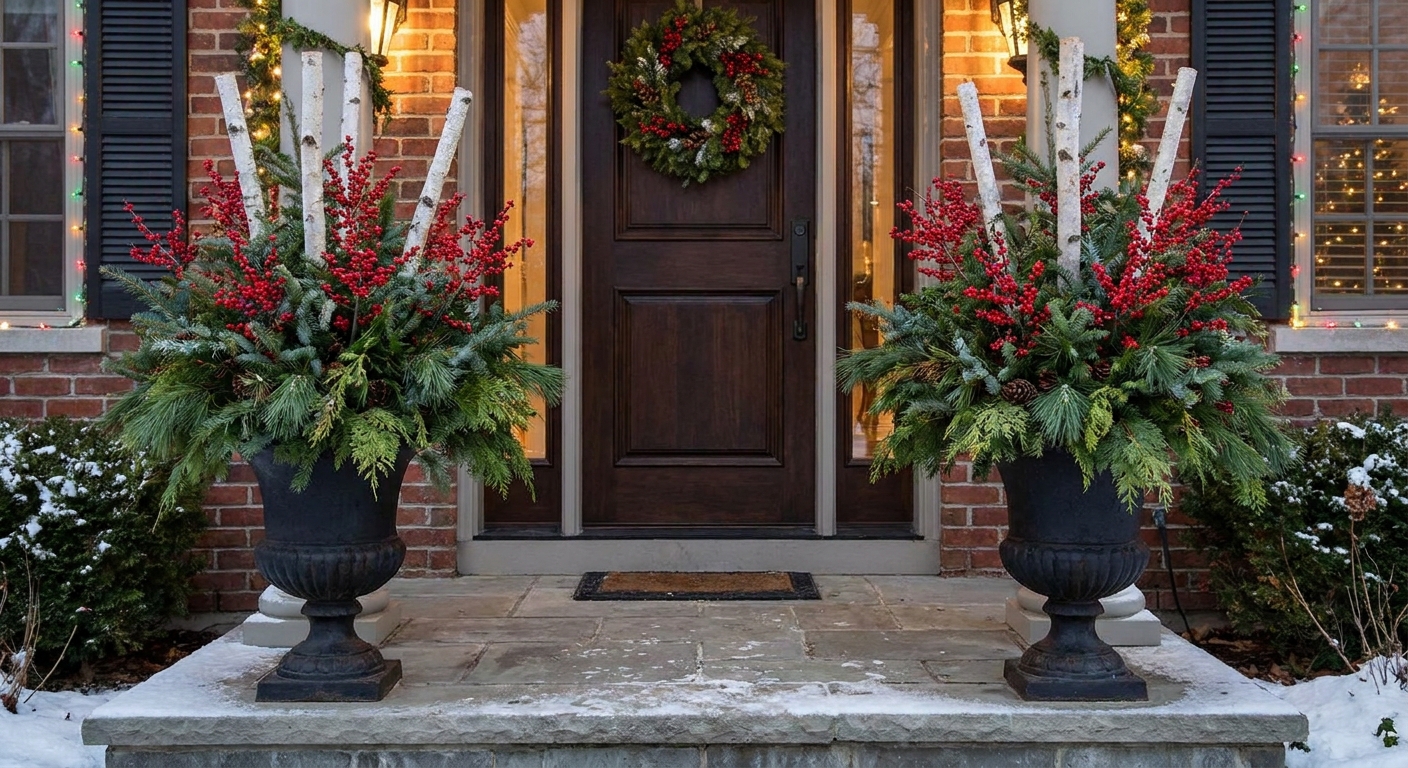
Classic red berry and birch
- 3 birch poles centered
- 12 to 20 pine or fir boughs for a full skirt
- 4 to 7 red berry sprays clustered on two to three sides
- Optional pinecones tucked near the rim
Neutral snowy porch
- 5 slim birch poles or natural branches
- Mixed pine and cedar (or faux equivalents)
- White berries or champagne picks
- Warm white micro lights woven through the center
Bold and glamorous
- Tall birch poles plus 1 to 2 glitter-free statement branches labeled outdoor-safe
- Deep evergreen base
- Large velvet bow in berry, pine, or gold tones
- Shatterproof ornaments tucked deep into greenery
Weatherproofing and safety tips
- Wind: add weight in the bottom of the planter (sand or gravel) and wedge mechanics tightly.
- Cold temps: build your arrangement when the soil is cold and firm so stems stay put. If the soil is frozen solid, use an insert pot or foam method so you can still place stems securely.
- Snow load: keep the center sturdy and avoid heavy ornaments on the very top.
- Lights: use outdoor-rated strings only, and keep connections up off the ground where slush collects.
- Kids and pets: keep wired picks, skewers, and ornaments higher than grab level, and tuck sharp ends deep into the greenery.
Troubleshooting: quick fixes
My arrangement looks flat from the front
Add 3 to 5 more boughs angled toward you, then tuck berries in a tighter cluster. Fullness comes from density.
I can see the foam or soil
Ring the rim with shorter evergreen pieces, almost like shingles. Overlap them until the mechanics disappear.
My birch poles lean
Push them deeper, then wedge tightly with stones or foam scraps. A snug base solves almost everything.
The planter looks messy instead of lush
Reduce variety. Choose one main green, one supporting green, then one accent (berries or pinecones). Repetition reads as intentional.
Porch styling: tie it all together
Once your planters are dressed up, echo the same colors on nearby details for a pulled-together porch moment:
- A wreath that repeats your berries or ribbon color
- A doormat or lanterns in warm, cozy tones
- Window candle lights to match your planter twinkle
For more ways to make the front of your home glow, wander over to Holiday Window Styling Ideas.