Let's gather some sparkle and make your yard merry and bright. Giant lawn ornaments look wonderfully “wow” from the street, but they do not need giant price tags. With a few everyday items like big plastic balls, plastic buckets, and weather-safe spray paint, you can create oversized decorations that are lightweight, simple to store, and easy to refresh year after year.
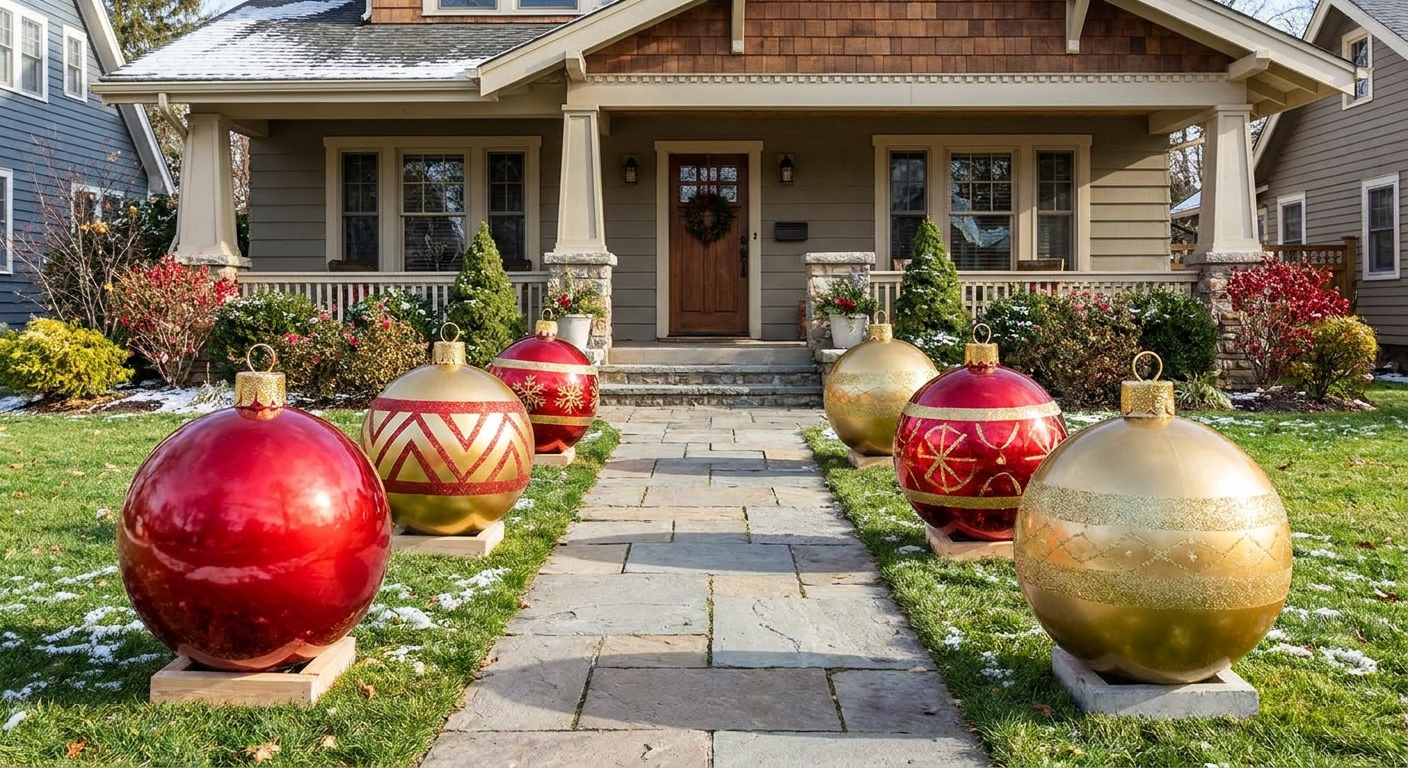
Quick plan before you start
- Pick a color story: 2 to 3 colors reads bold and intentional (classic red, white, and green or candy colors, or jewel tones).
- Decide your scale: 18 to 24 inches is a common “giant” size. 10 to 14 inches makes great fillers. If you can find larger, go for it.
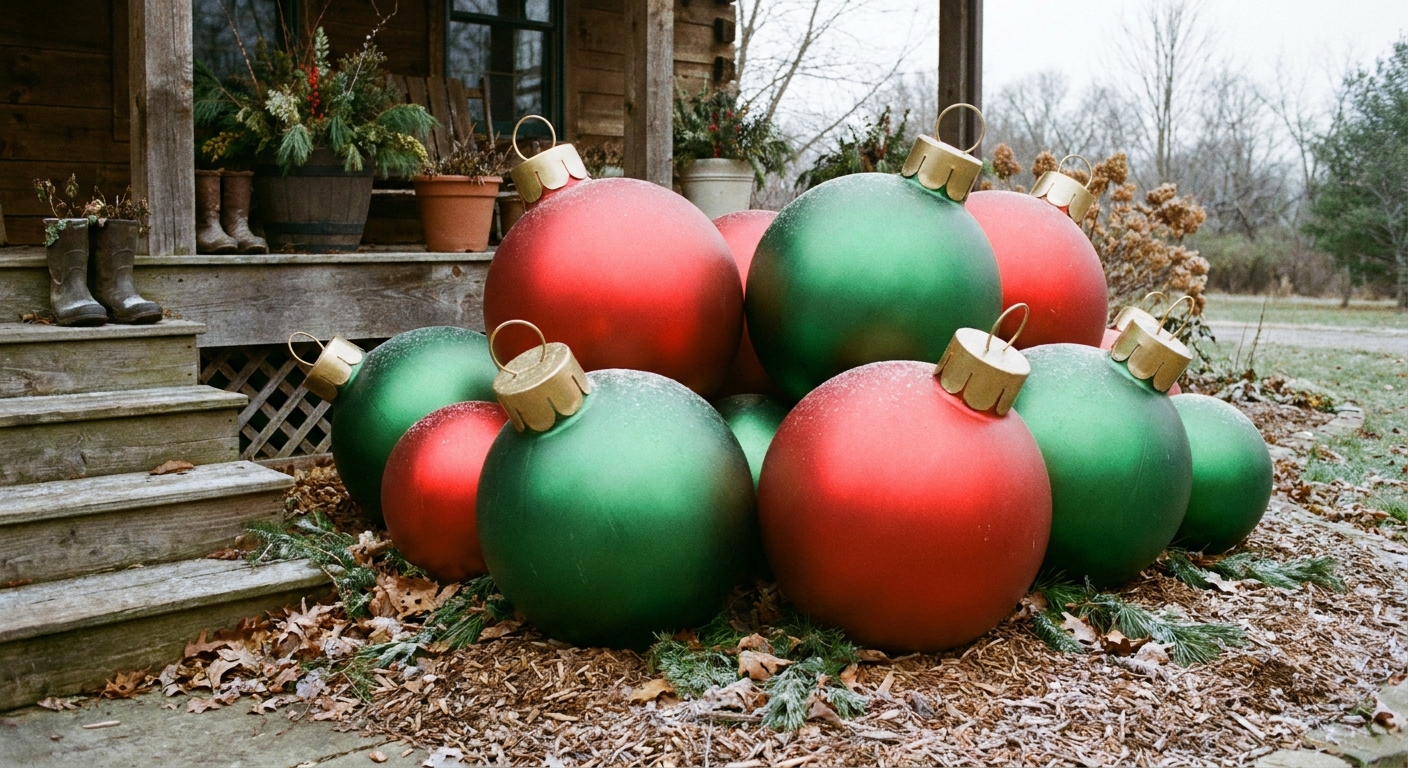
- Group in odd numbers: 3, 5, or 7 ornaments clustered together look fuller than single pieces scattered around.
- Think about wind: Plan a simple stake, sand weight, or ground anchor for each base.
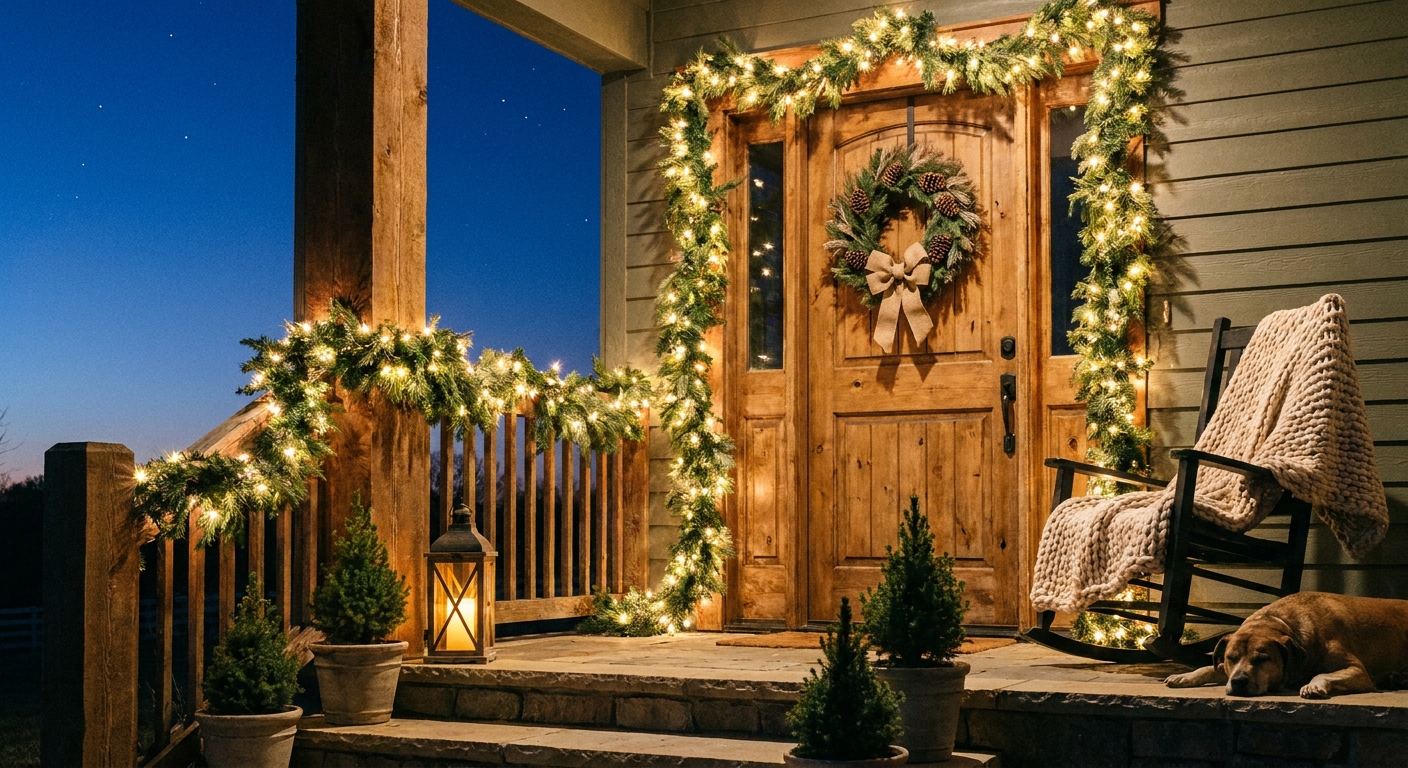
If your porch is the main viewing spot, these pair beautifully with the ideas in 12 High-Impact, Low-Cost Front Porch Christmas Decorating Ideas.
Budget materials that make great giant ornaments
Ornament bodies
- Large plastic bouncy balls (lightweight and easy to move)
- Hard plastic spheres (like globe light covers or garden spheres if you find them secondhand) for the most durable, paint-friendly option
- Foam craft balls (more expensive, but very paint-friendly when discounted)
- Inflatable beach balls (cute for a quick weekend display, but truly temporary and more likely to wrinkle and shed paint)
Caps and hangers (the top of the ornament)
- Plastic buckets or small trash cans (turned upside down)
- Disposable aluminum roasting pans (cut and shaped into caps)
- Wide-mouth plastic funnels (great “cap” silhouette)
- Cardboard strips sealed well for outdoor use
Outdoor-safe finishes
- Spray paint labeled for plastic for many rigid plastics
- Outdoor spray paint for caps and bases
- Clear protective topcoat labeled for outdoor use (optional, and worth testing first)
- Painter’s tape for crisp stripes, drips, and color blocking
Quick reality check (so your finish does not fail): Many “paint for plastic” sprays are formulated for rigid plastics (think patio furniture or storage bins). On flexible plastics like inflatables, vinyl, or very squishy balls, paint can stay tacky or crack when the surface flexes. If longevity matters, choose the most rigid ornament body you can find. No matter what you use, test paint and clear coat on a small hidden spot first.
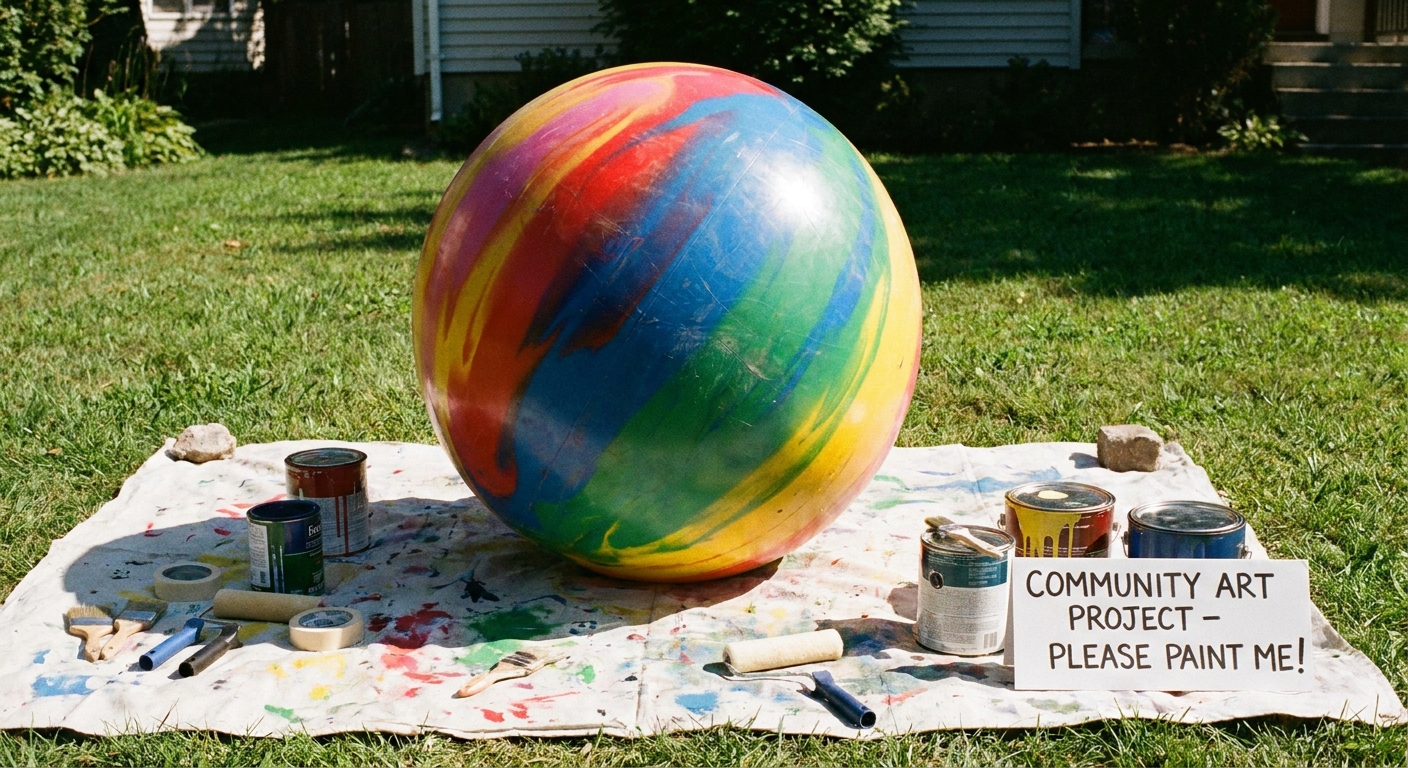
Project 1: Giant ball ornaments (ball + bucket cap)
This is the classic budget-friendly combo. The ball is the ornament, and a bucket becomes the cap. It is lightweight, forgiving, and big from the curb.
What you need
- 1 large plastic bouncy ball (18 to 24 inches is a great “giant” size)
- 1 small plastic bucket, plastic planter, or plastic container for the cap
- Spray paint made for plastic (colors of your choice)
- Outdoor clear coat (optional, test first)
- Adhesive labeled for outdoor use and compatible with your plastic (check the label)
- Zip ties or wire (for a “hanger” look)
- Base option: landscape stake, rebar, or a heavy paver
- Sand, gravel, or rocks (if you want to add weight)
Step-by-step
- Wash and dry. Clean the ball and the cap piece with mild soap and water, then let everything fully dry.
- Test first. Spray a small patch on the underside of the cap or a hidden spot on the ball and let it sit. If it stays tacky, wrinkles, or scratches off easily, switch materials (or use a more rigid sphere).
- Lightly scuff if needed. Some slick rigid plastics hold paint better with a gentle scuff using fine sandpaper. Wipe off dust.
- Paint the ball. Use several light coats rather than one heavy coat. Let it dry between coats, and give it extra cure time before handling.
- Add stripes or designs. Tape off candy stripes, diagonals, or wide bands. Spray your second color, then carefully peel tape when paint is dry to the touch.
- Paint the cap. Gold, silver, or matte black reads very “ornament cap.”
- Create the hanger look. Zip ties looped together or wire formed into a ring can mimic an ornament hanger. Attach it to the cap, not the ball.
- Attach cap to ball. If you are using adhesive, check compatibility on the label. Some glues can melt certain plastics or never cure well on very slick plastics. Press gently (do not crush the ball), and let it cure fully based on the label instructions. I like to set the ball in a bowl, bucket, or ring of towels while it cures so it does not roll and the cap does not drift.
- Mount to a base. For the easiest, most wind-proof setup, set a paver on the ground and drive a piece of rebar or a landscape stake behind it. Drill two small holes on opposite sides of the cap rim. Run a zip tie through one hole, around the stake, and out the second hole, then tighten. The cap becomes your anchor point, so the ball stays cute and unpunctured.
- Seal if desired. A clear outdoor topcoat can help with scuffs, but test it first. Some clears can crack on flexible surfaces.
Budget tip from Sprig
One bold color plus one metallic is the easiest “expensive-looking” combo. Even a simple red ball with a gold cap feels instantly classic. And if you get winter gusts like I do, the “cap zip-tied to a stake” method is what actually keeps mine from wandering.
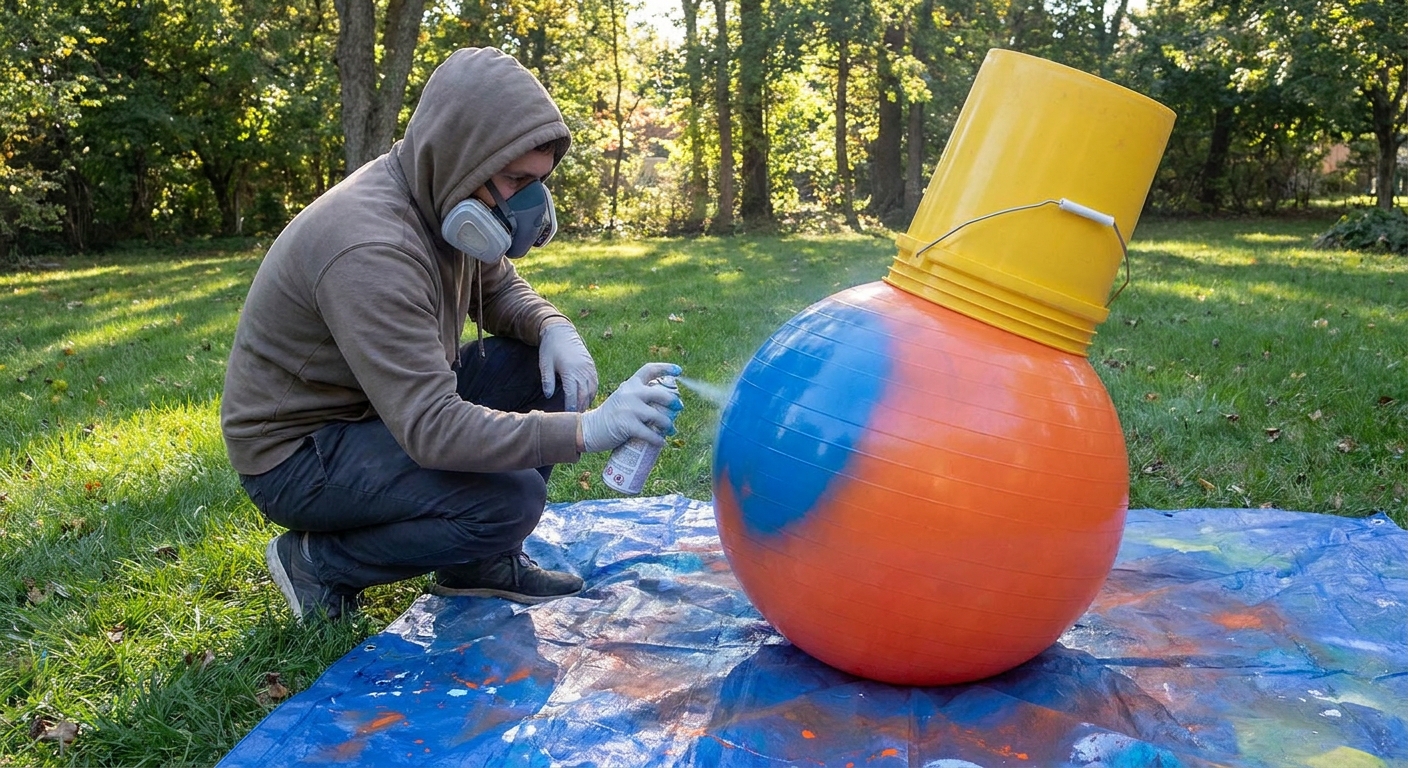
Project 2: Oversized present boxes (bin or box + panels)
If you want variety, giant presents add height and structure next to round ornaments. They are also easy to weight, which helps in windy weather.
What you need
- Square or rectangular plastic storage bin, bucket, or sturdy cardboard box
- Foam board or corrugated plastic (great for weather resistance)
- Outdoor tape and outdoor adhesive
- Outdoor spray paint
- Wide ribbon or plastic strapping for “wrap” lines
- Optional: a big bow made from outdoor ribbon
How to build it
- Create crisp sides. If your base box is uneven, wrap it with foam board or corrugated plastic panels to square it up.
- Paint. Spray in light coats. Let it cure before you add ribbon so the tape does not pull paint.
- Add wrapping bands. Use ribbon or strapping around the box like a present. Secure on the underside or back with tape and adhesive.
- Add a bow. Attach a bow on top. For outdoor durability, choose ribbon that feels plastic-coated rather than paper-soft.
- Weight it. If using a plastic bin, add a brick or paver inside. If using cardboard, keep it off wet ground on a paver and tuck it under a porch roof if possible.
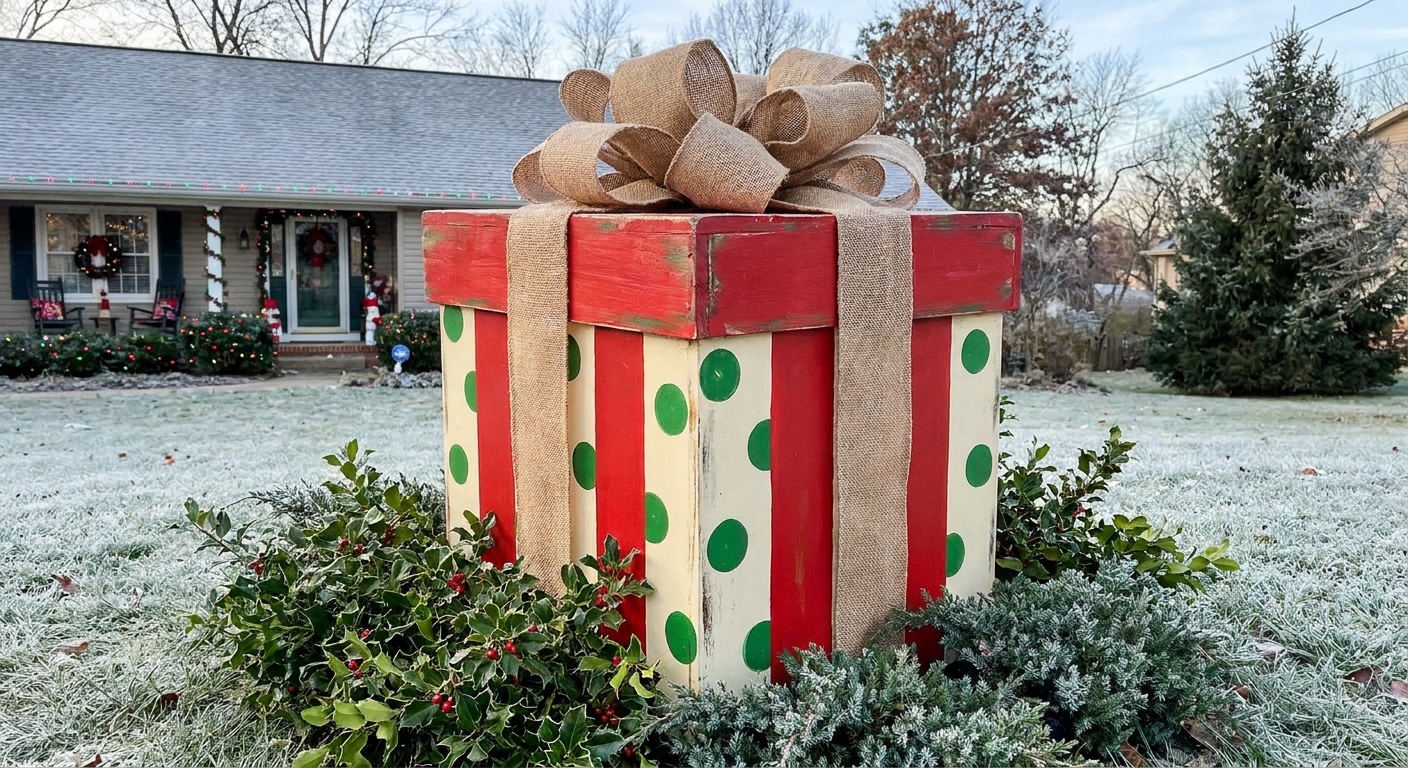
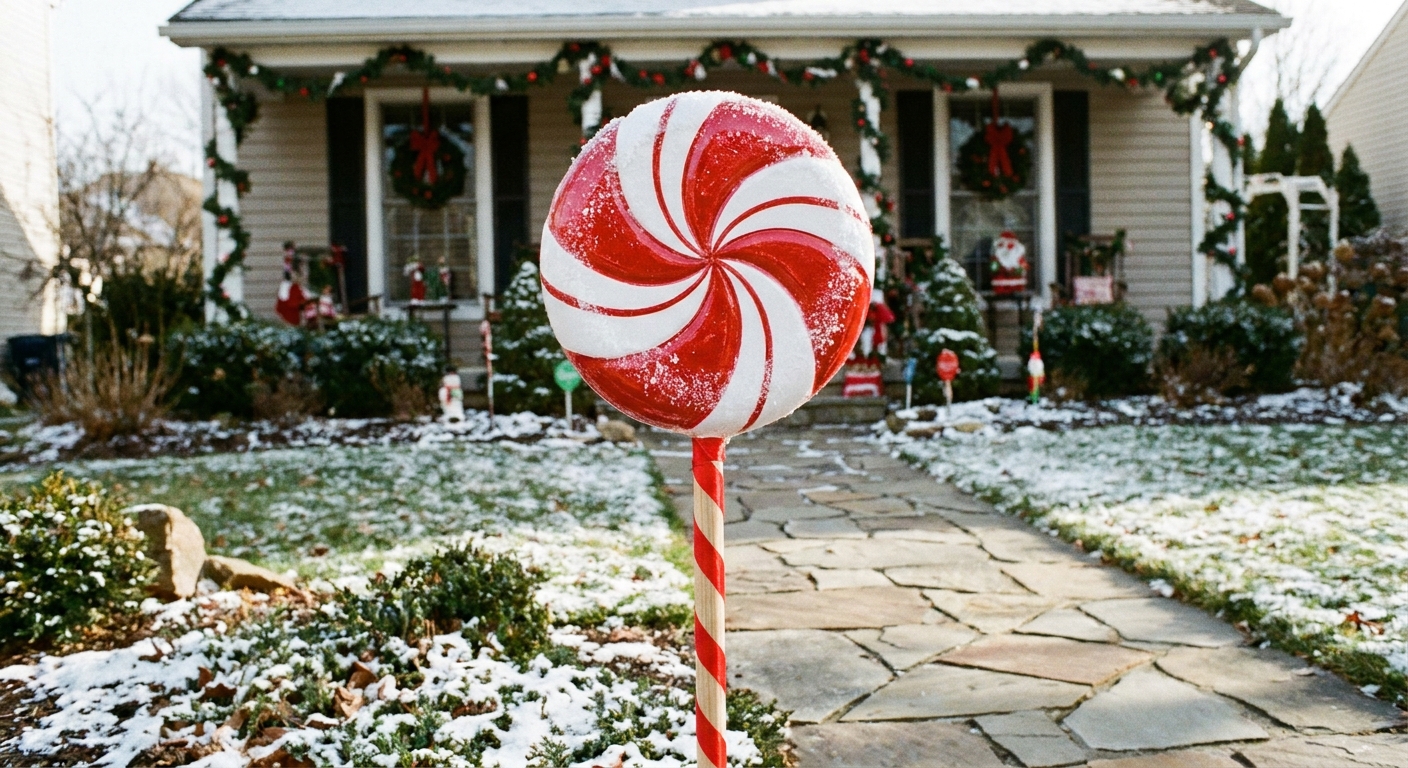
Project 3: Giant peppermint lollipops (lid + dowel)
These are cheerful along a walkway or garden edge. They also look adorable mixed into ornament clusters.
What you need
- Round plastic bucket lids, large plastic plates, or foam circles
- Wooden dowel, PVC pipe, or a straight branch for the stick
- Outdoor spray paint (red and white, plus clear coat)
- Painter’s tape
- Outdoor adhesive
- Rebar or stake for anchoring
How to make them
- Paint the circle white. Let dry.
- Tape a spiral. Start at the center and work outward. Then spray red. Peel tape carefully.
- Attach the stick. Glue the dowel or pipe to the back. Reinforce with tape while it cures.
- Seal and stake. Clear coat helps with scuffs, but test first. Push a stake into the ground and secure the stick to it for wind resistance.
Weatherproofing and wind-proofing
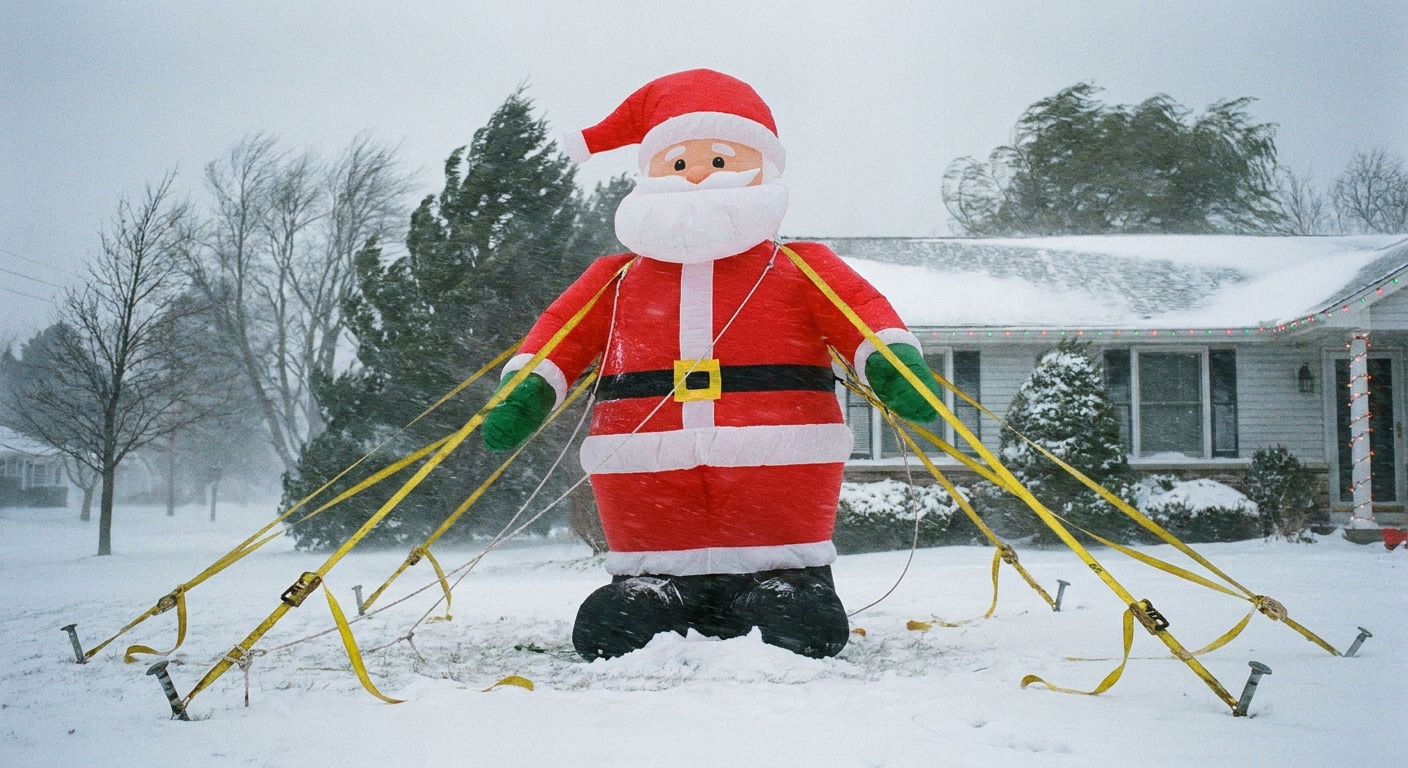
Big decorations catch wind like sails. A few simple upgrades keep them standing tall through the season.
- Anchor at the base: Zip tie the cap or hanger area to a landscape stake, rebar, or shepherd’s hook.
- Add weight: Start with at least one heavy paver per cluster, or add two bricks inside a bin base.
- Use compatible materials: Choose paint, clear coat, and adhesives that match your surface. “Outdoor” does not always mean “sticks to every plastic.”
- Keep pieces off soggy soil: Use a paver or mulch bed so paint does not sit against wet ground.
- Place smart: Keep oversized pieces away from driveways and road edges in case a storm hits.
For more outdoor stability tricks, hop over to Secure Outdoor Christmas Decor for Wind and Winter Weather.
Design ideas that look expensive
1) Candy stripe ornaments
- Paint base color.
- Tape wide diagonal stripes.
- Spray accent color.
- Finish with a glossy clear coat for a “real ornament” shine (test first if your ornament body flexes).
2) Drip ornaments
- Paint the ball a solid color.
- Paint the top 1/3 a contrasting color with rounded drip shapes using a foam brush.
- Add chunky glitter paint just at the drip edge if you want sparkle without shedding glitter everywhere.
3) Matte and metallic mix
- Choose two matte colors for the balls.
- Make every cap metallic gold or silver.
- Group them tightly for a designer look.
Where to place giant lawn ornaments
- At the walkway entrance: Cluster 3 to 5 ornaments to frame the path.
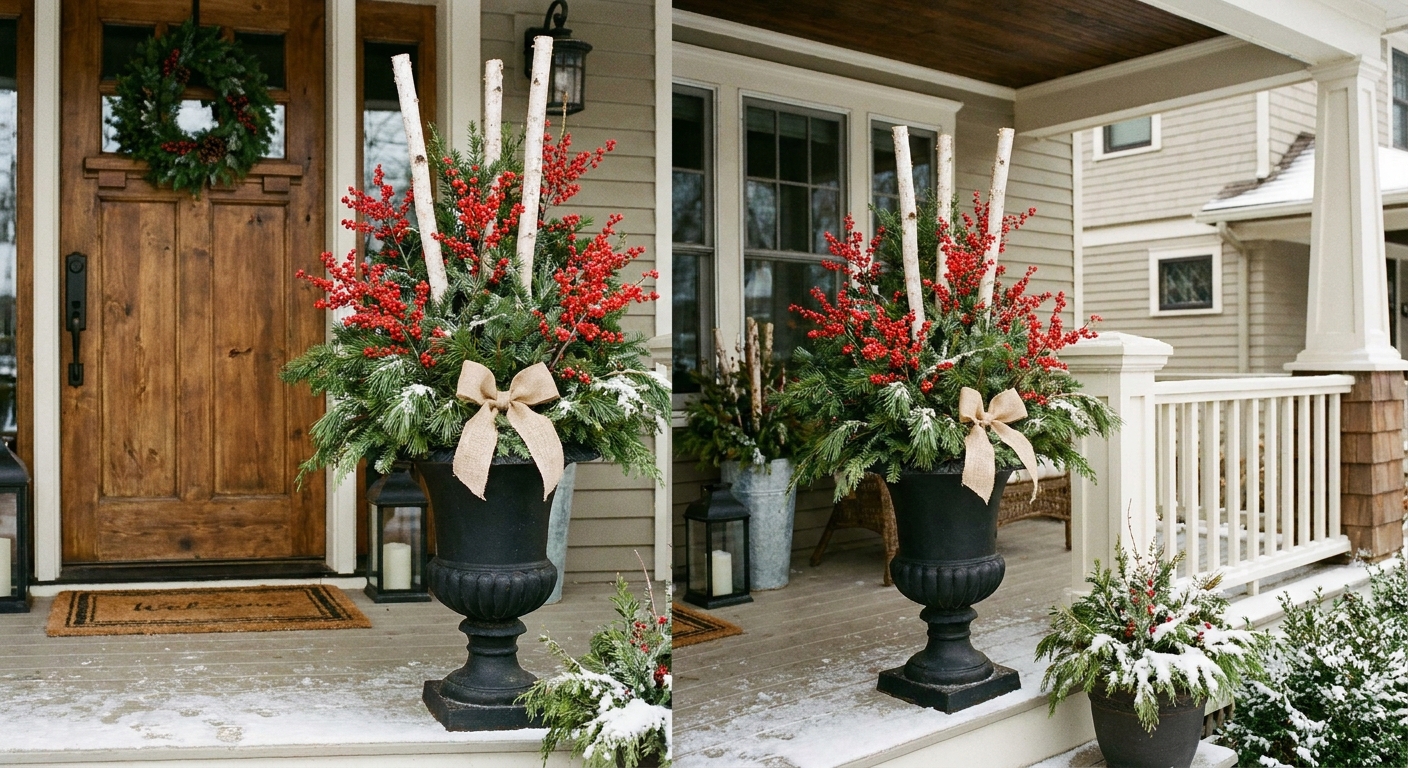
- In porch planters: Nestle 1 to 2 ornaments into winter greenery for height and sparkle. See Lush Christmas Porch Planters With Winter Greens.
- Under a tree: A cluster reads magical when lights hit the glossy finish.
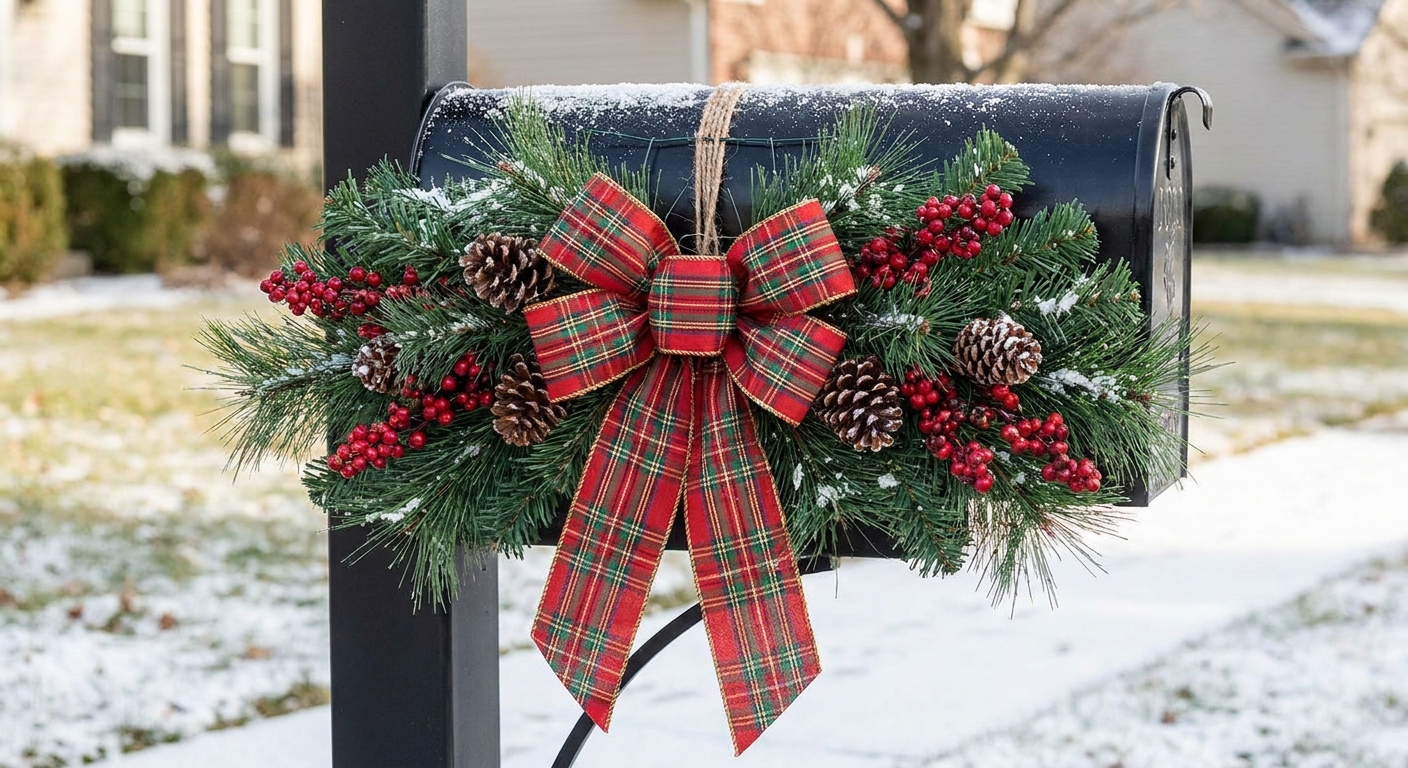
- By the mailbox: One large statement ornament plus greenery looks festive without clutter.
Storage and reuse tips
- Keep them round: Store balls in a clean trash bag to protect the finish from scuffs.
- Separate painted pieces: Place scrap cardboard between stacked items.
- Touch-ups are normal: Save a little paint in a labeled jar for quick repairs.
- Caps off, if possible: If your cap is removable, store separately so it does not press into the ball surface.
FAQ
What spray paint works on plastic bouncy balls?
Look for spray paint labeled for plastic, then test it first. Many plastic sprays are best on rigid plastics, so results on bouncy or flexible balls vary. Use light coats and allow generous dry time between layers so the finish bonds instead of staying tacky.
Will the paint crack if the ball flexes?
It can. The more the surface flexes, the more likely cracking and peeling becomes. For display pieces, keep the ball firm and avoid squeezing or bumping it once painted. A clear coat can help with scuffs, but test first because some clear coats can crack on flexible surfaces.
How do you keep giant ornaments from rolling away?
The easiest method is anchoring through the cap area. Drill two small holes in the cap rim, then zip tie the cap to a stake or rebar. You can also set the ornament on a paver for weight. Weight plus an anchor is the best windy-day combo.
Can these go on a porch instead of the lawn?
Yes. On a porch, skip stakes and use weight. Set ornaments in corners, tuck them into planters, or group them beside the steps for big impact in a small footprint. For more porch-friendly ideas, visit Outdoor & Porch Decor.
One last cozy sparkle
Giant lawn ornaments are pure Christmas joy because they are simple shapes scaled up into something magical. Keep the colors tight, anchor everything for wind, and let those glossy finishes catch the twinkle of your lights. Your yard is about to look like a winter wonderland storefront window, only friendlier and far more budget-smart.
Quick safety note: Spray paint outdoors or in a well-ventilated area, protect nearby surfaces, and give everything plenty of cure time before dew, rain, or a hard freeze. When in doubt, wait an extra day.