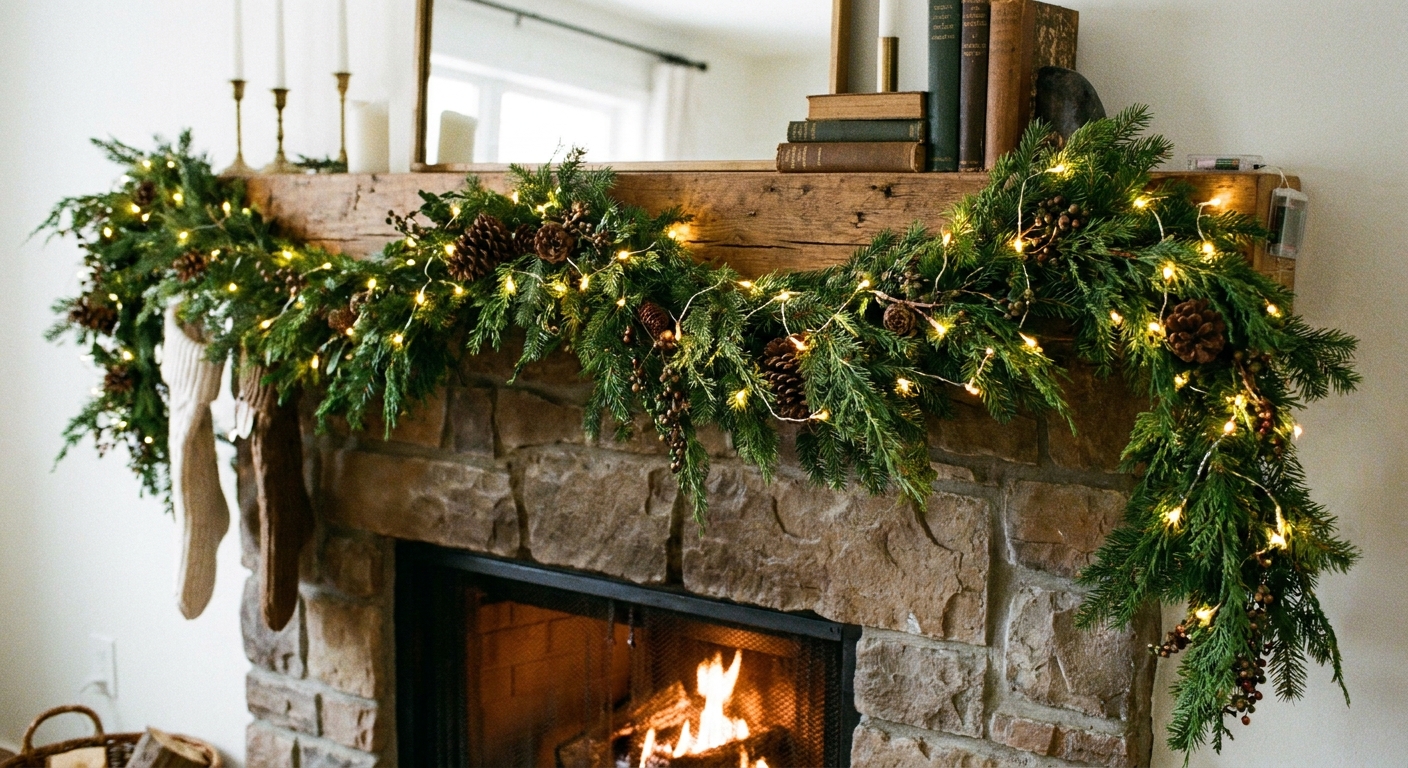
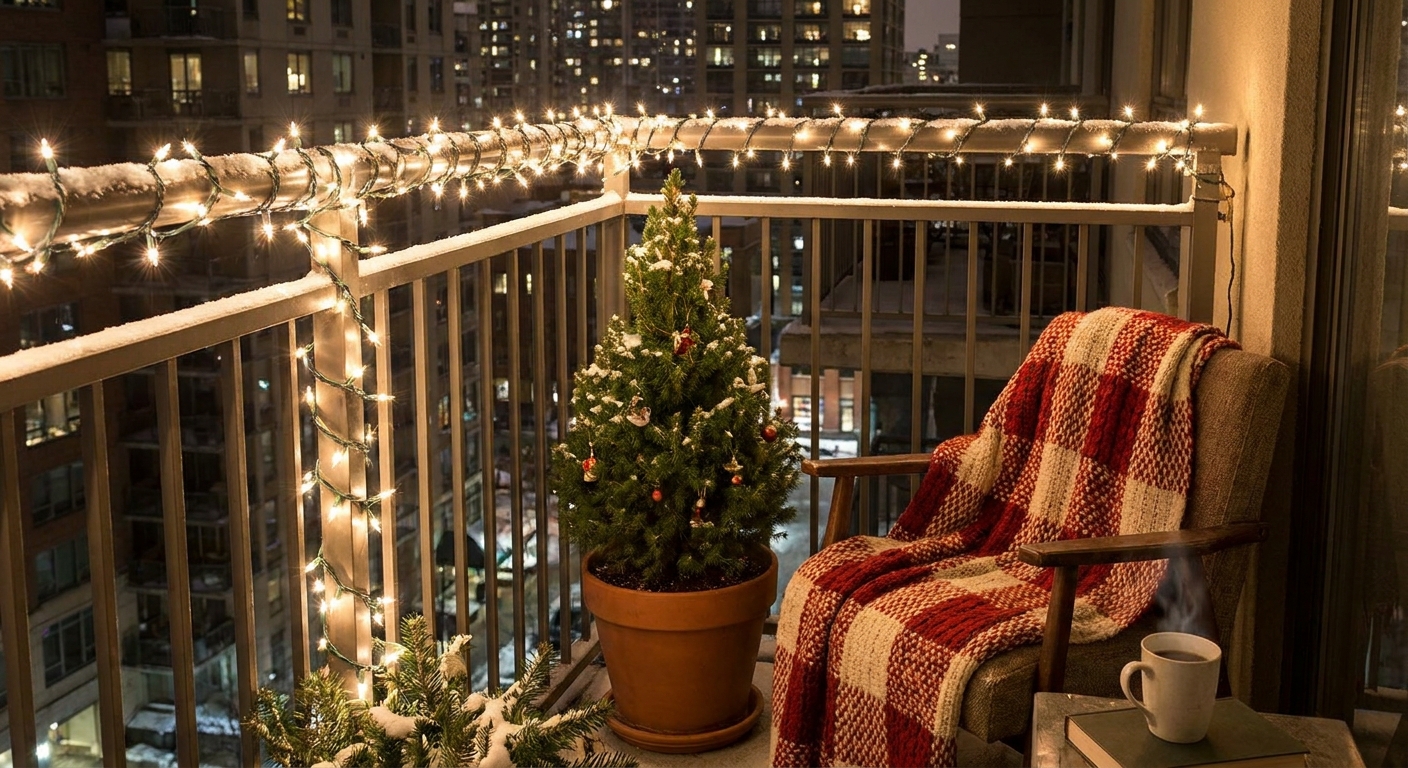
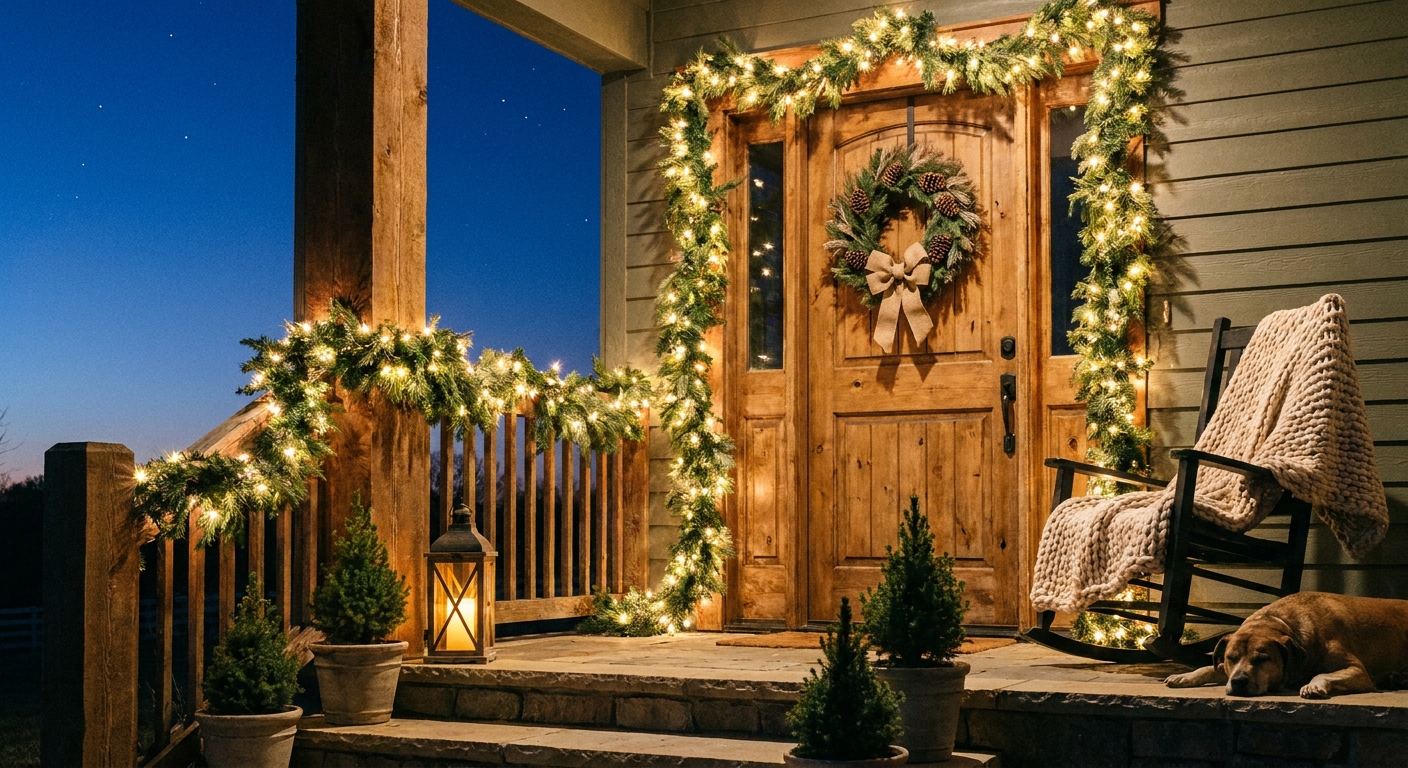
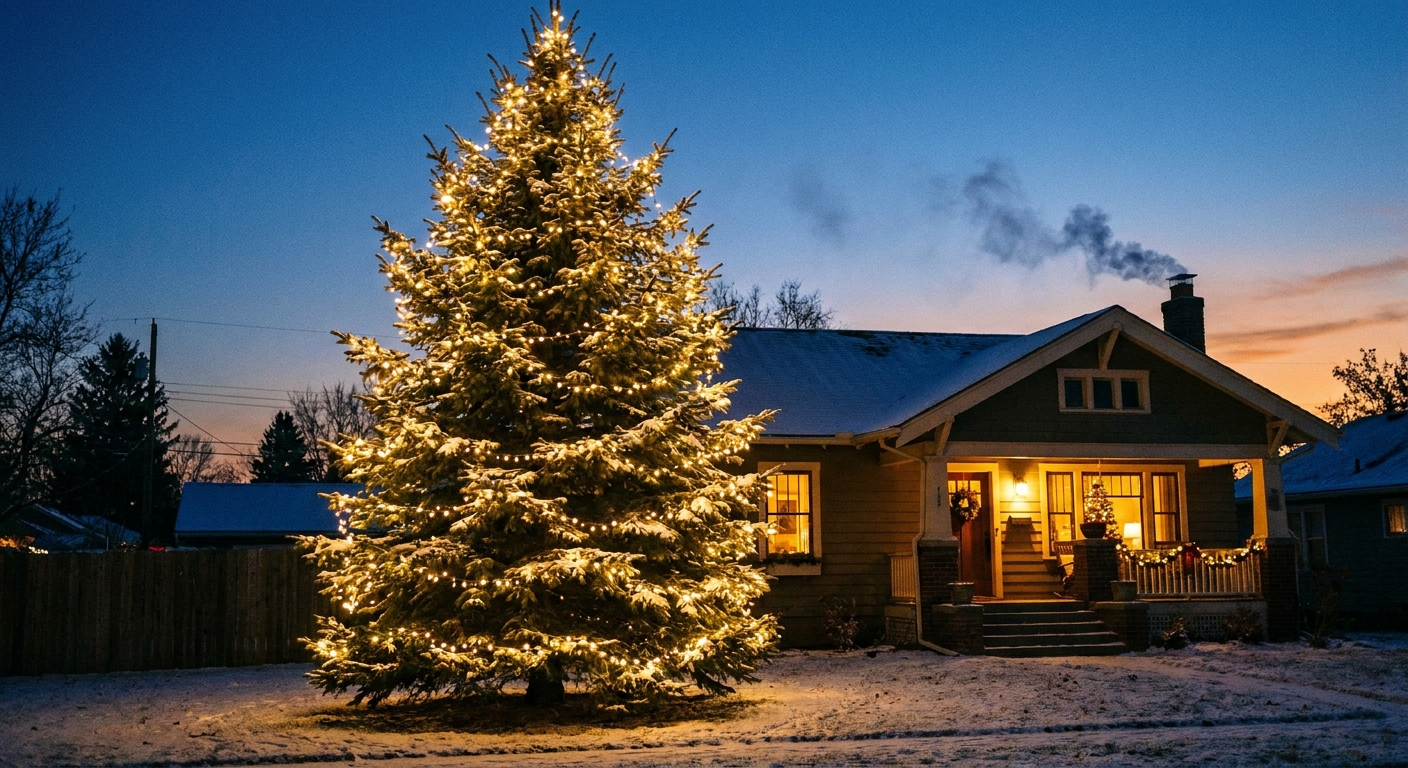
Let's gather some sparkle and make your yard merry and bright! When outdoor trees and bushes are wrapped the way professional decorators do it, the whole landscape looks evenly lit, tidy in daylight, and magical at night. This guide walks through the two big approaches (branch wrapping and netting), plus the little finishing tricks that make everything look smooth and intentional.
Start with a safe plan
A beautiful wrap is only worth it if it stays safe through wind, rain, and winter freeze.
Quick checklist before you start
- Test every strand: Plug lights in first, replace dead bulbs if your set uses replaceable bulbs, and check/replace fuses as needed.
- Untangle and label: If you're using multiple strands, label them by location (front tree, left shrubs) before you head outside.
- Plan your power: Decide which outlet you'll use and how cords will run so you are not improvising on a ladder.
Use the right lights for outdoors
- Outdoor-rated strings: Look for packaging that specifies outdoor use, and choose UL-listed or ETL-listed sets when available. Indoor-only lights are not built for moisture.
- LEDs make life easier: They run cooler, draw less power, and are a smart choice for long run times.
- Check your connection limits: LEDs often allow more end-to-end connections than incandescent, but it varies by product. Always follow the rating printed on the tag or package.
- Match your color temperature: Warm white tends to look cozy and classic on greenery. Cool white reads icy and bright. Pick one main white tone so the yard looks coordinated.
Power and protection basics
- GFCI-protected outlet: Plug into a GFCI-protected outdoor outlet. Many exterior outlets already are, but it is worth checking.
- Outdoor-rated extension cords: Use cords rated for outdoor use, and keep plug connections elevated off the ground with slack and strain relief so nothing is tugging on a connection.
- Weather-resistant covers: Use a weather-resistant cord connection cover for any plug connection exposed to rain or sprinklers.
- Never pierce a cord: Skip staples, nails, or anything that can nick insulation. Use clips, ties, or built-in supports designed for lights.
Ladder basics (worth the 30 seconds)
- Stable footing: Set your ladder on firm, level ground and avoid icy or muddy spots.
- Do not overreach: Move the ladder often. If your belt buckle goes past the ladder rails, climb down and reset.
- Use a spotter: Especially when you are wrapping higher branches or working near walkways.
For extra stability in winter weather, pair this guide with Secure Outdoor Christmas Decor for Wind and Winter Weather.
Choose your method
Professionals pick the technique based on the plant's shape and the look they want.
Branch wrapping
This is the classic, high-end look: lights travel along individual branches so the glow appears to come from within the plant, not just on the surface.
Trunk and main limb wrapping
Wrapping the trunk and a few primary limbs makes the tree look dramatic and crisp, especially for deciduous trees once leaves drop.
Net lights
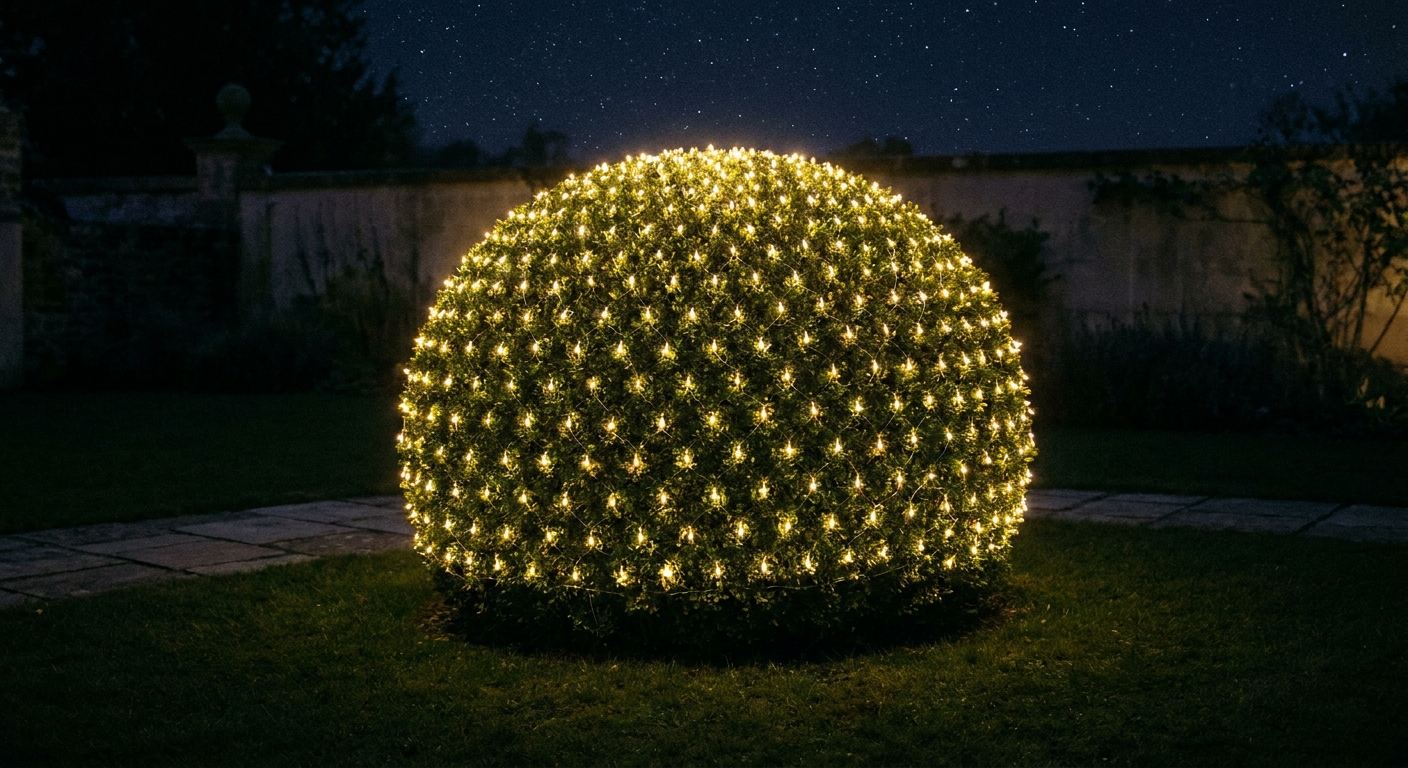
Net lights give you even distribution fast. They are perfect for boxwoods, mounded shrubs, and foundation plantings where you want consistent sparkle with less time on a ladder.
How many lights to buy
Outdoor wrapping goes smoothly when the strand count is decided before anything gets tangled.
Quick estimating guidelines
- Trunk wrap: Measure the trunk height you plan to cover and the circumference. Spacing controls your total length. At about 3-inch spacing, you will make roughly 4 wraps per foot of height. At about 2-inch spacing, it is closer to 6 wraps per foot. Multiply wraps by circumference to estimate total strand length.
- Branch wrap: Pick 3 to 6 prominent branches to wrap from trunk to tip. Measure each branch length, then add them up.
- Bushes with strings (not net): For a dense, bright look, plan on many passes. If the bush is airy or wide, net lights often look cleaner and use fewer cords.
Brightness consistency tip
Mixing different bulb counts per foot can create patchy bright and dim areas. Try to keep the same light style and density across plants that sit near each other.
Branch wrap technique
This technique creates that smooth, evenly sprinkled look where you cannot spot big gaps.
Step-by-step: wrap from trunk to tip
- Start at the power source side: Decide where the plug will live, then begin on the trunk near that side so the cord hides naturally in the tree.
- Anchor your starting point: Wrap once or twice around the trunk or a sturdy inner branch junction so the strand cannot slide.
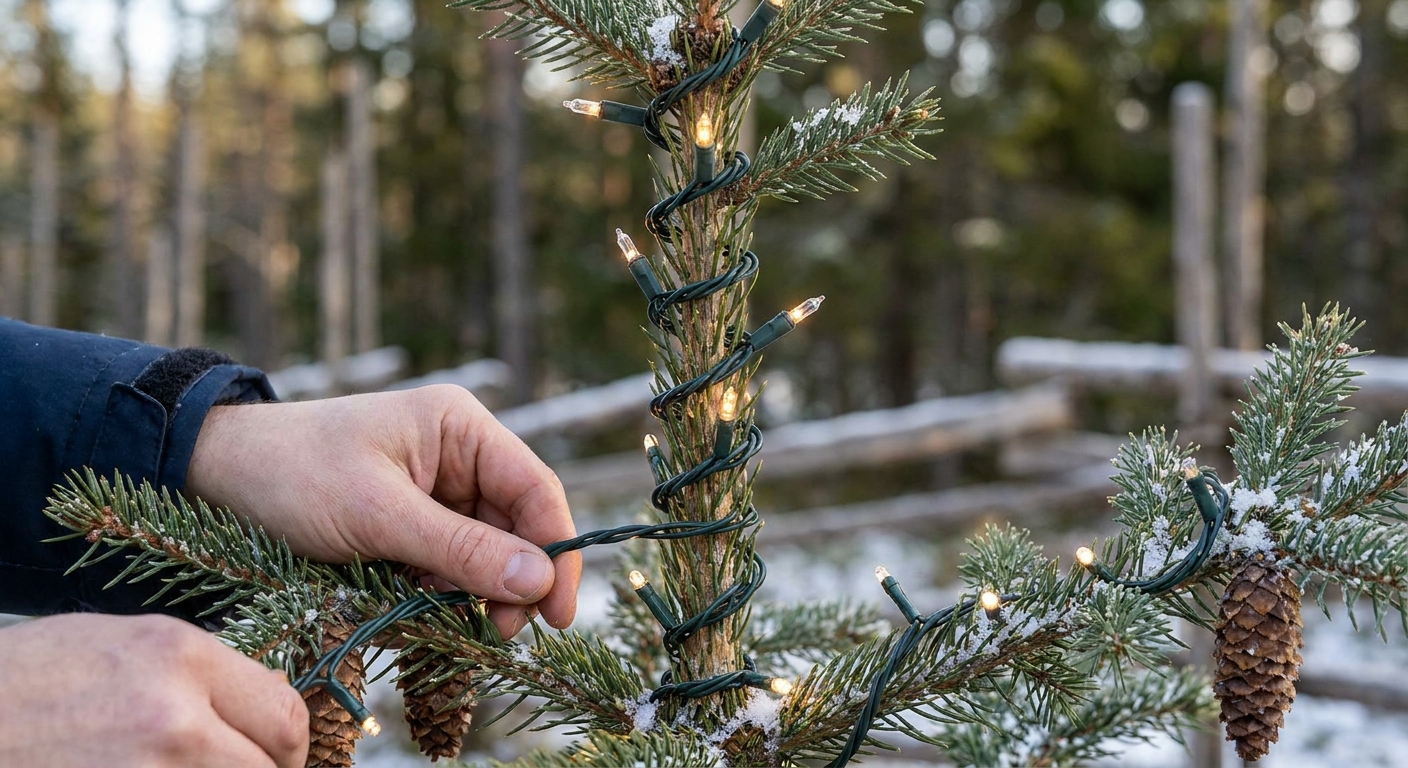
- Run the strand outward: Spiral along the branch toward the tip. Keep spacing consistent. About 2 to 4 inches between spirals is a good starting point for most mini lights.
- Return inward on a neighboring branch: At the tip, switch to the closest adjacent branch and spiral back toward the trunk. This creates even density without needing a separate strand for every branch.
- Hide the travel lines: When moving from one branch to another, tuck the wire behind foliage or along the underside of a limb so daylight views stay tidy.
- Work in sections: Complete one quadrant of the tree at a time. Step back often to check for shadowy pockets.
Clean trunk wraps
Trunk wrapping is simple, but the details make it look polished instead of messy.
Spacing and direction
- Pick a spacing and commit: 2 to 3 inches between wraps looks classic and bright. 4 inches feels more subtle.
- Spiral upward: Keep the spiral angle consistent as you go.
- Secure as you climb: Use small outdoor-rated zip ties or green garden tape sparingly on the back side of the trunk to prevent sliding. Do not cinch tightly around living bark.
Where to stop
For a designer look, stop at a natural transition point like where the canopy begins, then carry the glow into a few major limbs so the lighting feels intentional.
Net lights on bushes
Net lights are wonderfully quick, but the goal is to make them look like twinkles, not a perfect square lattice.
Step-by-step: net lights the pro way
- Fluff the shrub first: Gently open up branches so the net can settle slightly inside the surface, not perched on top.
- Rotate the grid: Turn the net 30 to 45 degrees so the pattern reads less like a checkerboard.
- Tuck, do not stretch: Stretching creates big empty diamonds. Instead, drape and tuck into the foliage to break up the geometry.
- Secure corners quietly: Use a few discreet outdoor-rated ties on interior stems, hidden from street view.
- Hide the lead cord: Run the power lead down the back of the shrub and along the mulch line to the outlet.
If you need your cords and battery packs to disappear, the cable-hiding ideas in Hide Battery Packs and Cords in Christmas Decor translate beautifully outdoors too.
Fix common problems
Problem: patchy brightness
- Add a second pass to the dark side of the tree. Most trees look uneven if only the front is wrapped.
- Keep spacing consistent, especially near the trunk where gaps are most noticeable.
Problem: drooping strands
- Anchor the strand at branch junctions so the weight is supported.
- Use a few extra ties on the back side of limbs in windy locations.
Problem: you can see the wire everywhere
- Use green wire on greenery, brown or black wire on trunks, and tuck travel lines to the underside of branches.
- Avoid long straight runs across open gaps. Hop from branch to branch inside the canopy instead.
Problem: the bush looks like a net
- Rotate the net and tuck it deeper into foliage.
- Add a short mini-light strand loosely woven over the top to break up the grid effect.
Finishing touches
Make the glow match
- Repeat the same light color: Keep warm with warm, cool with cool.
- Repeat the same intensity: If one tree is wrapped densely, nearby shrubs should not be barely dotted.
Hide cords neatly
- Run cords along mulch edges, behind planters, and down the least visible side of trunks.
- Bundle extra cord length into a loose coil and secure it up off the ground, tucked behind a pot or in a sheltered spot.
Use timers
An outdoor-rated timer keeps the schedule consistent, saves energy, and ensures the lights come on before dusk without daily fuss.
Be kind to your plants
- Do not cinch ties tight: Avoid anything that can girdle bark or tender branches.
- Take lights down on time: Remove strands promptly after the season so ties do not bite in as branches grow.
For more yard-ready ideas to layer around your newly wrapped trees, visit Outdoor & Porch Decor and sprinkle in a few favorites from 12 High-Impact, Low-Cost Front Porch Christmas Decorating Ideas.
FAQ
Should lights go vertical or horizontal on bushes?
Both can work, but for most rounded bushes, a gentle horizontal weaving or netting looks the most uniform. Vertical lines can look stripy unless the spacing is very tight.
How tight should lights be wrapped on branches?
Snug enough to stay put, but not pulled tight like a guitar string. A little give helps prevent slipping and reduces stress on tender tips.
Can you wrap lights on wet trees or bushes?
Wait until branches are dry. It is safer for you and helps ties and clips grip better.
How do you keep connections dry?
Keep plug connections off the ground and use weather-resistant connection covers where exposure is likely. Tuck connections under eaves, behind planters, or within sheltered shrub interiors when possible.