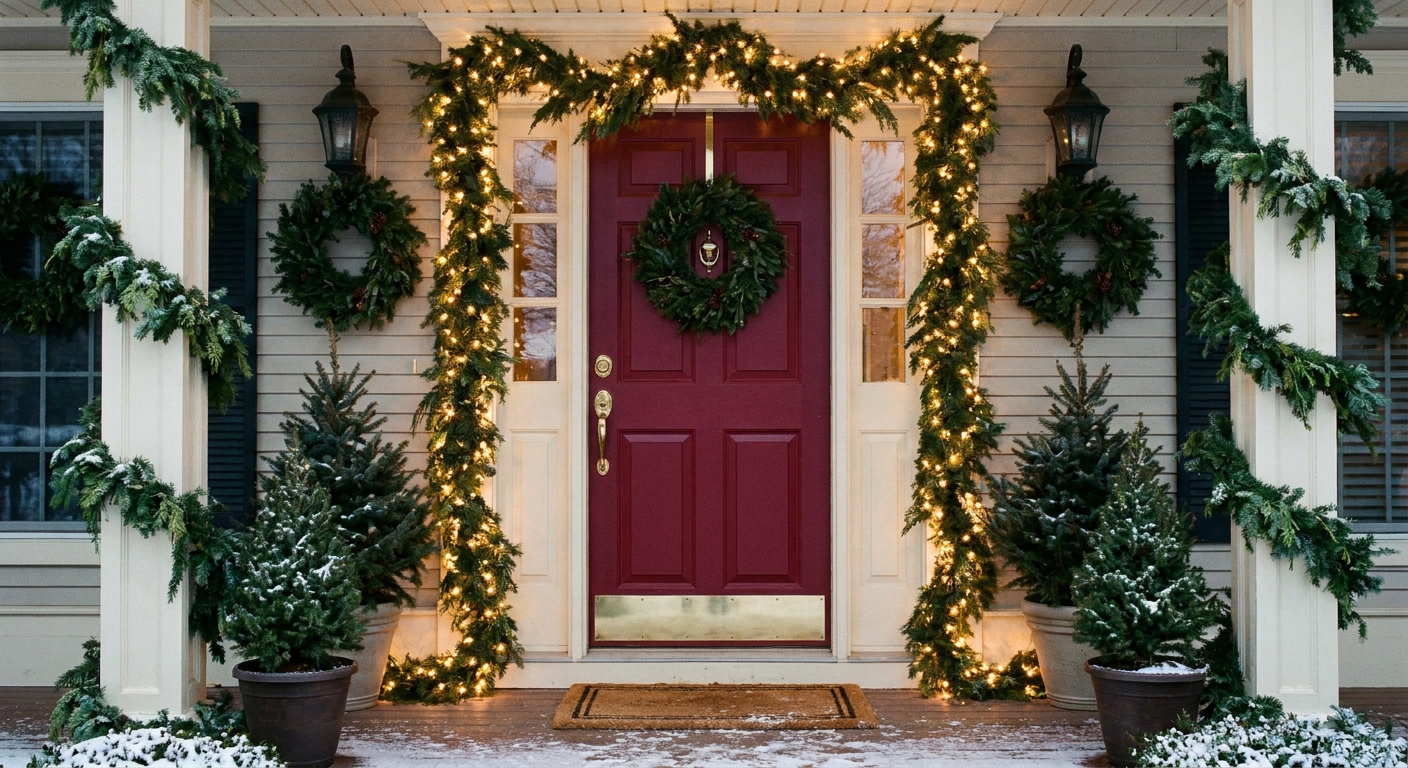
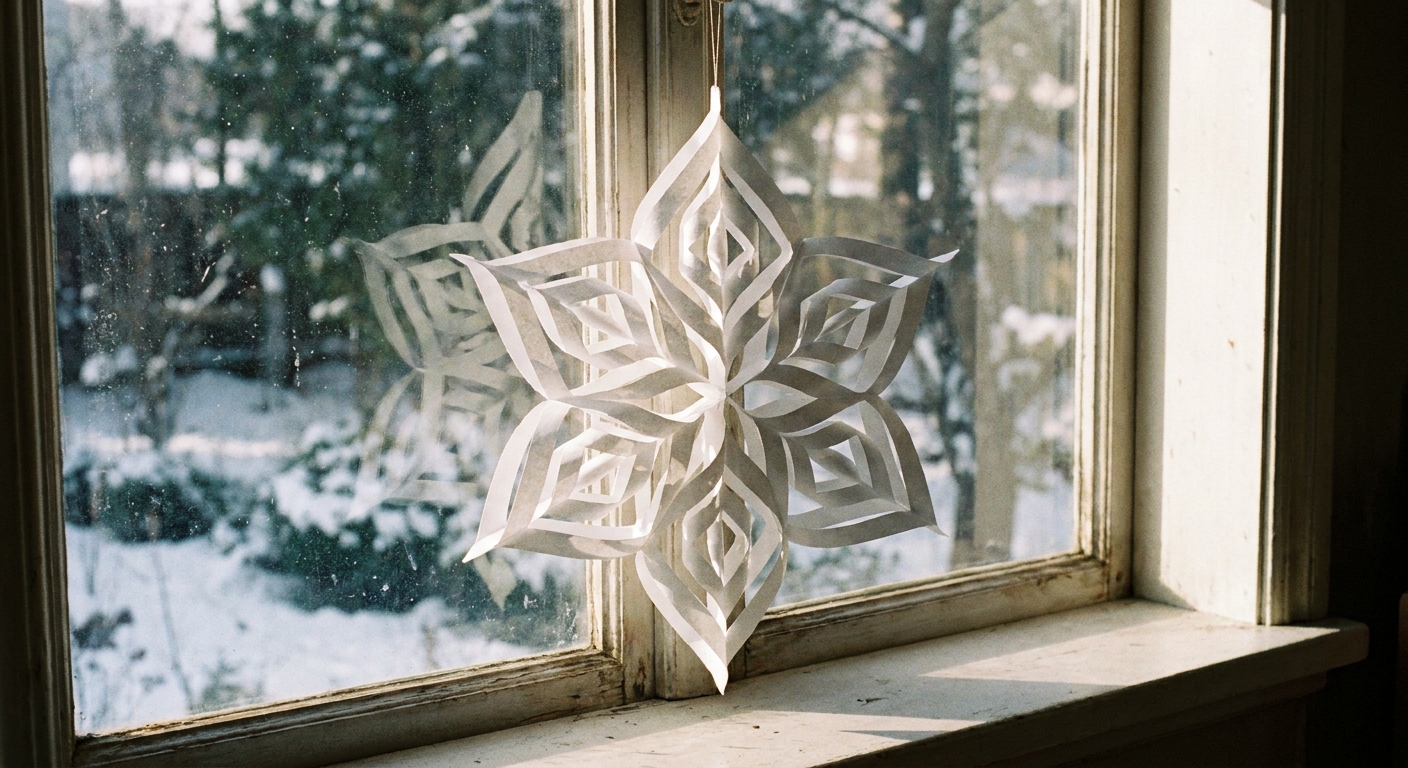
Let’s gather some sparkle and make your windows merry and bright. Giant 3D paper snowflakes look fancy and dramatic, but they can be made from the cheapest supply of all: plain paper. With a few crisp folds and some snips, you get bold winter magic that fills a window without filling your cart.
Quick overview
- Difficulty: Easy to moderate (mostly folding)
- Time: about 15 to 30 minutes per snowflake depending on size and whether you glue or staple
- Budget: very low (paper, scissors, tape or staples)
Kid note: Little helpers can fold, but scissors and staplers are best with grown-up hands and supervision.
What makes a snowflake 3D?
A flat paper snowflake is one sheet opened up. A 3D snowflake is built from multiple folded units that get glued or stapled together to form a starry, sculpted shape. The classic version uses 6 identical pieces. The results are bold from the curb and cozy from the couch, especially when they catch window light.
Cheap supplies that work beautifully
- Paper: printer paper, copy paper, white or colored. For extra crisp points, choose slightly heavier (24 lb) if you have it, but basic works.
- Scissors (regular is fine).
- Tape measure or ruler (helpful for sizing).
- Glue stick, white school glue, or a stapler.
- Clear tape for hanging, or thread and a bit of tape.
- Optional: hole punch for hanging, binder clips for holding folds while gluing.
Sprig tip: If the paper is fighting the fold, run a ruler edge along the crease to sharpen it.
Pick a size that fits your window
3D snowflakes read biggest when their points have room. These are typical ranges, not promises, because the final size depends on paper weight, slit spacing, and how tightly you curl and join the arms.
- Small accent: about 8 to 10 inches (great for layering)
- Window hero: about 14 to 18 inches
- Statement: about 20 to 30 inches (best for large picture windows)
Easy sizing approach: Decide where you want the snowflake to sit, then do a quick test with one arm. Make a single unit from your chosen square size, curl it, and hold it up to the glass. If it feels right, make the other five. If it feels skimpy, go up a square size or plan to layer.
If you only have letter-size paper (8.5 x 11), you can still go big by taping sheets together into larger squares, or by layering two finished snowflakes.
The classic 6-piece giant 3D paper snowflake
This is the go-to style for that big, sculpted snowflake look.
Step 1: Make 6 squares
You need 6 identical squares. If your paper is rectangular:
- Place the sheet vertically.
- Fold one top corner down to meet the opposite side, forming a triangle.
- Trim off the extra strip at the bottom. Unfold and you have a square.
Step 2: Fold each square into a triangle
- Fold the square in half diagonally to make a triangle.
- Fold again into a smaller triangle. Keep edges aligned for crisp symmetry.
Step 3: Cut the signature slits
Hold the triangle so the folded spine is on one side and the open edges are on the other.
- Cut three evenly spaced slits starting at the open-edge side and cutting toward the folded spine, parallel to the spine.
- Important: Do not cut through the folded spine. Leave about 1/2 inch uncut at the spine so the piece stays together.
Step 4: Open and make the 3D curls
Unfold the triangle back into a square. You will see cut squares inside squares.
- Bring the smallest center two points together point to point to form a little tube. Glue or staple.
- Flip the paper over. Bring the next set of points together point to point. Glue or staple.
- Keep flipping each time and joining the next set outward until all layers are curled.
You now have one 3D arm. Repeat for all 6 pieces.
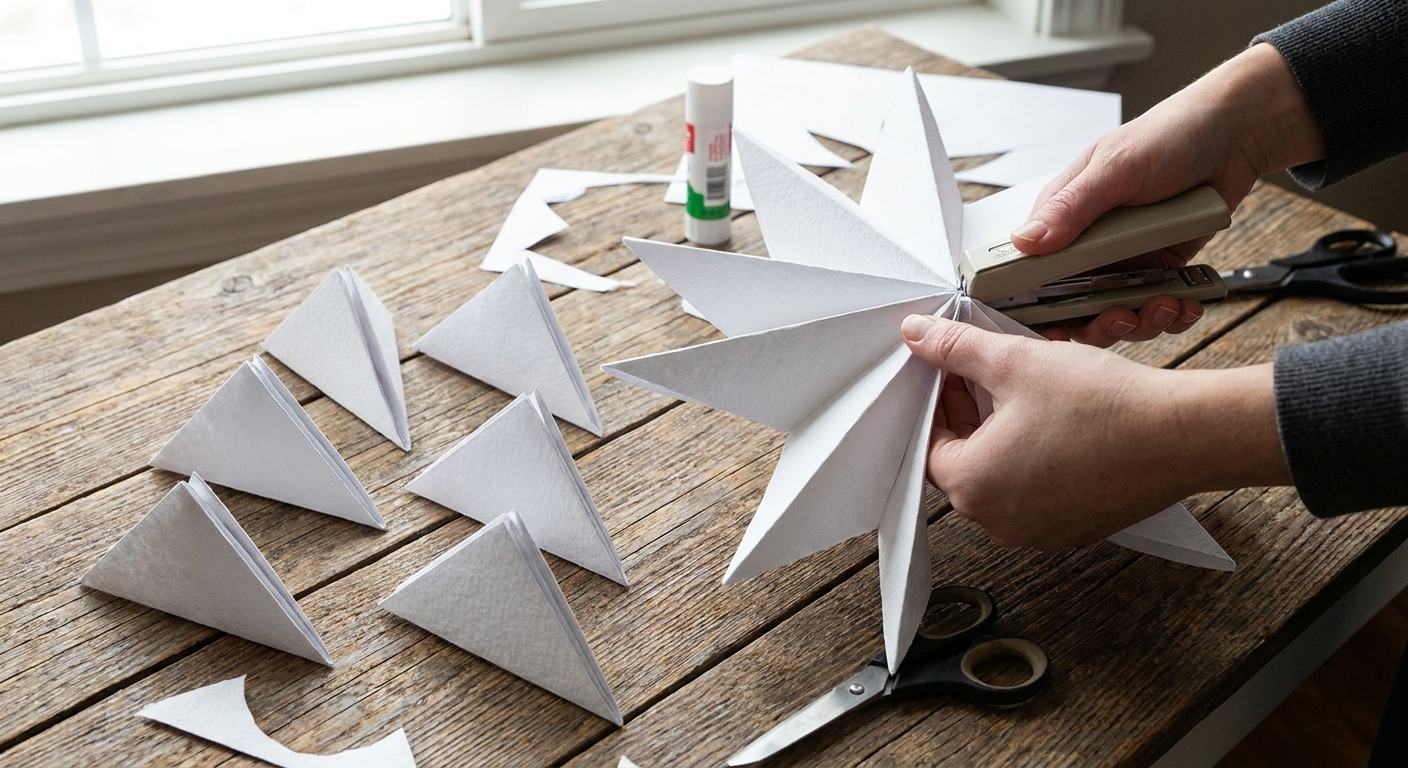
Step 5: Assemble the snowflake
- Join two arms together side-by-side at their base (glue or staple).
- Make three pairs total.
- Connect the three pairs into a circle, stapling where pieces touch.
- Add a staple at the center joins for extra strength.
Fastest method: Use a stapler for every join. It is sturdy and quick, especially on jumbo sizes.
Make it extra large with regular paper
If you want a really big snowflake but only have letter-size sheets, here are three budget-friendly options.
Option A: Tape sheets into bigger squares
Line up edges on the back side and tape seams smoothly. Then cut a perfect square from the larger sheet. This gives you bigger arms and a bolder finished snowflake.
Option B: Add more arms for fullness
The classic uses 6 arms, but you can build a snowflake with 8 or 10 arms. This usually makes the snowflake look fuller and more dense (more points and more texture). It may add a little diameter, but the biggest change is the overall volume.
Option C: Layer two snowflakes
Make one snowflake slightly smaller, then stack it on top of the larger one. Turn the top layer a little so the points alternate. Tape or staple at the center. This looks wildly luxe for very little effort.
Cut patterns that look fancy
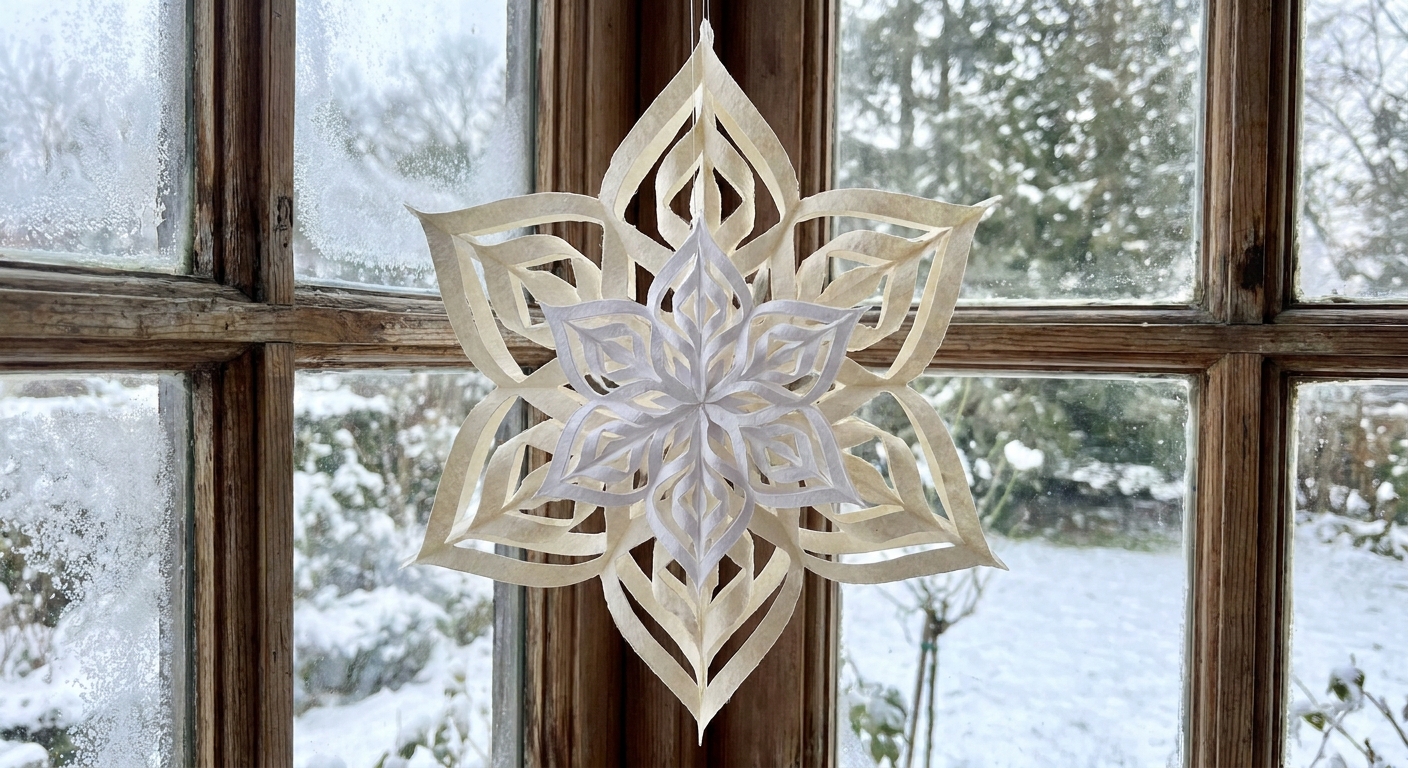
Even with the same folding method, tiny changes in cutting create different vibes.
- Classic snow: three slits, evenly spaced, straight cuts.
- Spiky star: make the outermost slit longer than the inner ones.
- Soft petal: round the ends of the slits instead of sharp corners.
- Lacy look: after you cut the slits, snip small triangles out along the open edges before unfolding.
Keep it sturdy: Leave a generous uncut spine so the curls do not tear when you pull points together.
Hang snowflakes in windows
Paper snowflakes are light, which means you can hang them without heavy hardware.
- Clear tape on glass: tape a loop of thread to the top point and tape the thread to the window. In cold weather, some tapes can leave residue, so test a tiny corner first. If you are cautious, put the tape on the thread end (not directly on the snowflake) so cleanup is easier.
- Command-style removable hooks: place a small hook at the top of the window frame and hang with thread.
- Curtain rod method: tie thread around the rod and let the snowflake float in front of the glass.
If you love no-damage hanging for holiday greenery too, hop over to how to hang front door garland without damaging trim for the same gentle mindset.
Make it look intentional
A single big snowflake is lovely. A grouped display looks like a winter scene.
How many to make per window
- Standard window: 1 hero snowflake plus 2 smaller accents
- Wide window: 3 medium snowflakes staggered, or 1 statement snowflake centered plus 2 accents
Easy layouts
- Triangle cluster: one large at the top, two smaller below.
- Drift effect: stagger different sizes as if they are floating down.
- Symmetry: match left and right sides for a classic, tidy look.
Add sparkle without spending more
- Brush a thin line of glue on a few edges and sprinkle a tiny amount of glitter onto a tray. If glitter irritates anyone in your home, skip it and go with metallic paper instead.
- Use metallic paper for one layer in a stacked snowflake.
- Hang a strand of warm white fairy lights behind the snowflakes on the sill for glow.
For more cozy glass-and-glow ideas, visit holiday window styling ideas.
Troubleshooting
My curls keep popping open
Use a stapler instead of glue, or hold the points together for a full 20 to 30 seconds if using school glue. Glue sticks are clean but may need a second pass on thicker paper.
The paper tears at the spine
Leave more uncut margin next time (at least 1/2 inch). Also, avoid pulling too hard when forming the biggest outer curls. Guide the paper gently into shape.
My snowflake looks lopsided
Make sure all 6 squares are exactly the same size, and keep folds lined up. When assembling, connect opposite arms across from each other to keep the circle balanced.
It will not stay centered on the window
3D snowflakes are meant to stand out. To keep them from swiveling, hang from a single top point and add a tiny rolled tape loop behind one lower point as a stabilizer.
Budget-friendly variations
- Brown paper snowflakes: use kraft paper for a rustic woodland look.
- Color-dipped tips: lightly brush paint on the ends of points for an ombré effect.
- Mini garland chain: hang three snowflakes vertically on one thread like a floating column.
If you are gathering more low-cost wow ideas, the whole DIY & Budget Decor nook is full of merry inspiration.
Safety and cleanup
- Keep paper decorations away from real flames and heat sources.
- If adding lights behind the display, stick with cool-running LEDs and keep cords tidy. For cord hiding help, see how to hide battery packs and cords in Christmas decor.
- To store: gently nest snowflakes in a large box with tissue paper between layers to protect points.